EasyManua.ls Logo

Grizzly G1026 - User Manual

Grizzly G1026
68 pages
Print Icon
To Next Page IconTo Next Page
Loading...
COPYRIGHT ©1991 BY GRIZZLY INDUSTRIAL, INC. REVISED APRIL, 2017 (BL)
WARNING: NO PORTION OF THIS MANUAL MAY BE REPRODUCED IN ANY SHAPE
OR FORM WITHOUT THE WRITTEN APPROVAL OF GRIZZLY INDUSTRIAL, INC.
#BL3325 PRINTED IN TAIWAN
V3.0 4.17
MODEL G1026
3 HP HEAVY-DUTY SHAPER
OWNER'S MANUAL
(For models manufactured since 10/13)

Other manuals for Grizzly G1026

Questions and Answers

  • L
    Laura BlackJul 26, 2025
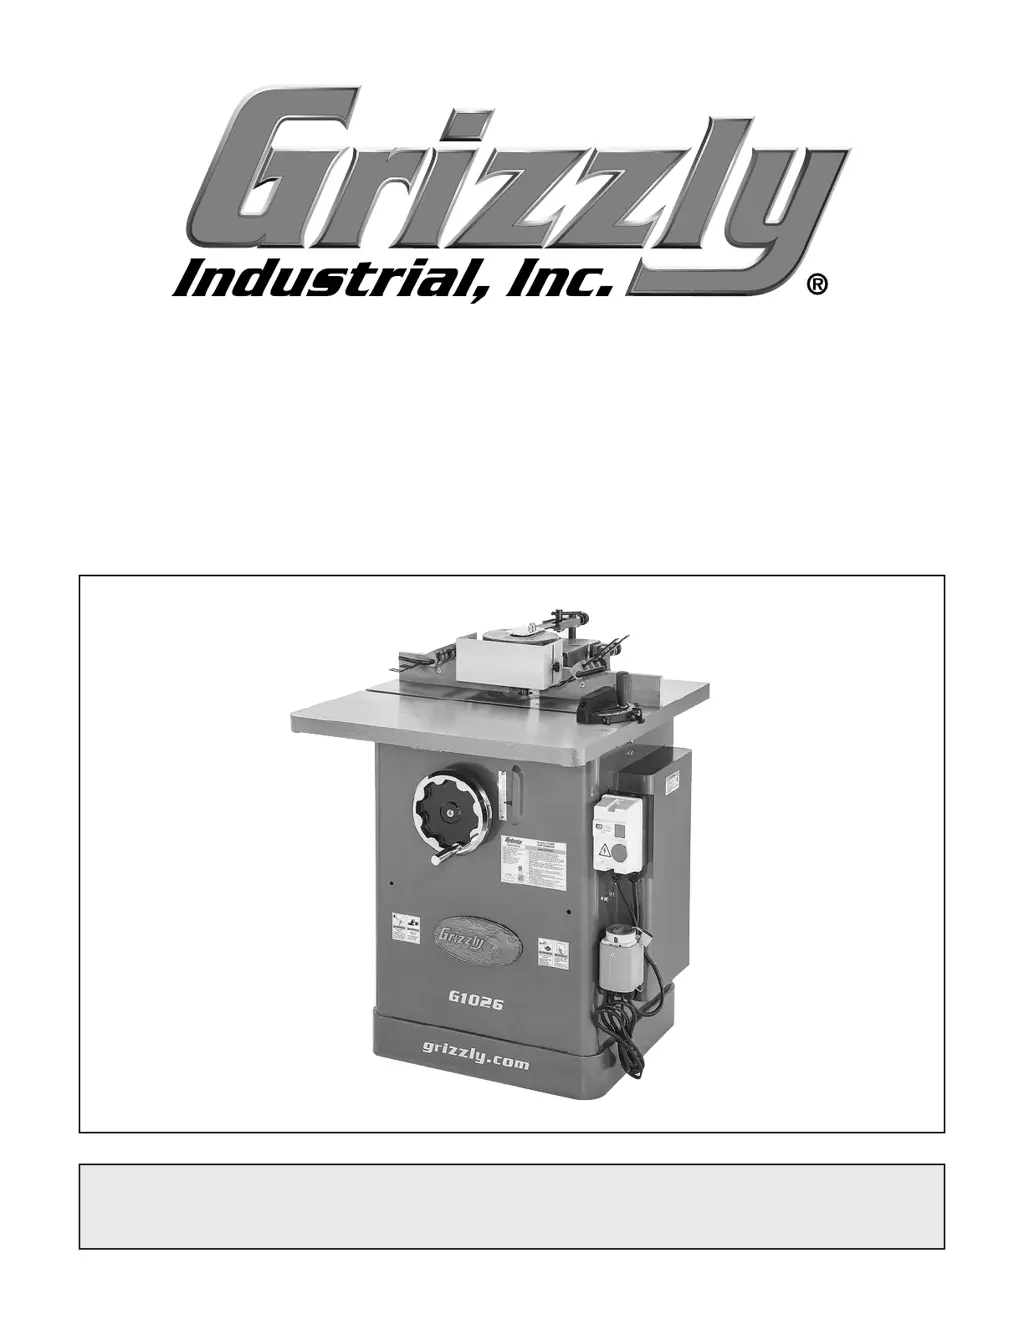
    Why is the workpiece burned when cut with my Grizzly G1026 Power Tool?
    • R
      rickey87Jul 26, 2025
      Burning during cutting with a Grizzly Power Tool can occur due to several reasons. First, the cutter may be dull, in which case you should replace it or have it professionally sharpened. Second, the feed rate might be too slow, so increase the feed speed. Third, pitch may have built up on the cutter, requiring cleaning with a blade and bit cleaning solution. Fourth, the cutter might be rotating in the wrong direction, so reverse the cutter's rotation. Finally, the cut may be too deep; try making several passes of light cuts.
  • A
    amanda12Aug 2, 2025
    What to do if my Grizzly G1026 causes chipping?
    • E
      Edgar CookAug 2, 2025
      Chipping when using a Grizzly Power Tool can occur due to several reasons. The workpiece may have knots or conflicting grain direction, so inspect it and only use clean stock. The cutter might be nicked or chipped, so replace or sharpen it. Feeding the workpiece too fast can also cause chipping, so slow down the feed rate. Taking too deep of a cut is another potential cause; reduce the cutting depth, especially with hardwoods. Finally, cutting against the grain of the wood can lead to chipping, so cut with the grain.
  • S
    Sarah MartinezAug 9, 2025
    How to prevent divots in the edge of the cut with my Grizzly G1026?
    • B
      Bobby StevensAug 9, 2025
      Divots in the edge of a cut made by a Grizzly Power Tool can be caused by inconsistent feed speed; try to move smoothly or use a power feeder. It can also be caused by inconsistent pressure against the fence and rub collar; apply constant pressure. Finally, the fence may not be adjusted correctly; adjust the fence.
  • Q
    qconleyAug 17, 2025
    Why does my Grizzly Power Tool leave fuzzy grain?
    • J
      johnsontammieAug 17, 2025
      Fuzzy grain when using a Grizzly Power Tool can be due to high moisture content or surface wetness in the wood. Check the moisture content and allow the wood to dry if it is more than 20%. It can also be caused by a dull cutter; replace or have the cutter professionally sharpened.

Summary

INTRODUCTION

Contact Info

Information for contacting Grizzly Technical Support and Documentation Manager.

Manual Accuracy

Details on manual accuracy, updates, and how to report discrepancies.

Identification

Controls & Components

Work Area Controls

Overview of main controls and components in the shaper's work area.

MACHINE DATA SHEET

SECTION 1: SAFETY

Safety Instructions for Machinery

Essential safety guidelines for operating machinery, including warnings and precautions.

Additional Safety for Shapers

SECTION 2: POWER SUPPLY

Availability

Considerations for power supply circuit availability and proximity before machine installation.

Circuit Information

Details on power supply circuit requirements and capacity for safe operation.

Circuit Requirements

Specific electrical requirements including voltage, phase, and circuit size.

Grounding Requirements

Mandatory grounding procedures to prevent electric shock and ensure safety.

Extension Cords

Recommendations and guidelines for using extension cords with the machine.

SECTION 3: SETUP

Needed for Setup

List of necessary tools and items required for machine setup and assembly.

Unpacking

Instructions for safely unpacking the machine and inspecting for shipping damage.

Hardware Recognition Chart

Inventory

Cleanup

Site Considerations

Weight Load

Ensuring the installation surface can support machine and workpiece weight loads.

Space Allocation

Guidance on providing adequate space for operation, material handling, and auxiliary equipment.

Physical Environment

Recommendations for the ideal physical environment for machine operation and longevity.

Electrical Installation

Instructions for placing and protecting power cords during electrical installation.

Lighting

Requirements for adequate lighting to ensure safe machine operation.

Assembly

Spindle

Table Inserts

Extension Wing

Fence Assembly

Safety Guard

Hold-Downs

Dust Collection

Test Run

SECTION 4: OPERATIONS

Operation Overview

A general understanding of how the machine is used during operation.

Disabling & Locking Switch

Workpiece Inspection

Changing Cutter Rotation

Speed Changes

Cutter Installation

Spindle Height

Fence Adjustment

Safety Guard Adjustment

Straight Shaping

Shaping Small Stock

Rub Collars

Irregular Shaping

SECTION 5: ACCESSORIES

Power Feeder

Optional power feeder for increased production and ease of use.

Spacers and Rub Collars

Spacers for cutter positioning and rub collars for shaping curved work.

Support Equipment

Accessories like mobile bases and roller tables for workpiece support.

Dust Collection Accessories

Components for connecting a dust collection system, including hoods, hoses, and clamps.

Bit Spindle

Optional spindle for using router bits with the shaper.

SECTION 6: MAINTENANCE

Schedule

Recommended daily, weekly, and monthly maintenance checks for optimal performance.

Cleaning & Protecting

Procedures for cleaning the machine and protecting cast iron surfaces.

Lubrication

Spindle Bearings

V-Belt Tension & Replacement

SECTION 7: SERVICE

Troubleshooting

Guide to diagnose and solve common machine problems and symptoms.

Table Insert Adjustment

Fence Board Alignment

Truing Fence

Pulley Alignment

Checking Pulley Coplanarity

Procedure to check if the drive pulleys are parallel and aligned.

Adjusting Pulleys Parallel

Steps to adjust motor and spindle pulleys to achieve parallel alignment.

Aligning Pulleys

Gib Adjustment

Checking Gib Adjustment

Method to check gib adjustment for spindle slide smoothness and play.

Adjusting the Gibs

SECTION 8: WIRING

Wiring Safety Instructions

Critical safety instructions for working with the machine's electrical wiring.

Wiring Diagram

SECTION 9: PARTS

Stand & Table

Parts list and diagram for the shaper's stand and table assembly.

Motor & Handwheel

Parts list and diagram for the motor and handwheel components.

Spindle

Safety Guard

Fence

Miter Gauge

Labels & Cosmetics

WARRANTY CARD

WARRANTY & RETURNS

Grizzly G1026 Specifications

General IconGeneral
BrandGrizzly
ModelG1026
CategoryPower Tool
LanguageEnglish

Related product manuals