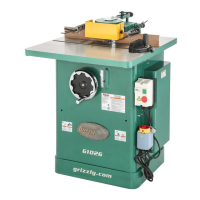
Model G1026 (Mfd. Since 10/13)
-21-
The cast iron wing extends your work surface
area to provide support for larger workpieces.
To install the extension wing:
1.
Make sure the contact surfaces are free of
dirt or grit.
2.
Remove the (3)
3
⁄8-16 x 1
1
⁄4" hex bolts and
lock washers already mounted to the table.
3.
Insert the hex bolts with lock washers through
the wing and thread them into the holes at the
front of the shaper. Leave the bolts loose, for
now.
4.
Raise the wing on one side and make sure it
is flush with the table edge, then tighten the
first bolt (see Figure 19).
Note: By raising or lowering the far end of the
wing, you can locate the center of the wing
flush with the shaper table.
Figure 20. Adjusting to ensure flatness.
7. Adjust the wing up or down at the last bolt
(see Figure 20). If necessary, use a clamp
and some wood blocks to make the two sur-
faces flush. Tighten the final bolt when the
two surfaces are flush.
6.
Make sure the wing edge is flush at the first
two bolts and that the bolts are tight.
Note: The end of the wing at the last bolt
may not be flush with the surface of the table.
Don’t be alarmed.
Figure 19. Installing extension wing.
5. Secure the center bolt.
Extension Wing
 Loading...