Overview of the Bracket:
Hint: Data units in mm
Steps:
Drill holes for screws while use the mounting frame as template.6 holes for
Growatt 10000/12000UE and 8 for Growatt 18000/20000UE.
Fix the mounting frame on the wall as the figures shown below, combine as
the screws as the Items overview picture shows (items C, D, E, F).
Notes
mounting frame is really firmly mounted on the wall after carefully checking.
: Never mount the inverter on the bracket unless you are sure that the
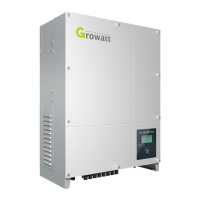
3.4 Mounting Inverter
After the bracket is firmly mounted on the wall, then mount the inverter on the bracket.
Hang the inverter on the bracket through the match hooks on bracket and the
back of the inverter.
4Electrical connections
4.1 Wiring AC Output
Measure the public grid voltage and frequency (Voltage: 400Vac;
Frequency: 50Hz/60Hz; in 3-Phase);
Open the breaker or fuse between the PV inverter and utility;
Screw torsional force is 8 kg/cm;
Rise up the Growatt UE a little higher than the bracket. Considered the weight of
Growatt UE, you need handles (items G shown in chapter 2.1) to hang on the
inverter. During the process please maintain the balance of the Growatt UE.
Specification of AC breaker: Growatt 10000UE/ 12000UE: 32A/400V
Growatt 18000UE/ 20000UE: 63A/400V
*
*
 Loading...