11
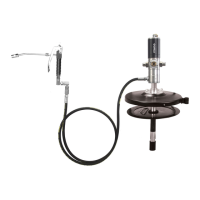
17. Remove Slider (30) with a
tweezer.
18. Open the two Screws (29)
with a Philips screwdriver
& remove Clip (28).
19. Remove Nylon Slider (27).
20. Remove Slider Guide (26).
21. Remove Seat (25) &
Paper Seal (24). Clean the
bottom surface thoroughly.
22. Replace the Repair Kit (KIT/TP/RPG) as mentioned in Table 6
- Page 18, by following the steps 1-21 in reverse order taking
care of the points below:
• Ensure all mating
surfaces are clean
before reassembly.
Apply minor grease
on all mating
surfaces, O Rings &
moving parts before
reassembly.
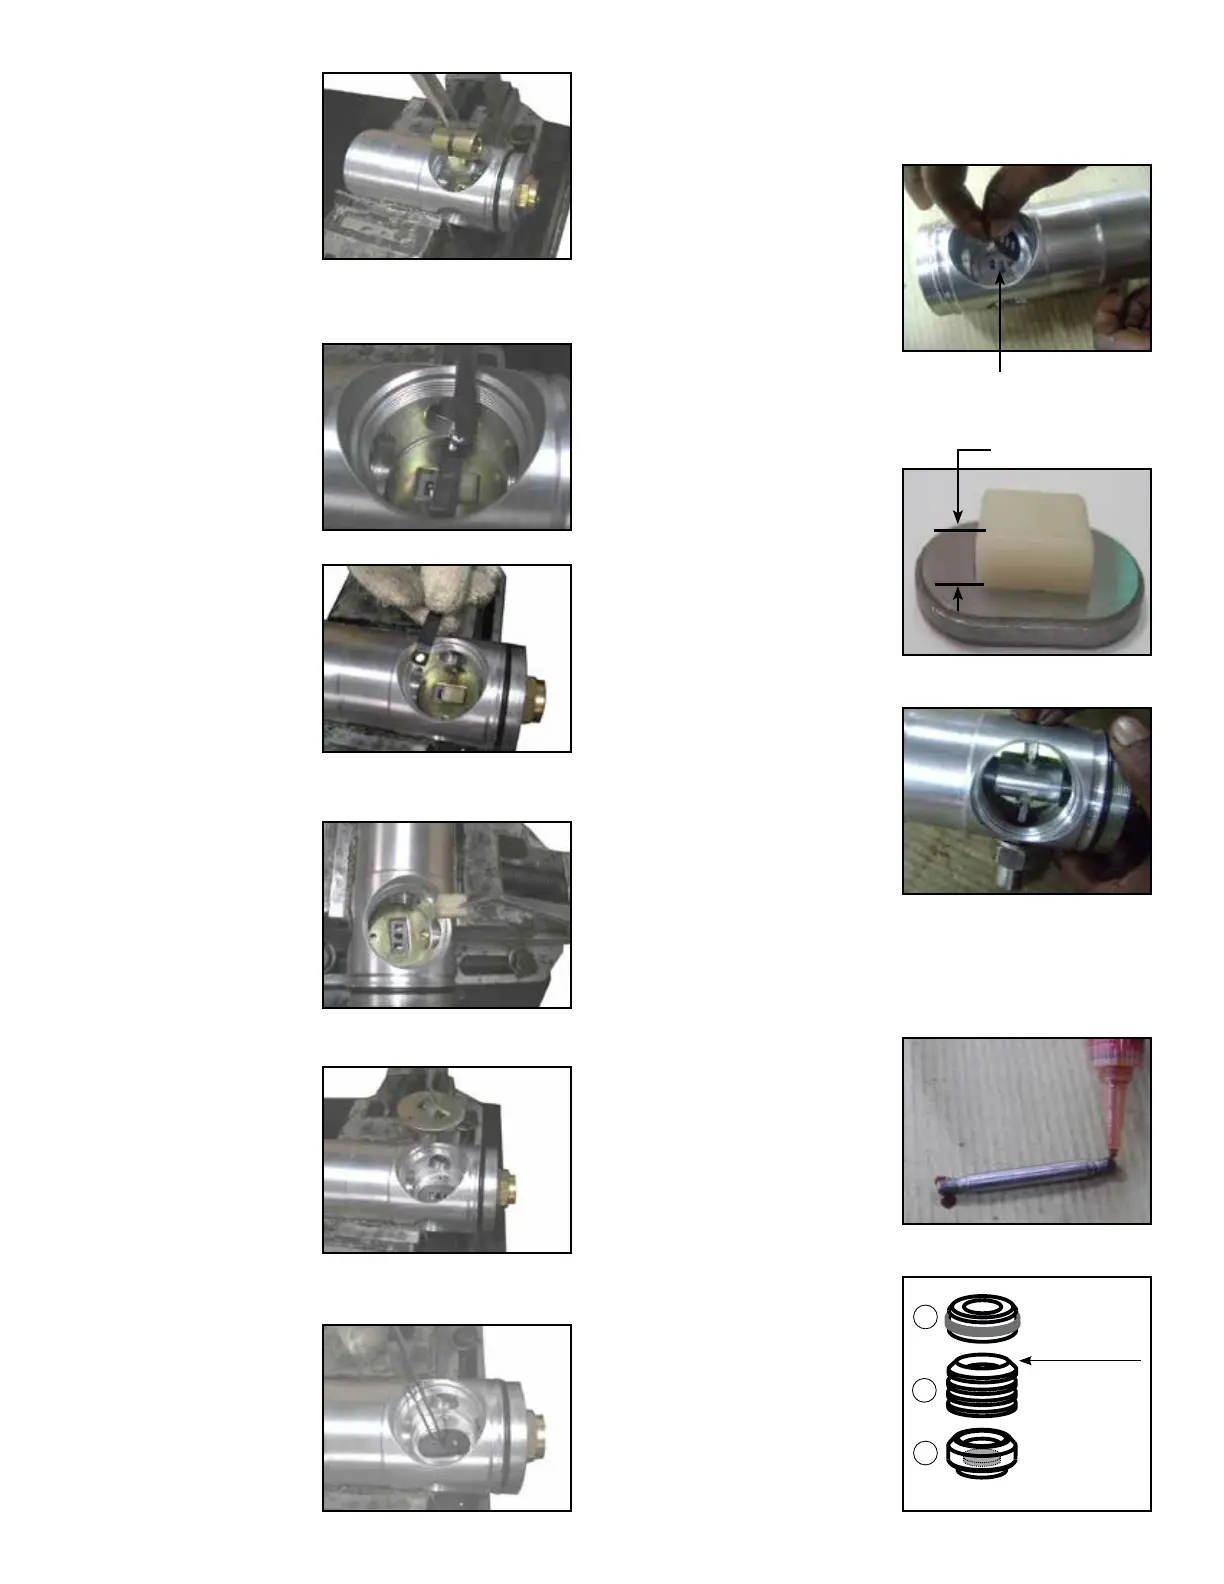
• Ensure that height of
Nylon Slider (27) is
approx. 5.3 - 5.7 mm.
Also, hollow portion
of Nylon Slider
should rest evenly on
top of Seat (25).
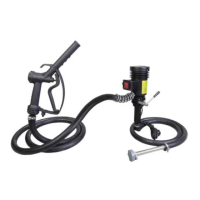
• When fitting Pushers
(15), see through
Inlet Cover (32)
& ensure Pusher
Buttons (19) are
installed in centre
position. Also ensure
that Clip (28) is tight
& Nylon Slider (27)
moves smoothly.
• When fitting Plunger
Rod (9) & Connecting
Rod (43), apply
locking fluid on the
inner rod of Slider
(30).
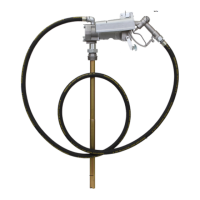
• Conical side of
Seals (39) must face
upwards. Assemble
them with Slider
guide (38), Seal
Support (40) & mount
them as a set on
Connecting Rod (43).
5.3 - 5.7 mm
Clean & apply grease
Conical side of
Seals (39) must
face upwards
38
40
39