compartment so the diamond or orientation mark aligns with the raised orientation
mark in front of the cell compartment.
1. Push the
CALIBRATION key
to enter the
Calibration mode.
Follow the
instructions on the
display.
Note: Gently invert
each standard before
inserting the standard.
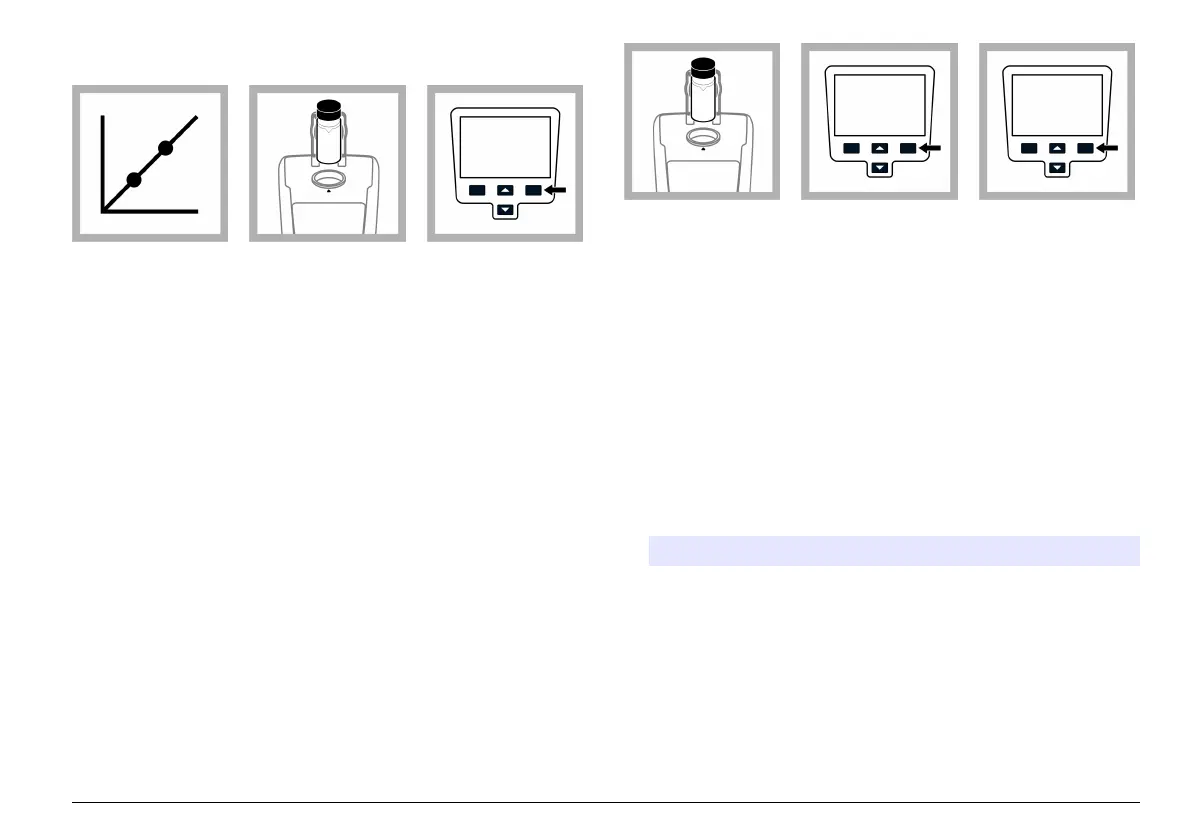
2. Insert the 20 NTU
StablCal Standard
and close the lid.
Note: The standard to
be inserted is bordered.
3. Push Read. The
display shows
Stabilizing and then
shows the result.
4. Repeat Step 2
and 3 with the
100 NTU and
800 NTU StablCal
Standard.
Note: Push Done to
complete a 2 point
calibration.
5. Push Done to
review the
calibration details.
6. Push Store to
save the results.
After a calibration is
complete, the meter
automatically goes
into the Verify Cal
mode. Additional
information is
available on the
manufacturer's
website.
7.2 Reading modes
1. Push the UP or DOWN key to enter the Reading Options menu.
2. Select Reading Mode to select one of the following options:
Option Description
Normal
(Default
setting)
The normal mode reads and averages three
readings. The result is shown after the reading.
English 11

 Loading...