Yderligere skærmvisninger
I hovedskærmbilledet for måling findes der flere yderligere skærmvisninger:
• Analysatorer med en enkelt kanal:
• Tryk på VENSTRE og HØJRE pil for at skifte mellem hoveddisplayet og et grafisk display.
• Analysatorer med flere kanaler:
• Tryk på tasten OP eller tasten NED for at få vist målingen fra den foregående eller næste kanal i
rækken.
• Tryk på tasten HØJRE for at skifte til display med flere kanaler (standard = 2 kanaler) eller
tasten VENSTRE for grafisk display.
• I displayet med flere kanaler skal du trykke på tasterne OP og NED for at rulle gennem alle
kanaler. Tryk på tasten HØJRE for at tilføje yderligere kanaler til displayet. Tryk på tasten
VENSTRE for at fjerne kanaler fra displayet.
• I det grafiske display skal du trykke på tasten OP eller tasten NED for at få vist grafen for den
foregående eller den næste kanal i rækken.
Grafisk display
Grafen viser målinger for op til seks kanaler på en gang. Grafen giver nem overvågning af trends og
viser ændringer i processen.
1. I hovedskærmbilledet for måling skal du trykke på VENSTRE-piletast for at få vist det grafiske
display.
BEMÆRK: Tryk på tasten OP eller NED for at få vist målingen fra den foregående eller næste kanal i rækken.
2. Tryk på home for at ændre indstillinger for grafen.
3. Vælg en funktion.
Funktion Beskrivelse
MEASUREMENT VALUE
(MÅLEVÆRDI)
Indstil måleværdien for den valgte kanal. Vælg mellem AUTO SCALE
(AUTO.-SKALERERING) og MANUALLY SCALE (MANUEL
SKALERING). Indtast minimum og maksimum ppb-værdi i menuen
MANUALLY SCALE (MANUEL SKALERING).
DATE & TIME RANGE (OMRÅDE
FOR DATO OG TID)
Vælg området for dato og tid på grafen: seneste dag, seneste 48 timer,
seneste uge eller seneste måned.
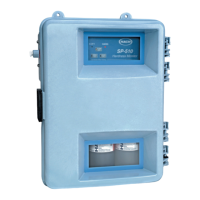
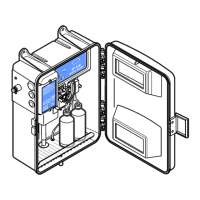
Placering af tænd/sluk-knap og SD-kort
Figur 4 viser tænd/sluk-knappen, SD-kortåbningen og indikatorlamperne.
Dansk
143

 Loading...