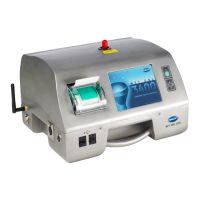
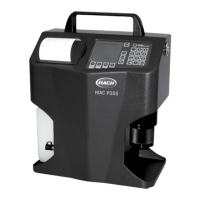
Prerequisite: Install the batteries in the instrument. Refer to Install the batteries on page 12.
N O T I C E
Discard the used batteries according to local regulations or contact the manufacturer. Do not put exhausted
batteries in the domestic waste.
1. Attach the power supply to the unit. Refer to Figure 3 on page 12.
2. Connect the unit power supply to the external power through the AC power adapter.
The battery status light will show the level of power in the battery. Refer to Table 5.
Table 5 Battery LED color indications
LED state LED color Battery status Charge status
Flashing Orange Low power Not charging
Flashing Green Low power Charging
Solid Green Charged Charging
Battery recharge intervals
Table 6 shows the charge frequency that will increase battery life and increase the interval between
battery calibrations.
Table 6 Suggested battery recharge interval
Frequency of use Hours of sampling
0.5 1 2 6
Daily Charge weekly Charge weekly Charge daily Charge daily
Weekly Charge monthly Charge weekly Charge weekly Charge weekly
Monthly Store on charge Store on charge Store on charge Store on charge
When the particle counter is not is use, batteries will slowly discharge because of background
processes on the instrument.
Calibrate the battery
The lithium ion Smart Battery will tolerate frequent partial discharges. After many partial discharges,
the accuracy of the battery gauge is decreased.
To calibrate the battery charge gauge, set the Smart Charger to calibration mode during discharge.
Diagnostics and Troubleshooting
The Diagnostics screen shows information that may be needed for troubleshooting. Table 7
shows an example of a failure notification on the Diagnostics screen.
Table 7 System Diagnostics screen example - Clock battery failure
Signal Value Status
Calibration 0.00 VDC OFF
Flow 0.00 VDC OFF
Clock battery 0.00 VDC FAIL
Battery 1 (bottom) 16.42 VDC PASS
English 41
 Loading...