40
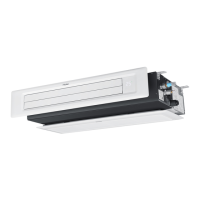
5. Indoor unit
--Anti-dust protection during installation
--Installed proper and level
--Service space reserved at least 19.69X19.69 inch
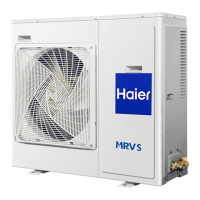
6. Outdoor unit
-- Installed on anti-vibration pads at bottom
-- Space (20cm/7.87inch away from each other)
-- Gather ttings are the same level
-- Breaker
-- Communication cable (A / B / C, PQ)
7. Pre start up
-- 100% of the piping completed and pressure test passed
-- Vacuum test
-- The system has been with electric power more than 6 hours
-- Outdoor unit addressing (Master 0, slave1, slave2)
-- Indoor units are addressed correctly
-- All the indoor units work correctly in Fan mode
6.1.3 Conguration Dip Switches
1. Indoor dip switch setting—Indoor units for MRV5 and indoor units for MRV IV-C are the same, so indoor dip
switch setting is the same; please check with the service manual.
2. Controller dip switch setting- it’s the same as the controller dip switch setting of MRV-IV, please check the
service manual.
IDU Dip switch setting
For dierent IDU PCB board; the setting is little dierent. When start up, check the Dip switch settings below:
SW01 (1~4 or 2~4)--------Set the master/slave unit when wired controllers are in group control
SW01 (5~8)-----------------Set the capacity of the unit (default setting, no need to reset)
SW03 (1~8)------------------Set the communication address and central address (the default setting is set the address
by wired controller or automatically)
ODU Dip switch setting
The engineer set on site
Pre-set in factory
Check operating parameter & E2
control
Dip switch
BM-1
BM-2
BM-3
BM-4
SW1
SW2
SW3
 Loading...