- 96 -
Display Unit Installation
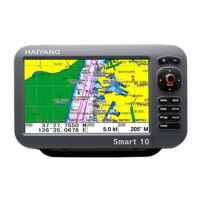
Smart7/8/10 series brings expandable display technology to your bridge or navigation station. A careful
installation will assure maximum benefit from Smart7/8/10 series integrated features.
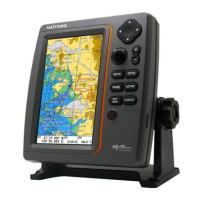
Display Unit Location
Select a location for your Smart7/8/10 series display unit that provides easy viewing from all likely
operator’s positions. The display unit is designed to be mounted on either a console or from an
overhead surface. The Smart7/8/10 series display is also designed for flush mounting using six
threaded holes on the rear panel. Locate the display in an area with protection from the elements and
avoid direct sunlight on the viewing window. Also, consider access to the rear panel of the unit for
connecting power and cables to the various remote sensors. The mounting surface must be flat and
solid to support the unit and prevent vibration. There should be access to the inside of the surface to
permit through bolt fastening for the mounting bracket.
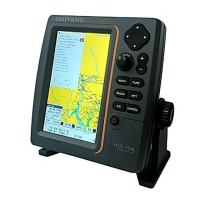
Display Unit Installation
Temporarily install the mounting bracket on the Genesis display unit and place the unit at the selected
location.
CAUTION
The Smart7/8/10 series display unit is unstable when the mounting bracket is not secured. Hold the
unit in place at all times.
Check the suitability of the location and make any adjustments. When all is satisfactory, use the holes
in the mounting bracket as a guide and mark the holes locations on the mounting surface.
Drill a 1/4 in. diameter hole at each marked location. Mount the Smart7/8/10 series display bracket
using bolts through the mounting surface. Place large flat washers on the opposite side of the
mounting surface from the bracket and then install lock washers and nuts. Tighten securely.