18
!
!
!
#
"
"
!
$
#
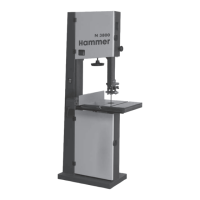
Bandsaw
N3700 e-classic / N3800 / N4400
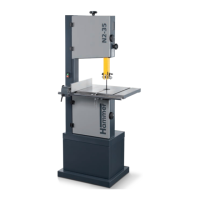
6.2.3 Rip fence
Fig. 6-3: Rip fence
• Use a nut to mount the fence rail to the machine ta-
ble.
• Slide the premounted fence onto the track.
!Nut
"Fence rail
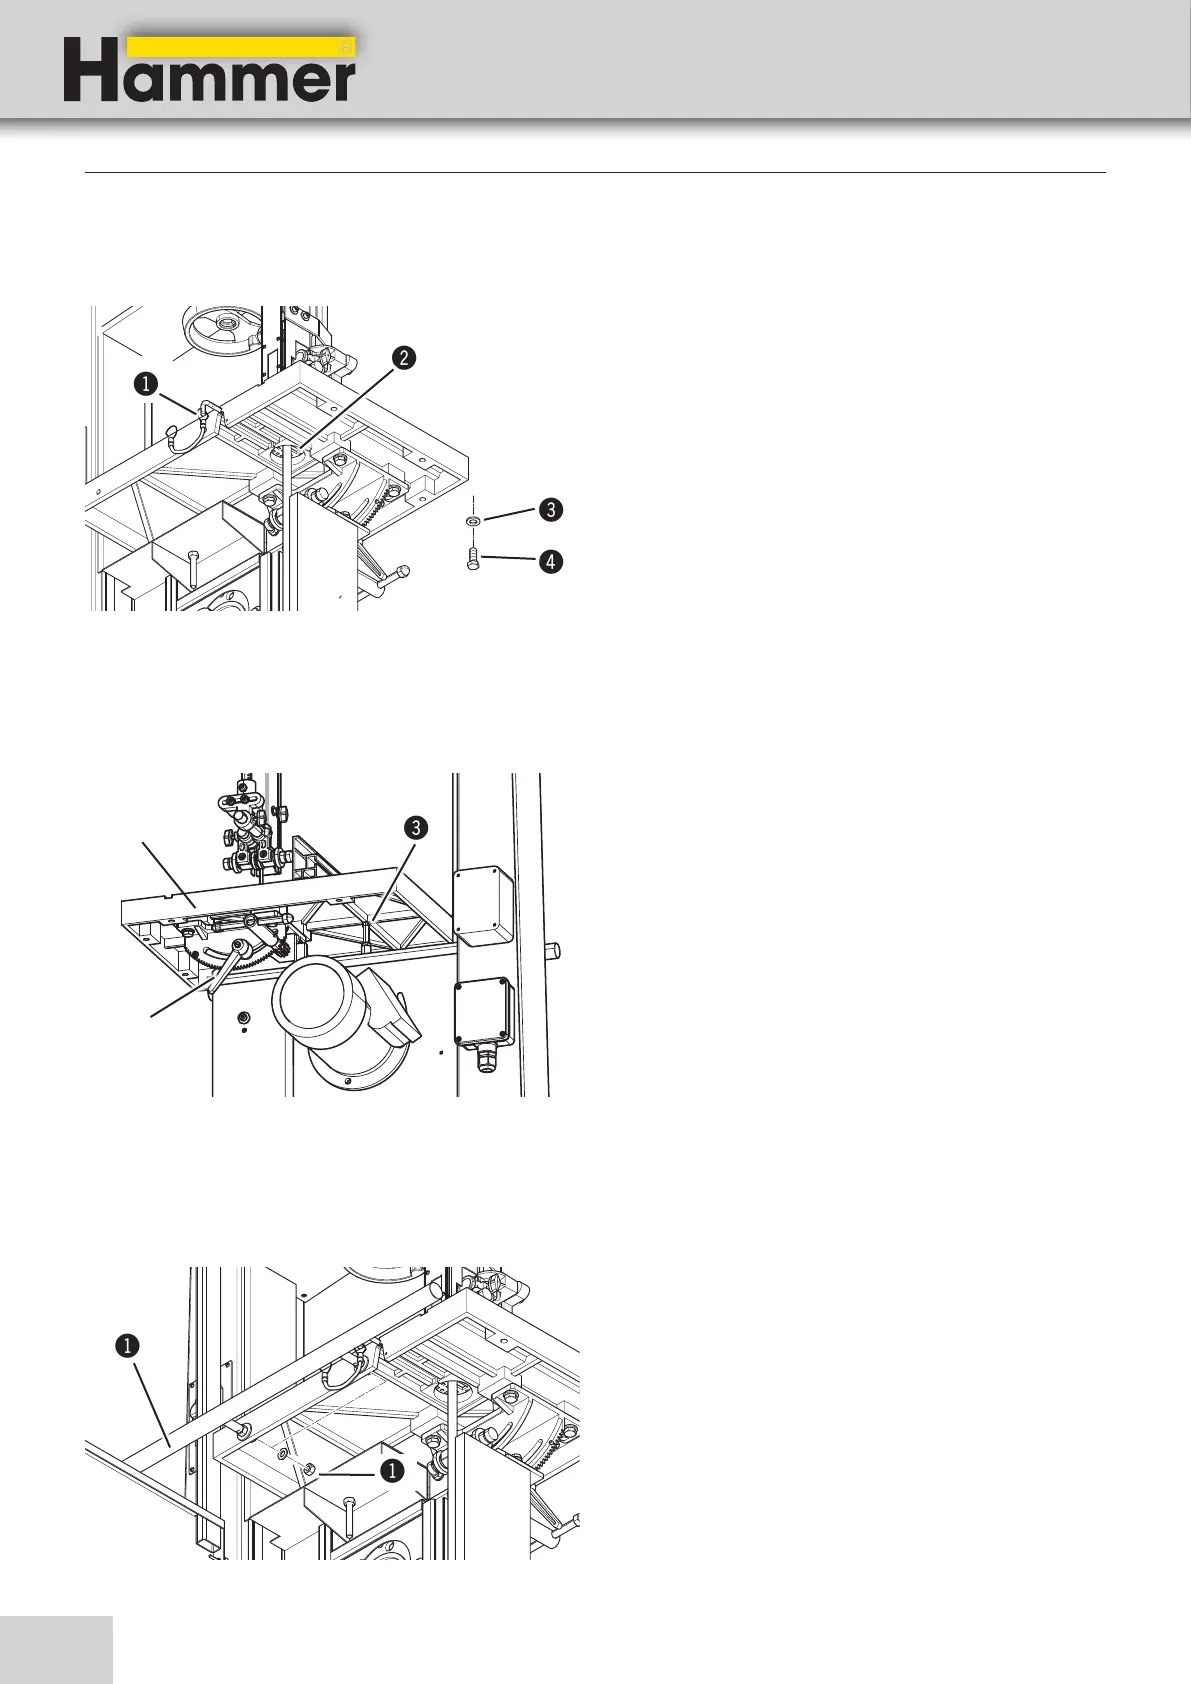
6.2.2 Positioning the 90° end stop on the work table
Fig. 6-2: End stop
• Disconnect the machine from the mains supply.
• Loosen the clamping lever.
• Tilt the work table until it rests on the stop screw.
• Determine the exact angle using a 90° triangle.
• If the 90° in the initial position is not correct, adjust
the stop screw accordingly.
• Check the 90° angle once the clamping lever is back
in place.
!Work table
"Clamping lever
#Fence screw
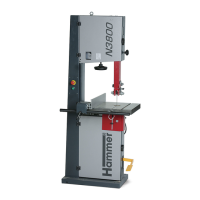
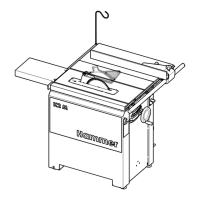
6.2.1 Setting up the work table
• The table insert and positioning pin have to be re-
moved to set up the work table.
• Thread the work table around the saw blade and
mount to the machine using SKT screws and washers.
• Re-affix the table insert and positioning pin.
Fig. 6-1: Work table
!Positioning pin
"Table insert
#Washers
$Screw
Setup and installation