28
!
"
#
!
Bandsaw
N3700 e-classic / N3800 / N4400
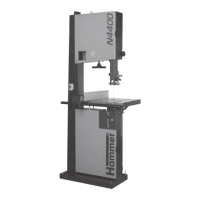
8.5 Direction of cut and parallelism
If the cut, using the longitudinal stop, is still not parallel,
the following are possible causes:
• Incorrect saw belt grinding and set
• Insufficient saw belt tension
• Incorrect longitudinal stop setting in relation to the
saw belt.
Set the fence plate (guide):
1. Loosen the lock nuts.
2. Correct the position with the slotted round nut if requi-
red.
3. Tighten the lock nuts.
!Locking nuts
"Adjusting nut
#Fence plate
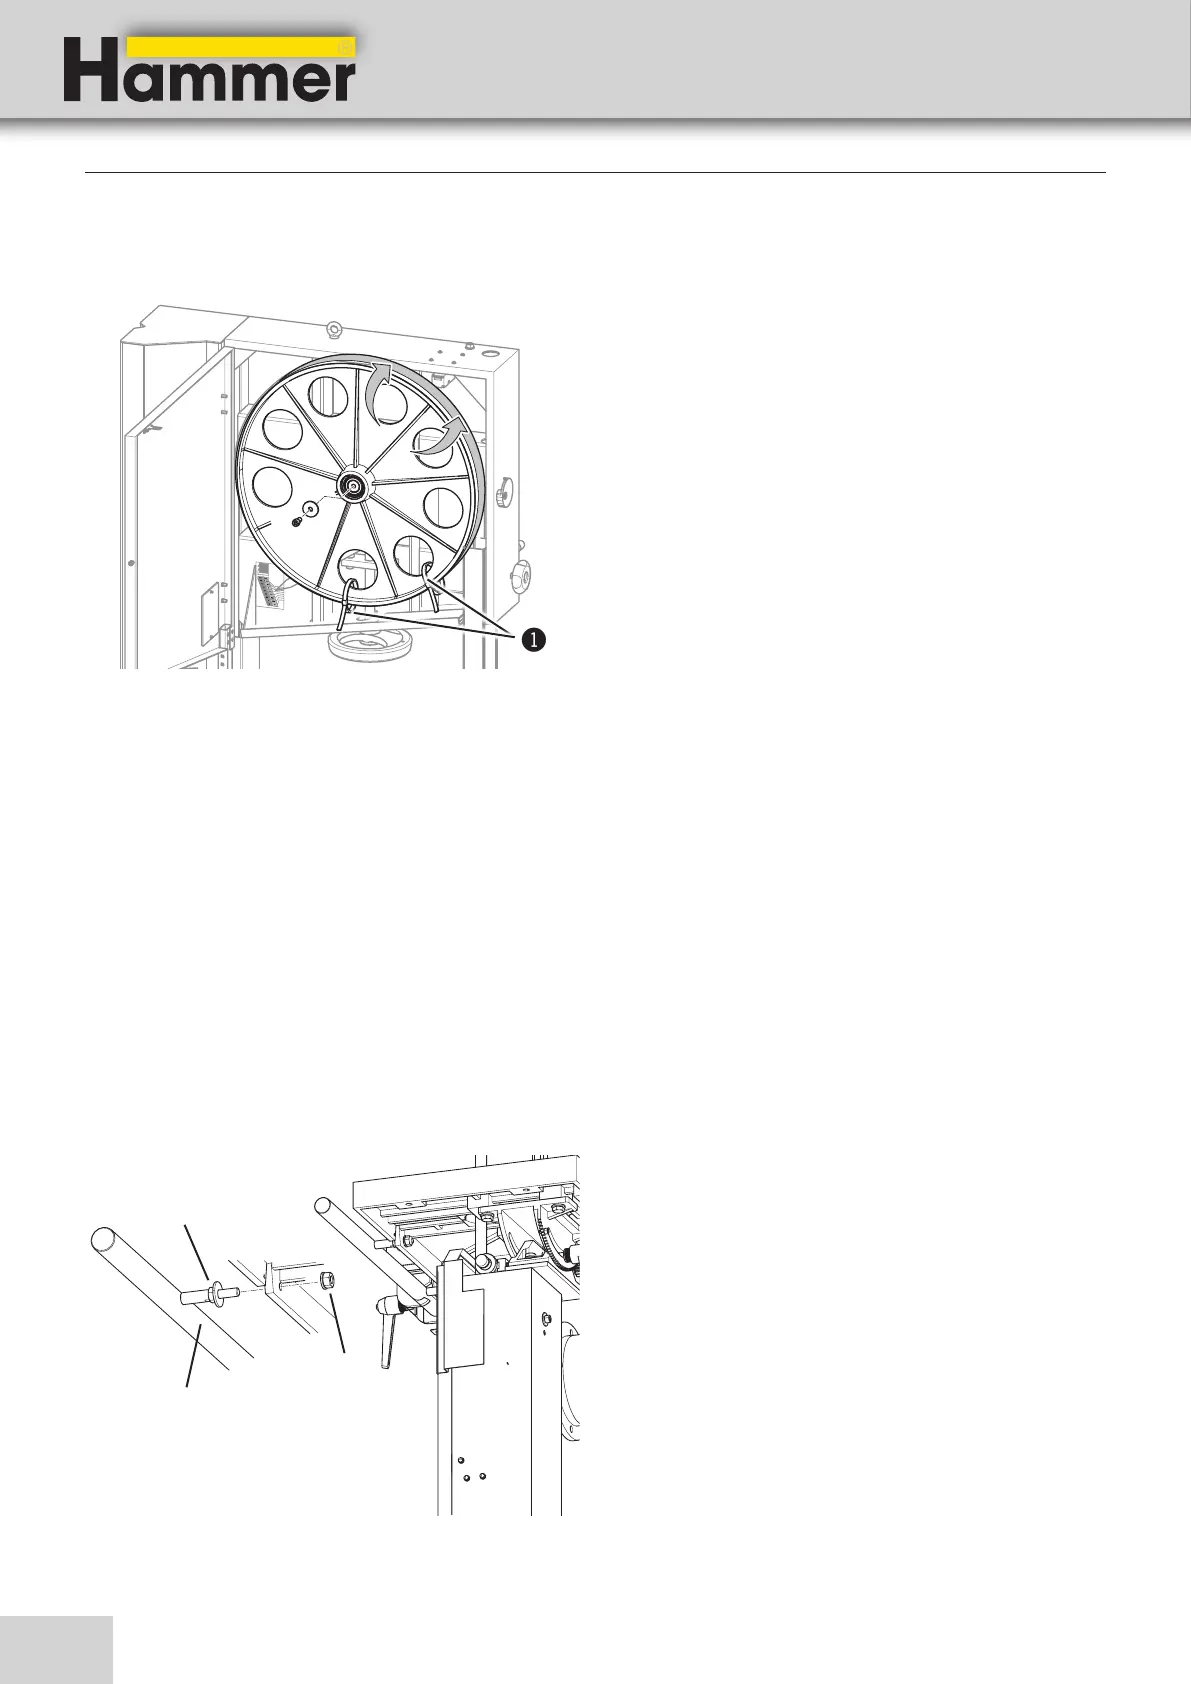
8.3 Replacing the rubber wearing surface of wheels
8.4 Cleaning and lubrication
Clean the inside of the machine regularly with a vacuum
to remove saw dust deposits and remove resin deposits
from the wheel surfaces. The wheel bearings are sealed
and do not need to be lubricated again.
It is not necessary to grease any parts on the machine,
as the circulating saw dust would otherwise immedi-
ately stick to every greased or oiled surface, and would
hamper the sliding properties of, for example, the blade
guidance or the belt tension unit. Regularly control the
cleanliness of the wheel wearing surfaces, especially af-
ter resinous materials or chipboards have been cut. Only
clean the wearing surfaces once the machine is idle and
ensure that the wearing surfaces are not damaged dur-
ing the process.
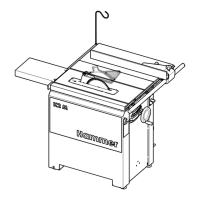
Fig. 8-2: Disassembling the upper wheel
Fig. 8-3: Direction of cut and parallelism
Its highly recommended that this work is only carried out
by a specialist or the manufacturer.
Removing the saw blade See chapter entitled: Saw blade
replacement/tension
1. Remove the old wheel surface.
2. Attach and fix the new tread to the lower side of the
wheel. (use cable ties if required)
3. Slide the tread over the top of the wheel.
4. Remove the fixing.
5. Ensure that the rubber wearing is seated properly with
a few manual turns!
!Cable ties
Service