40 | Hampton
®
H27E-11 Direct Vent Freestanding Gas Stove
installation
Remote/IFC (Integrated Fireplace
Control) Coding/Pairing
To code the IFC to the handheld remote, follow the
procedure below:
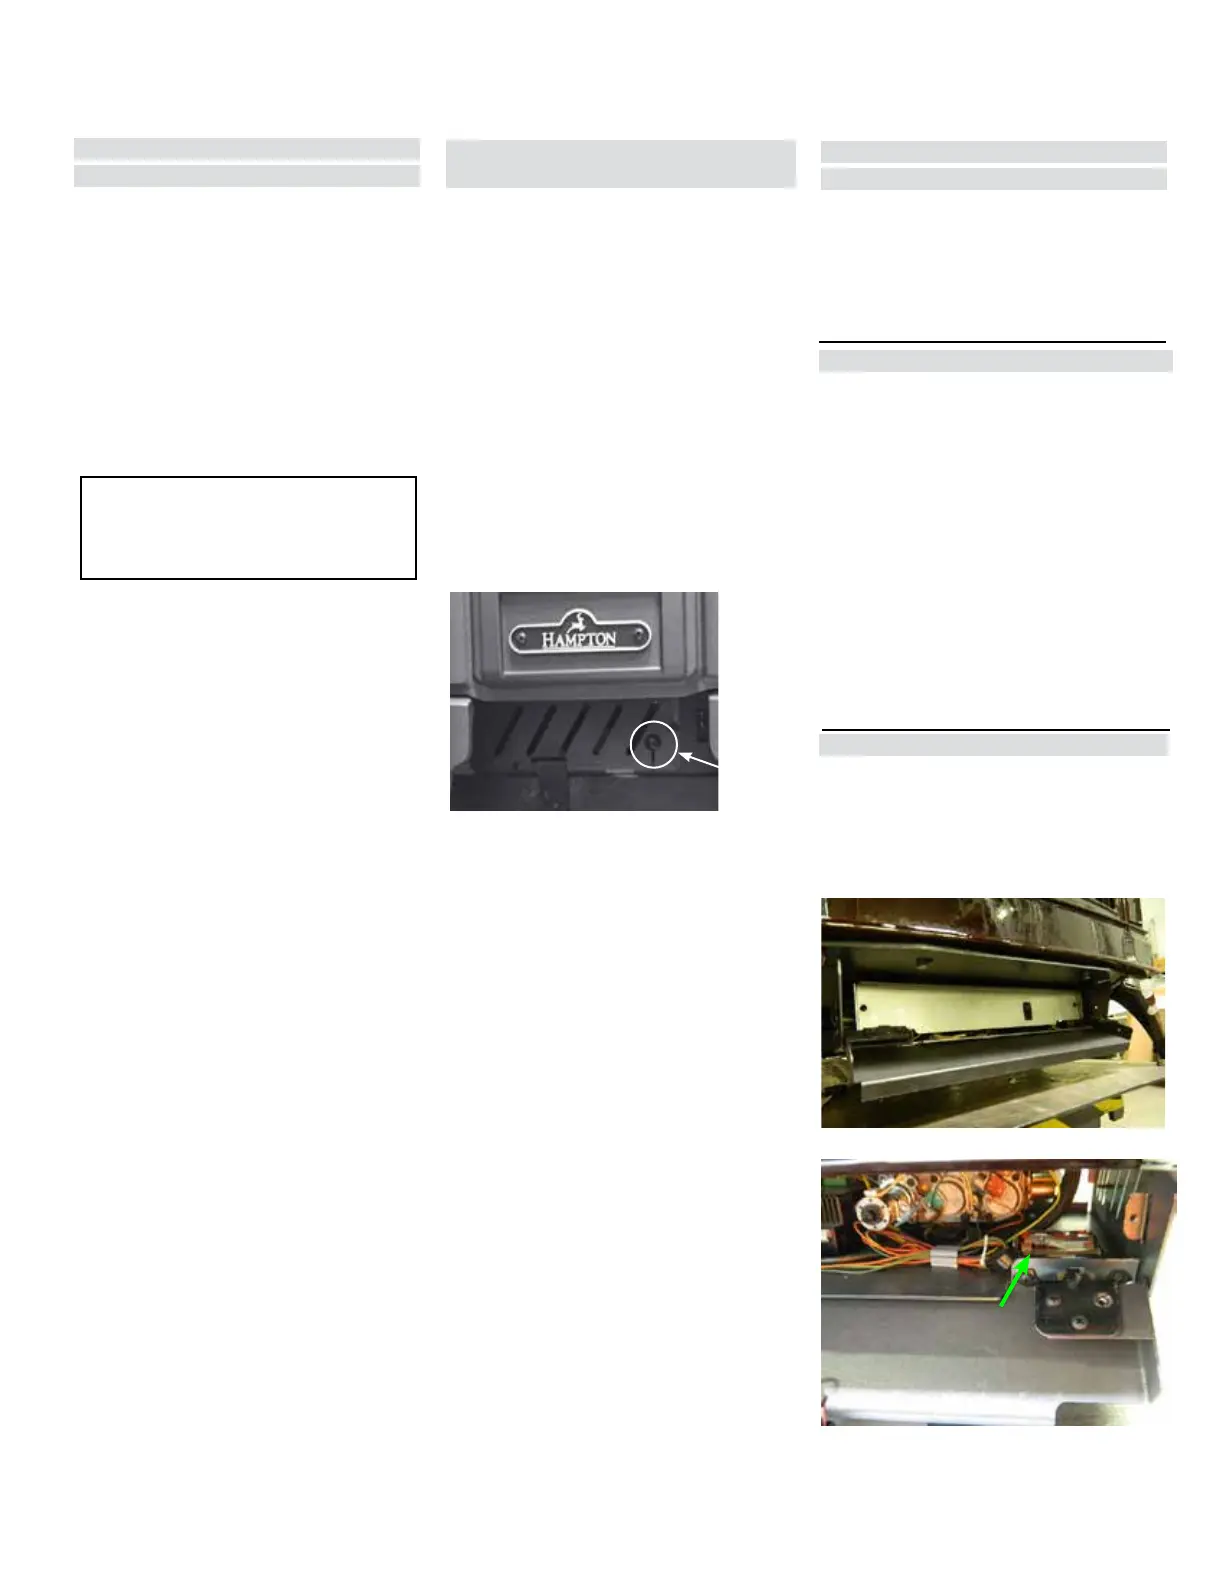
1. Open the bottom front access panel of the unit.
NOTE: Ensure that the main ON/OFF switch is in
the ON position. (Unit will not function, unless
it is in ON position)
A wall thermostat may be installed if desired.
Connect the wires as per the wiring diagrams.
Note: Preferable if the thermostat is installed
on an interior wall.
Regency
®
offers an optional programmable
thermostat but any 250-750 millivolt rated non-
anticipator type thermostat that is CSA, ULC or
UL approved may be used.
CAUTION
Do not connect the wall
thermostat wires
to the 120V wires.
Final Check
Before leaving this unit with the customer, the installer
must ensure that the appliance is firing correctly.
This includes:
1. Clocking the appliance to ensure the correct
firing rate (rate noted on label) at 15 minutes.
2. If required, adjusting the primary air to ensure
that the flame does not carbon. First allow the
unit to burn for 15 min. to stabilize.
3. Check for proper draft.
CAUTION
Any alteration to the product that causes sooting
or carboning that results in damage to the exterior
facia is not the responsibility of the manufacturer.
Back Up Battery
In the event of a power outage the unit may be
operated by a back up battery system.
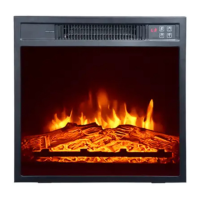
1. Open the access panel of the unit and unscrew
the 2 screws from each side from the valve
cover plate.
2. Install 4AA batteries into the battery holder.
3. Install 3 AAA batteries into handheld remote.
4. Press the black button on the left side panel (when
facing unit) until 3 beeps are heard.
5. Press the ON/OFF button on the hand held
remote to code the remote to the receiver–af-
ter 4 beeps are heard–handheld is paired with
receiver.
Manual Operation
(No Remote)
To divorce the remote transmitter, press the black
button until it beeps 3 times, within 10 seconds press
the black button again until a beep is heard.
After divorcing the remote transmitter, the ON/OFF
switch at the front of the unit will control the unit.
Note: Remove the batteries when normal opera-
tion is resumed as the heat will drain the bat-
tery power rapidly.
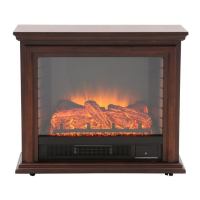
2. Plug in 120 volt power cord into a grounded
receptacle or install 4 AA batteries into battery
pack and plug into battery terminals located
near the gas valve. Do not use both. Only use
the 4 AA batteries if 120 volt power is not
present.
Optional Wall
Thermostat
Reset
button