17
Step 20
Attach the control horn using three #2 x 3/4"
screws and the control horn backplate.
Note: Cut the excess screw extending from
the control horn backplate using side cutters.
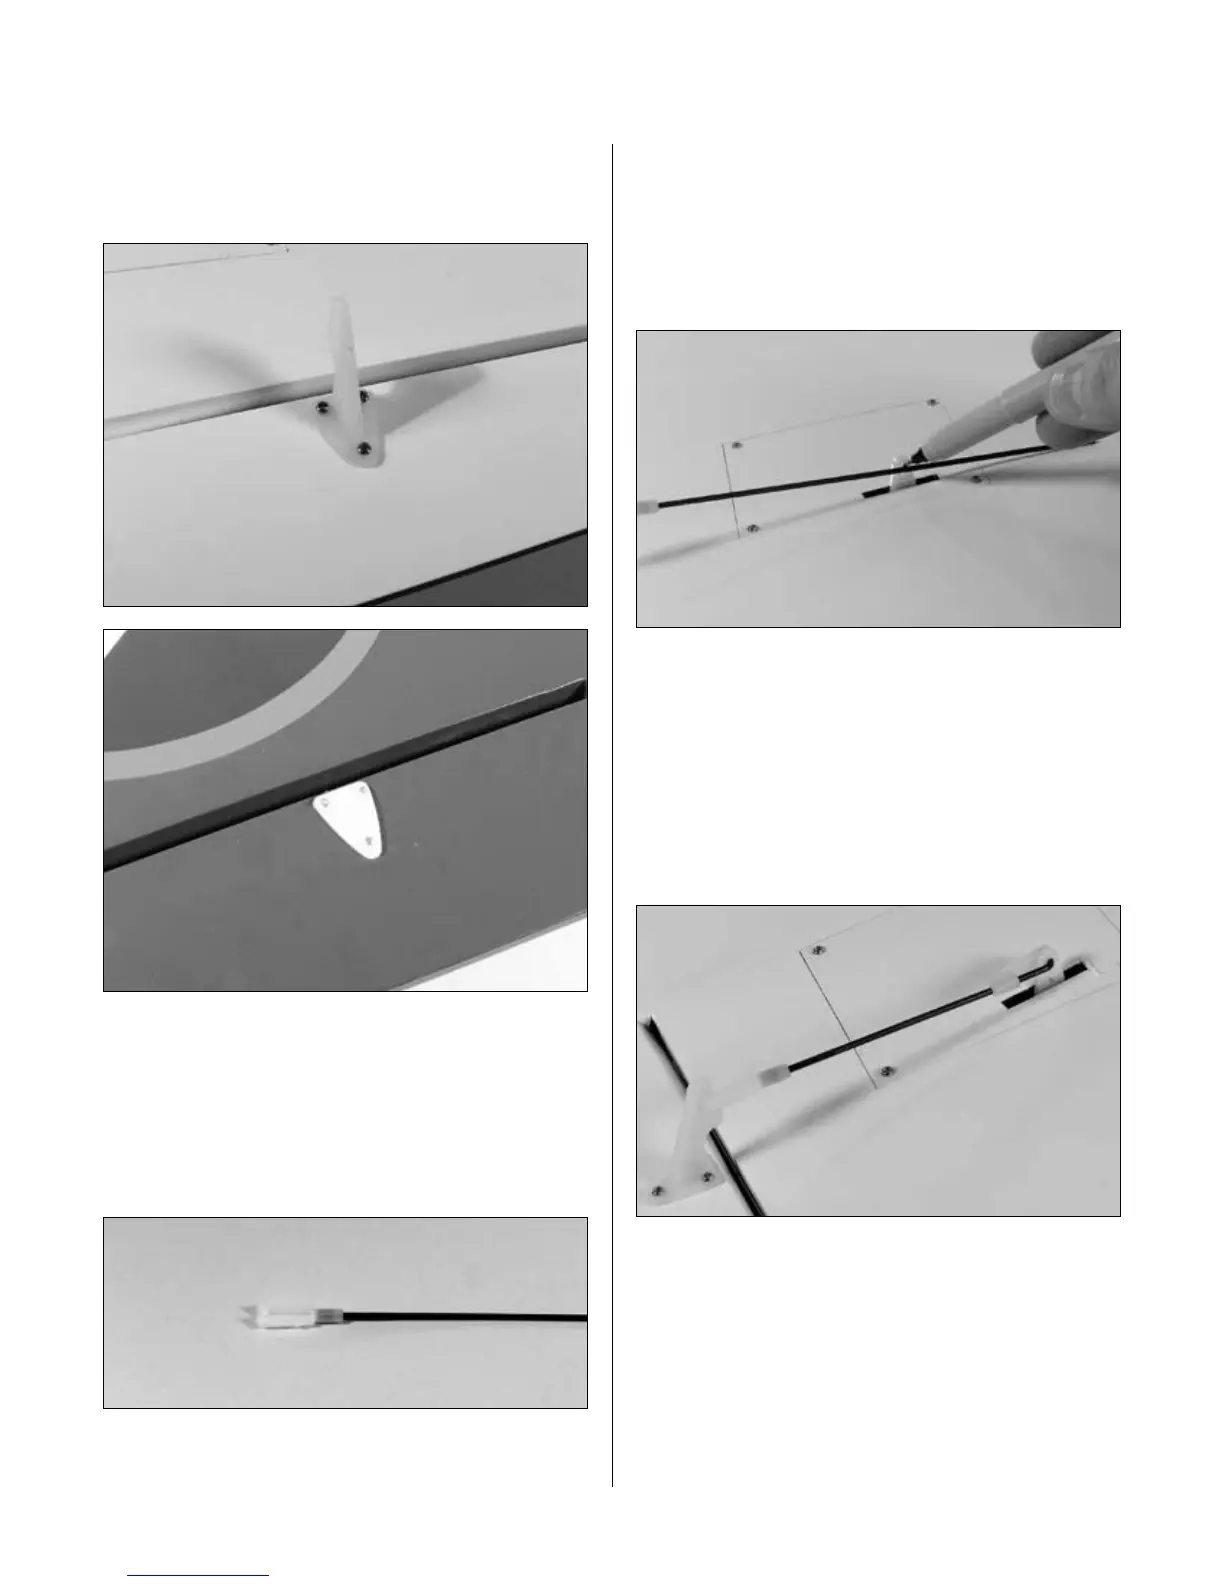
Step 21
Slide a clevis retainer onto a nylon clevis. Thread a clevis
onto a 6" (153mm) pushrod wire a minimum of 10 turns.
Step 22
Center the aileron servo electronically using the
radio system. Attach the pushrod with clevis to
the control horn. Physically place the aileron
control surface in neutral. Mark the pushrod
where it crosses the holes in the servo arm.
Step 23
Bend the wire 90 degrees at the mark made in the
previous step. Cut the wire 3/8" (9.5mm) above the bend.
Step 24
Use a 5/64" (2mm) drill to enlarge the outer hole
in the servo arm. Slide the wire through the hole.
Secure the wire using a nylon wire keeper.
Step 25
Repeat Steps 1 through 24 for the other aileron servo.
Section 2: Aileron Installation