34 / 72
ID and data.
a. Press Data software, use V0 to set the data, refer to 2.7.10;
b. Data Mask: When set to "ON", the data is ignored when it is triggered; the setting is "OFF", and
the data on the data line must be consistent with the data of the index so that it can trigger;
c. Data Index: The range is 0 to 3. It can set four hexadecimal data.
➢ Error: The oscilloscope will trigger on error frames matching the specified data.
➢ All Error: The oscilloscope will trigger when any form error or active error is encountered. Not include
judgment of CRC errors.
➢ Ack Error: The oscilloscope will trigger when the comfirm is high.
➢ Overload Frame: The oscilloscope will trigger on overload frames.
8. Press the Mode softkey, turn V0 to select the trigger mode (auto, normal), and press V0 to confirm.
Auto: When the oscilloscope meets the trigger condition, it completes a trigger acquisition once; when
the trigger condition is not met, it can run the acquisition waveform freely.
Normal: When the oscilloscope meets the trigger condition, the input waveform is displayed; when the
trigger condition is not met, the original waveform is displayed.
9. Press the Holdoff softkey and turn V0 to set the time that the oscilloscope waits before a trigger to
the next trigger, so that complex waveforms are displayed stably.
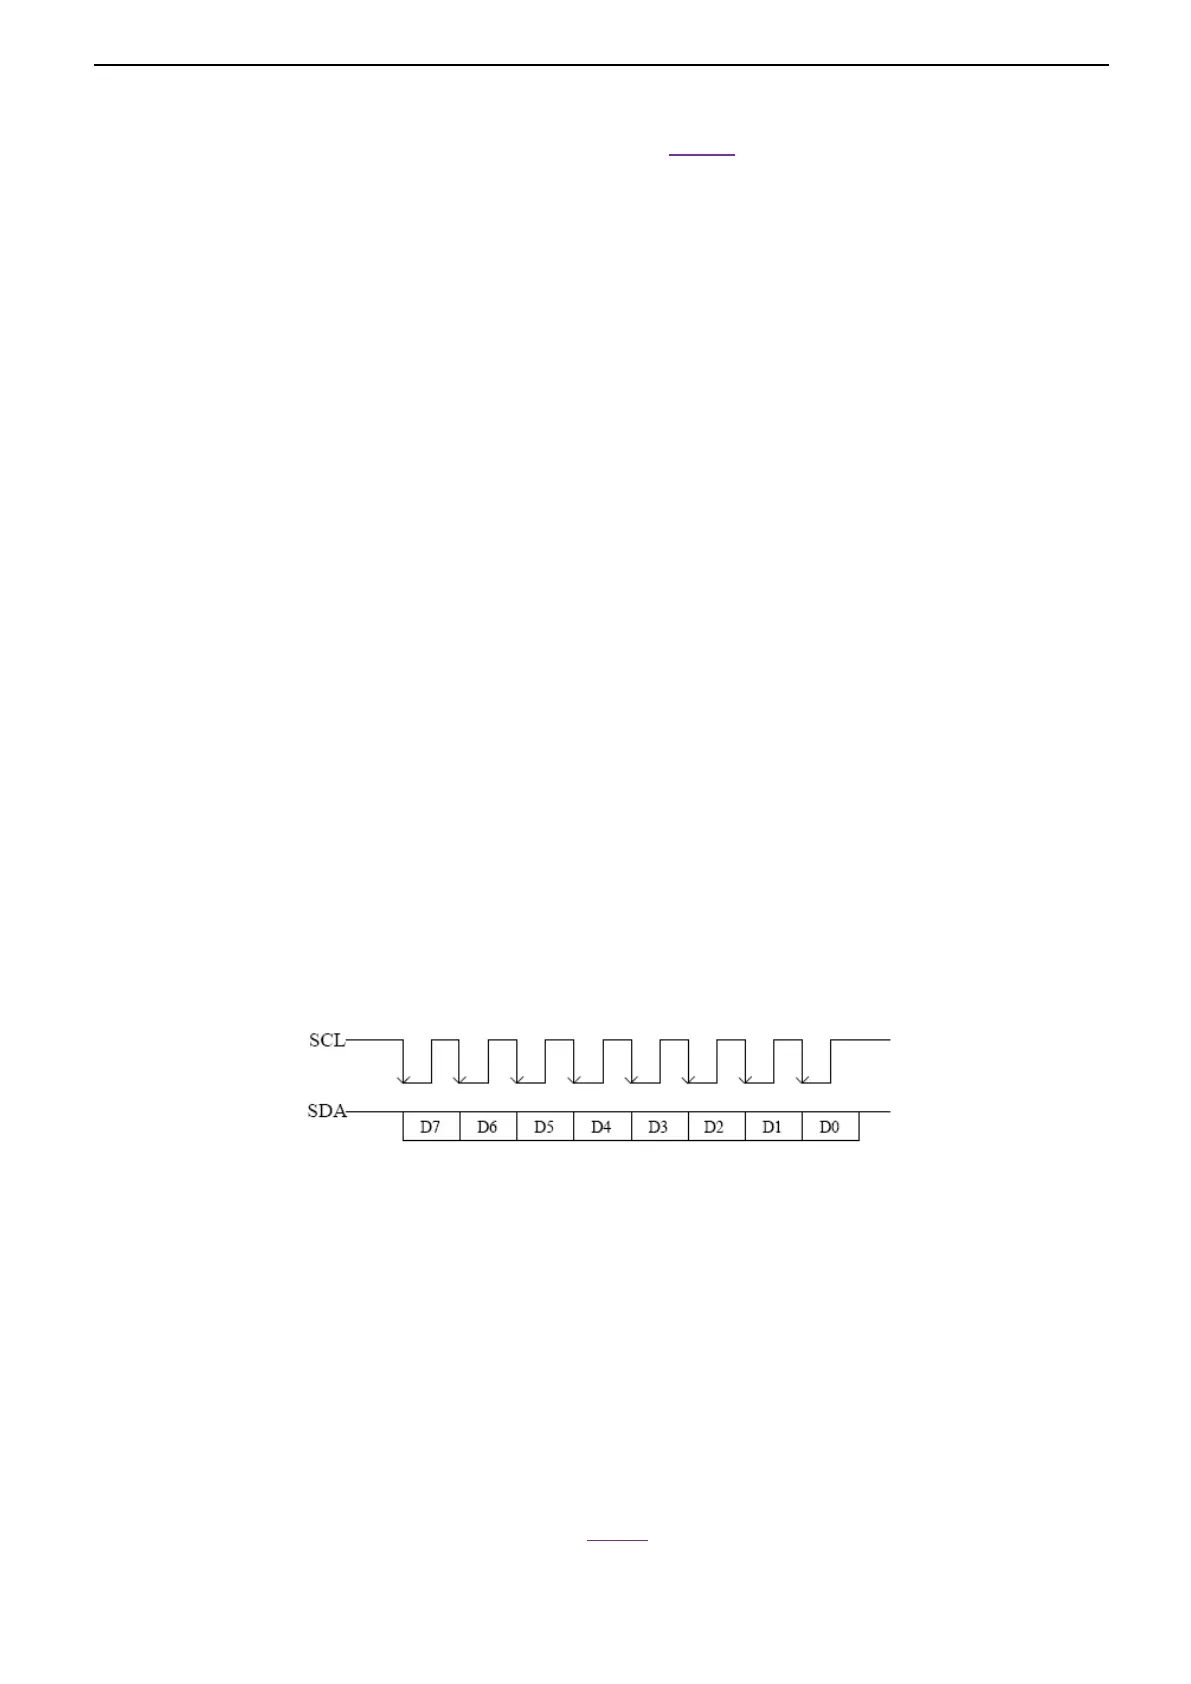
2.7.13. SPI Trigger
In SPI trigger, when timeout condition is satisfied, the oscilloscope triggers when the specified data is
found. When using SPI trigger, you need to specify the SCL clock sources and SDA data sources. Below is
the sequential chart of SPI bus.
1. Press the [Trig Menu] button on the front panel to enter the Trigger system function menu.
2. Press the Type softkey, then turn the Multifunctional Knob to select SPI and push down the knob to
confirm.
3. Source: Press SCL and SDA softkey to specify the data sources of SCL and SDA respectively. They can
be set to CH1-CH2.
4. Data Line Setting:
Press Data Width to set the number of bits of the serial data character string. The serial data string can
be specified to be from 4, 8, 16, 24, 32 bits long.
Press Data softkey, use V0 to set the data, refer to 2.7.10.

 Loading...