22 / 72
2.7.1. Edge Trigger
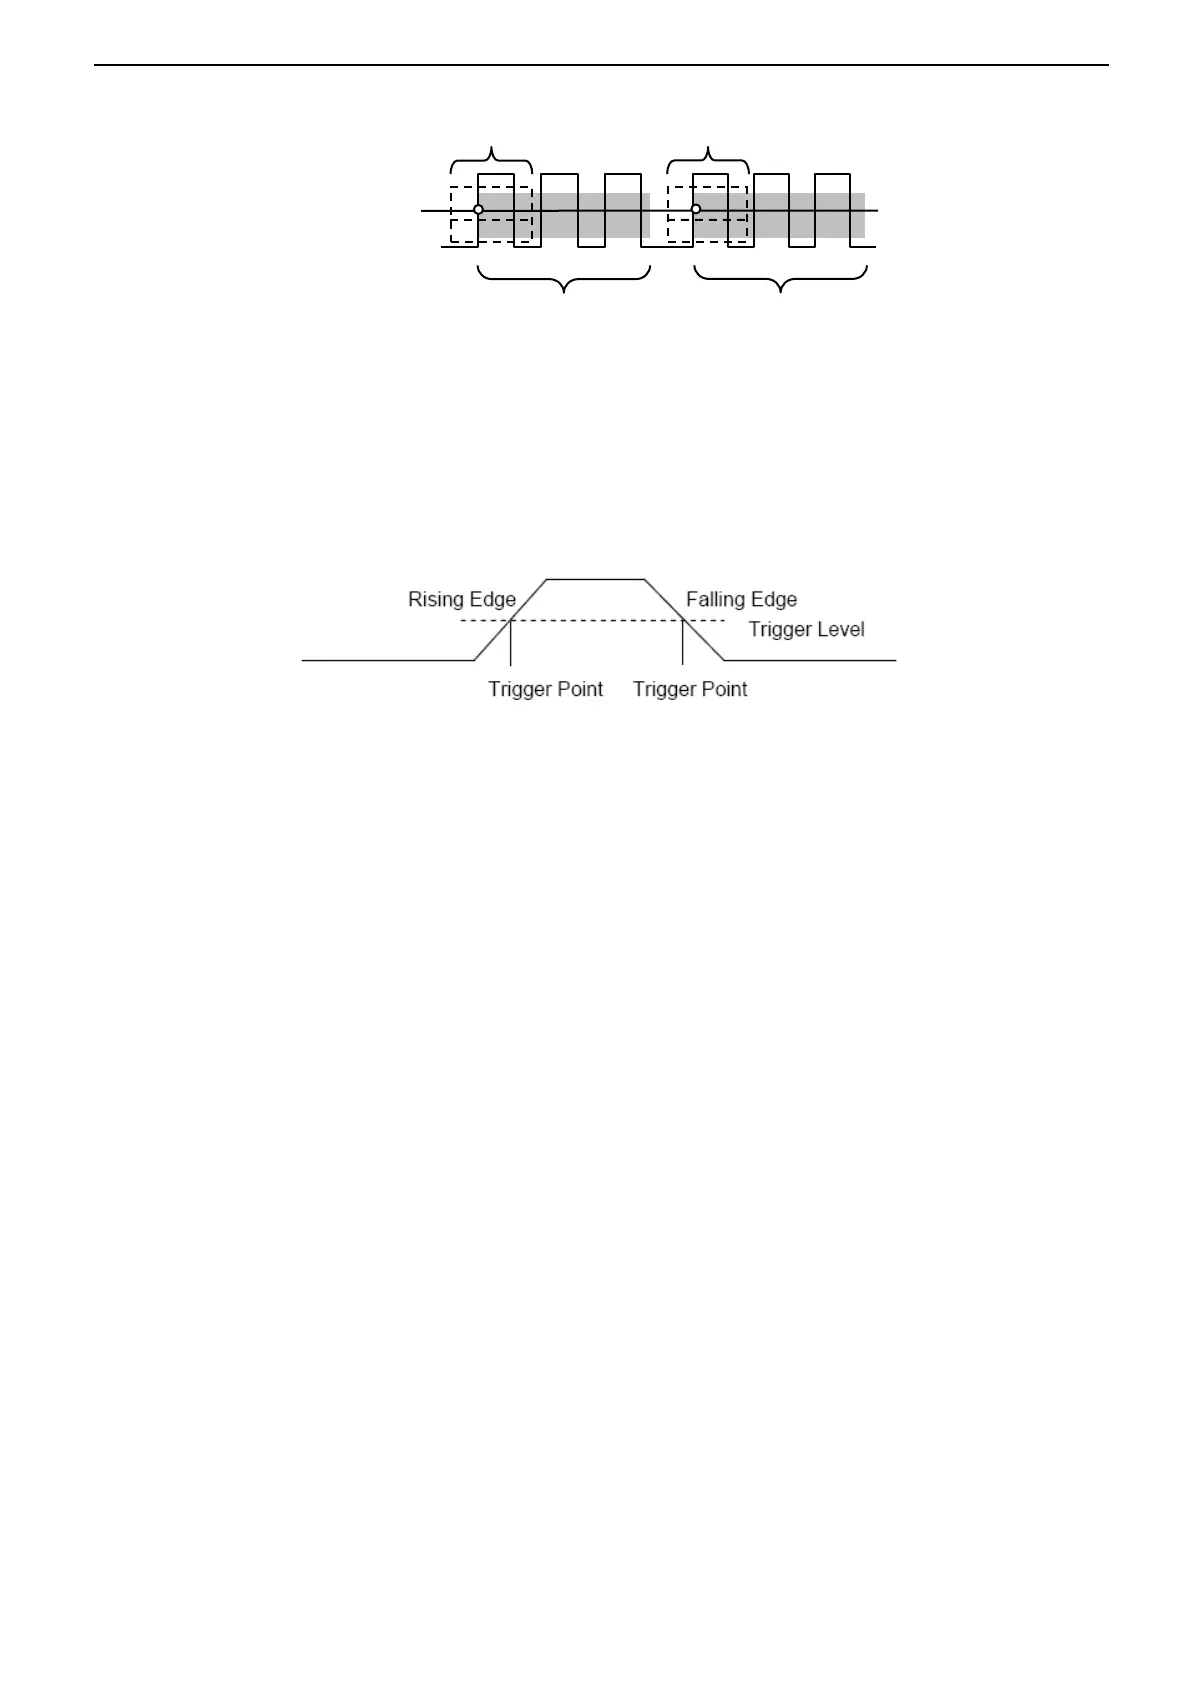
Edge trigger distinguishes the trigger points by seeking the specified edge (rising, falling, rising & falling)
and trigger level.
1. Press the [Trig Menu] button on the front panel to enter the Trigger system function menu.
2. Press the Type softkey, turn the Multifunctional Knob to set select “Edge” and then press the knob to
confirm.
3. Press the Source softkey, turn the Multifunctional Knob to select CH1~CH2 or External or Line as the
trigger source.
CH1~CH2: Analog channel.
External: External trigger input, it is on the front panel of the oscilloscope. The external trigger signal
must be a waveform with the minimum value of 0V and the maximum value of 5V.
Line: Trigger on the 50% level of the AC power signal.
4. Press the Slope softkey, turn the Multifunctional Knob to select the desired trigger edge (rising,
falling or rising & falling), and then press down the knob to confirm.
5. Turn the Trigger Level Knob to adjust the trigger level to obtain stable trigger.
6. Press of 50% softkey to set the trigger level to the vertical midpoint between the peaks of the trigger
signal. The trigger level values are displayed at the upper right corner of the screen.
7. Press the Mode softkey, turn V0 to select the trigger mode (auto, normal), and press V0 to confirm.
Auto: When the oscilloscope meets the trigger condition, it completes a trigger acquisition once; when
the trigger condition is not met, it can run the acquisition waveform freely.
Normal: When the oscilloscope meets the trigger condition, the input waveform is displayed; when the
trigger condition is not met, the original waveform is displayed.