Getting Started Guide
DSO5000P Series Digital Storage Oscilloscope User Manual 8
3.5 Probe Attenuation Setting
Probes are of various attenuation factors which affect the vertical scale of the signal. The Probe
Check function is used to verify if the Probe attenuation option matches the attenuation of the
probe.
As an alternative method to Probe Check, you can push a vertical menu button (such as the CH 1
MENU button) and select the Probe option that matches the attenuation factor of your probe.
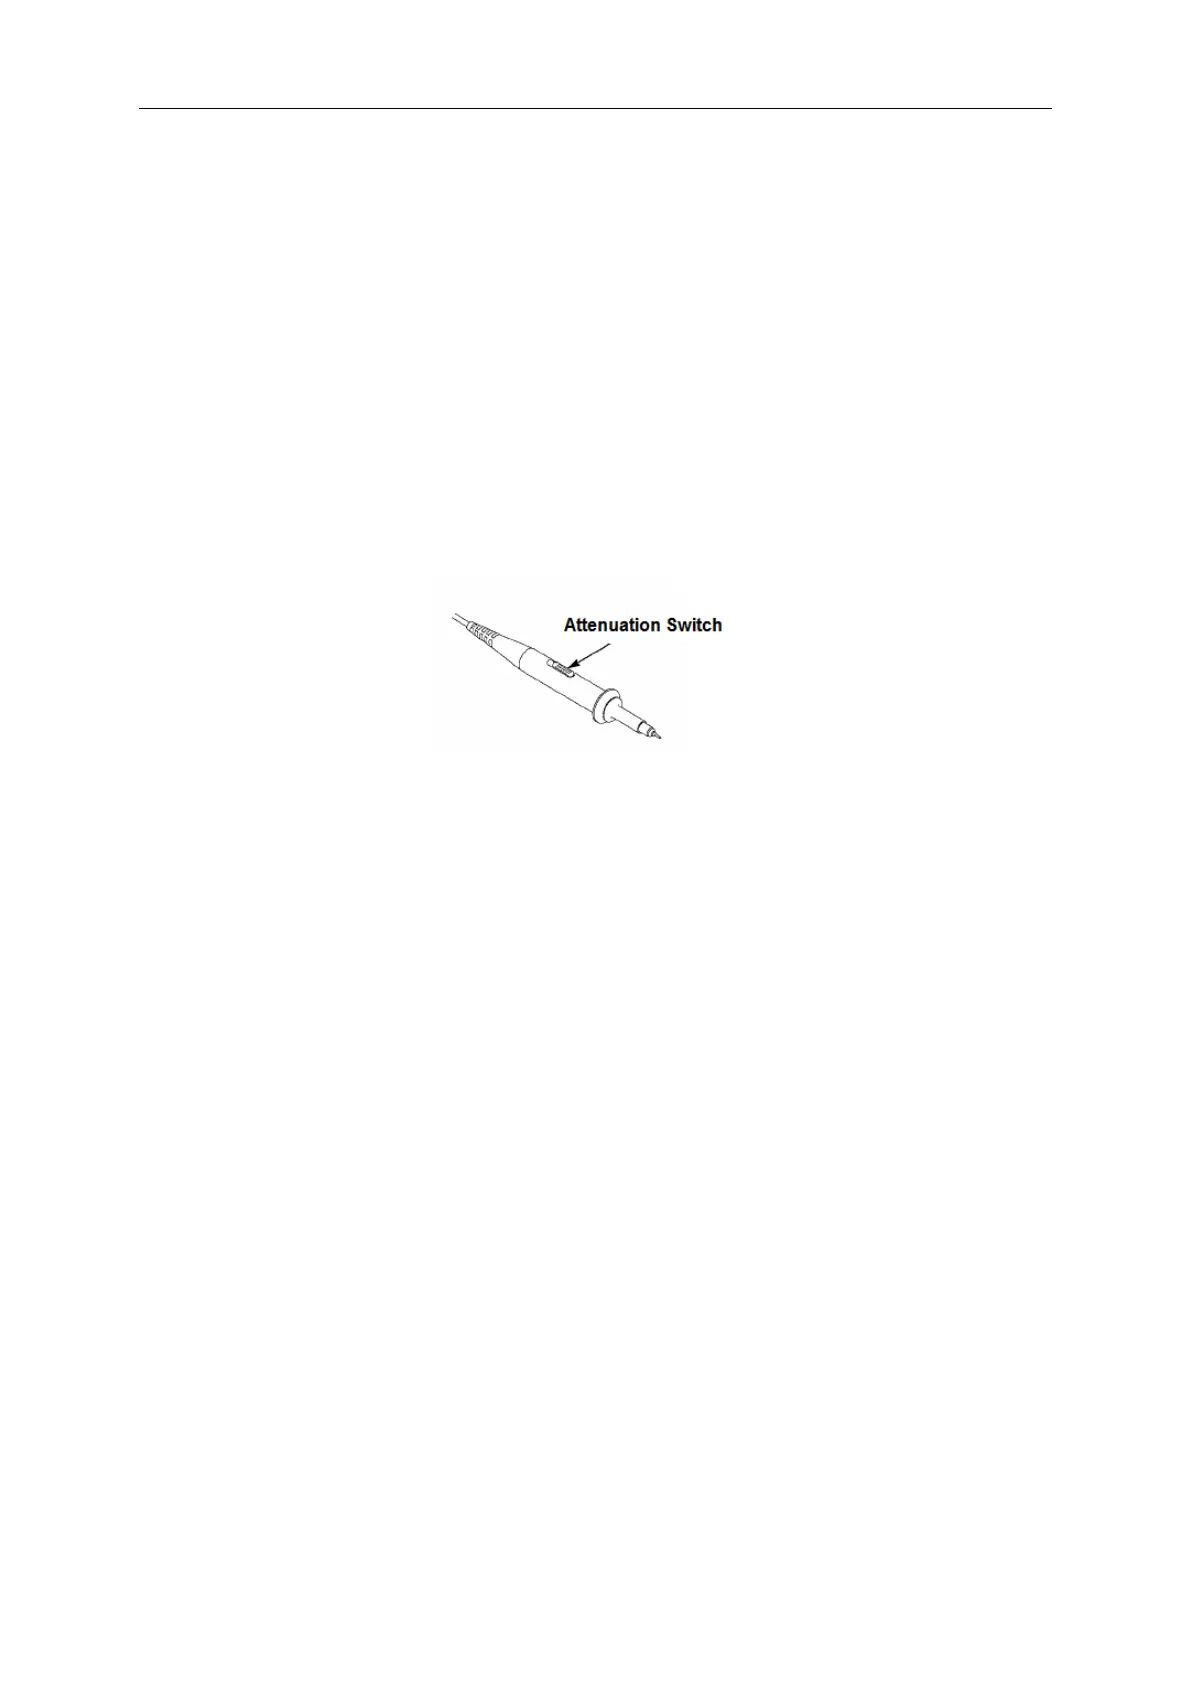
Make sure that the Attenuation switch on the probe matches the Probe option in the oscilloscope.
Switch settings are 1X and 10X.
When the Attenuation switch is set to 1X, the probe limits the bandwidth of the oscilloscope to
6MHz. To use the full bandwidth of the oscilloscope, be sure to set the switch to 10X.
3.6 Self Calibration
The self calibration routine helps optimize the oscilloscope signal path for maximum measurement
accuracy. You can run the routine at any time but should always run it if the ambient temperature
changes by 5℃ or more. For a more accurate calibration, please power on the oscilloscope and
wait for 20 minutes until it has adequately warmed up.
To compensate the signal path, disconnect any probes or cables from the front-panel input
connectors. Then, push the UTILITY button, select the Do Self Cal option and follow the directions
on the screen.
.

 Loading...