Getting Started Guide
DSO5000P Series Digital Storage Oscilloscope User Manual 5
Chapter 3 Getting Started Guide
3.1 Installation
To keep proper ventilation of the oscilloscope in operation, leave a space of more than 5cm away
from the top and the two sides of the product.
3.1.1 Power Supply
Use a power supply that delivers 90 to 240 V
RMS
, 45 to 440 Hz.
3.1.2 Power Cord
Use only power cords designed for this product. Refer to 8.2 Accessories for specific standards.
3.2 Functional Check
Follow the steps below to perform a quick functional check to your oscilloscope.
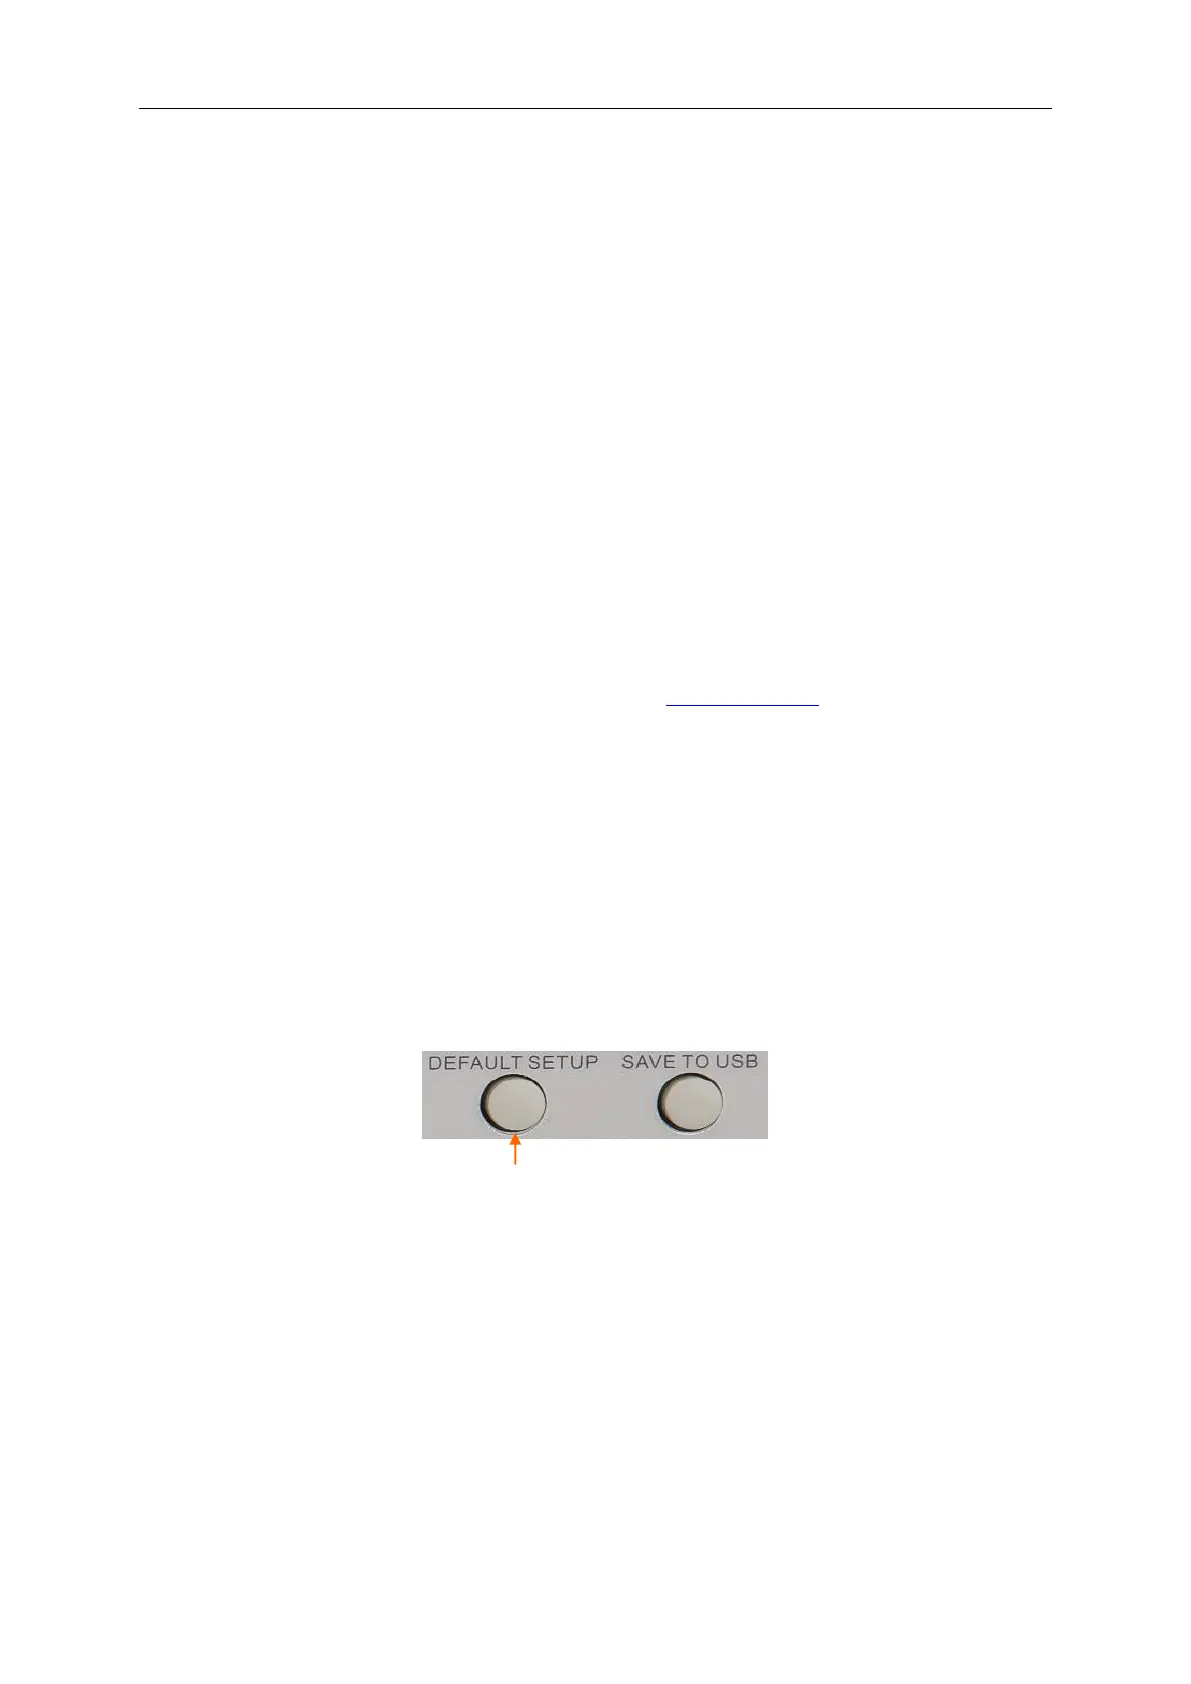
3.2.1 Power on the oscilloscope
Plug in the oscilloscope and press the ON/OFF button. Then push the DEFAULT SETUP button.
The default Probe option attenuation setting is 10X.
3.2.2 Connect the oscilloscope
Set the switch on the probe to 10X and connect the probe to Channel 1 on the oscilloscope. First,
align the slot in the probe connector with the protuberance on the CH1 BNC and push to connect;
then, turn to right to lock the probe in place; after that, connect the probe tip and reference lead to
the PROBE COMP connectors. There is a mark on the panel: Probe COMP ~5V@1KHz.

 Loading...