10
Lowes.com/harborbreeze
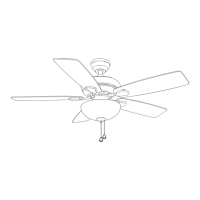
FINAL ASSEMBLY INSTRUCTIONS
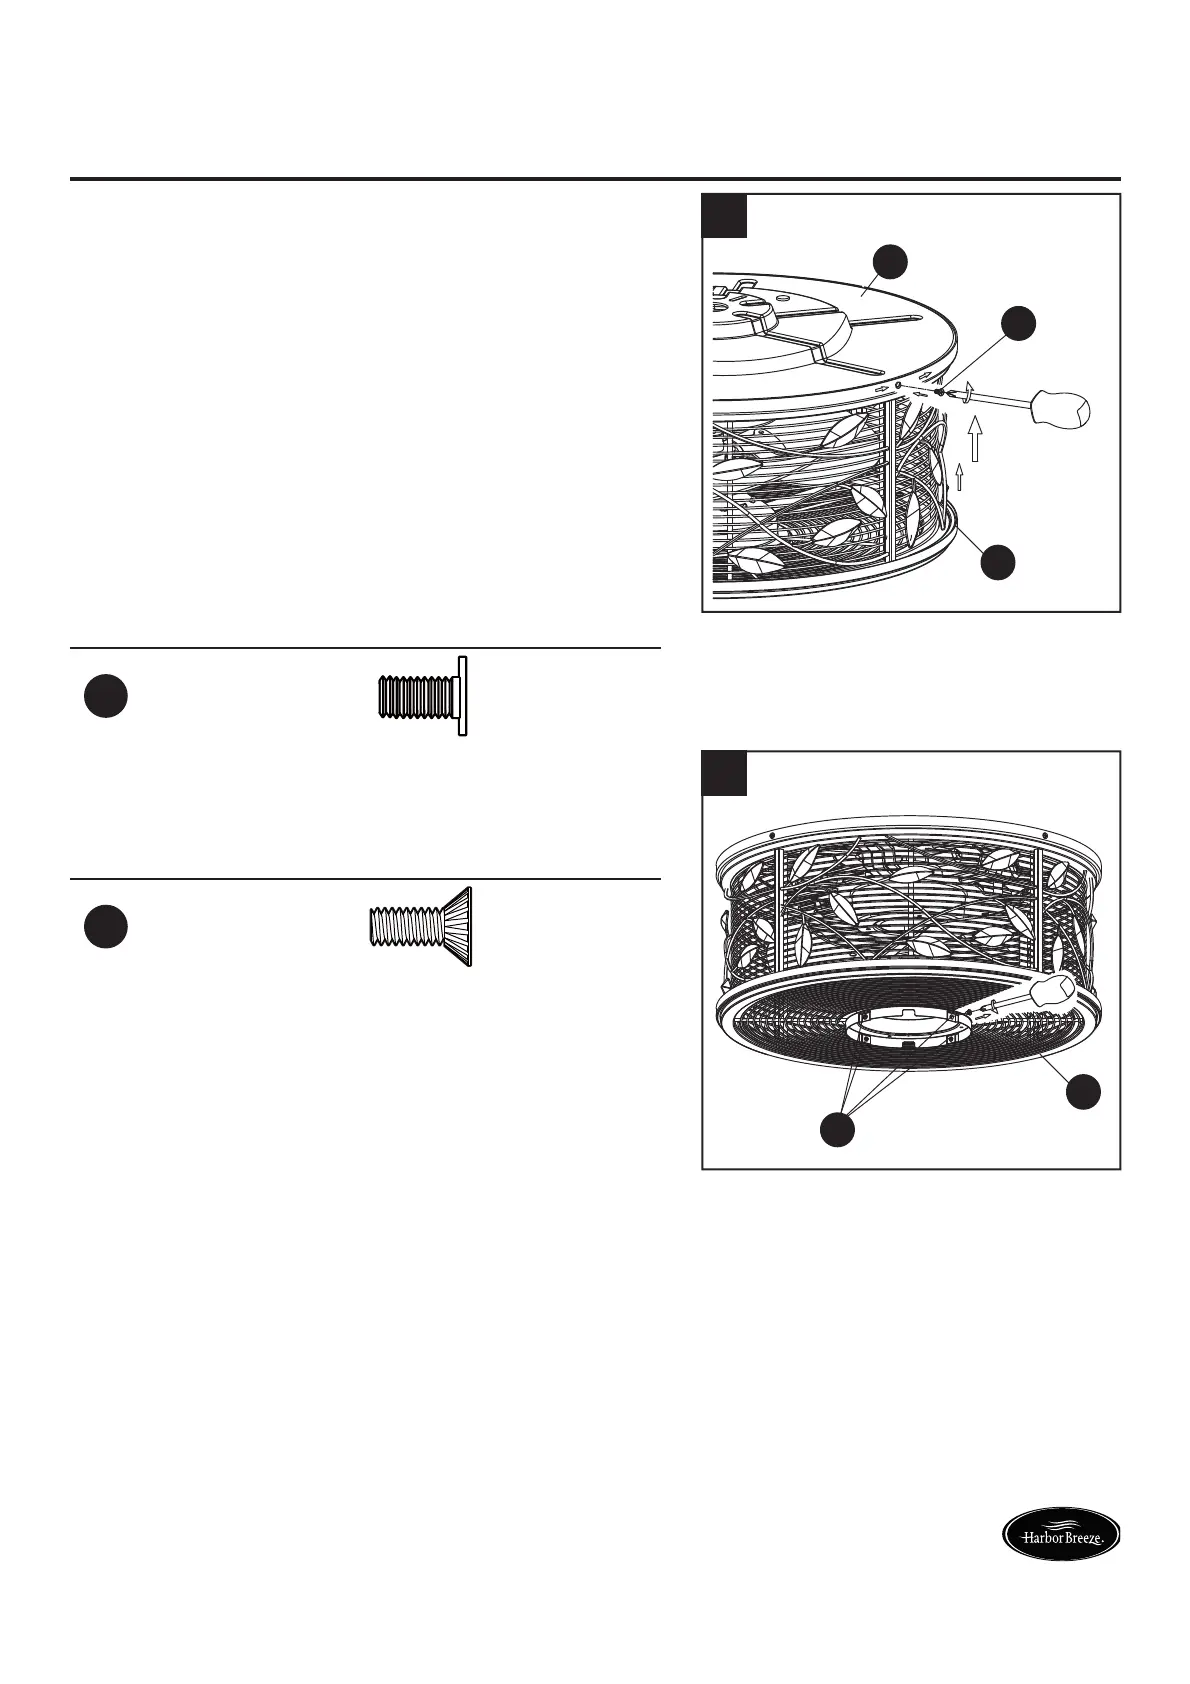
1. Hold the motor assembly (A) and release it from
the hook on the ceiling bracket (G). The motor
assembly (A) has two mating slots and two mating
holes. Position both slots on the motor assembly
(A) directly under and in line with the two ceiling
bracket screws (BB) in the ceiling bracket (G). Lift the
motor assembly (A), allowing the two ceiling bracket
screws (BB) to slide into the mating slots. Rotate
the motor assembly (A) until both ceiling bracket
screws (BB) drop into the slot recesses on the motor
assembly (A). Tighten the ceiling bracket screws
(BB) securely. Then, install the previously removed
ceiling bracket screws (BB) into the remaining mating
holes of the ceiling bracket (G) to secure the motor
assembly (A) to the ceiling bracket (G).
Hardware Used
BB
Ceiling Bracket
Screw
x 4
G
BB
A
1
2. Remove the four preassembled switch housing
screws (CC) from the adapter switch housing of the
motor assembly (A). Retain the screws for later.
Hardware Used
CC
Switch Housing
Screw
x 4
CC
A
2
 Loading...