Helix Curved Stair Lift - Install and Service Manual 2016
5
TEC0067 P/N: 630-00063-01 Rev B
Harmar’s Curved Stair Lift is easy to install. The standard installation
will normally take two installers approximately three hours. The time
will vary depending on the complexity of the lift ordered and custom
designs.
1. Review Installation Drawing The dimensions on the drawing
show numbers on the stairs. These numbers indicate the position
of the supports.
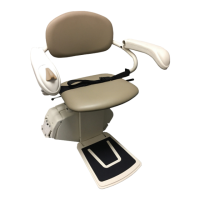
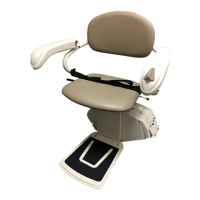
2. Carry chair/chassis to the location of the installation. Usually
top of stairs. It's best to be a at section of rail.
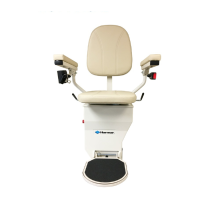
3. Position Stair Supports Place on the stair based on the
installation drawing but do not bolt anything down at this point.
[Figure 5-1]
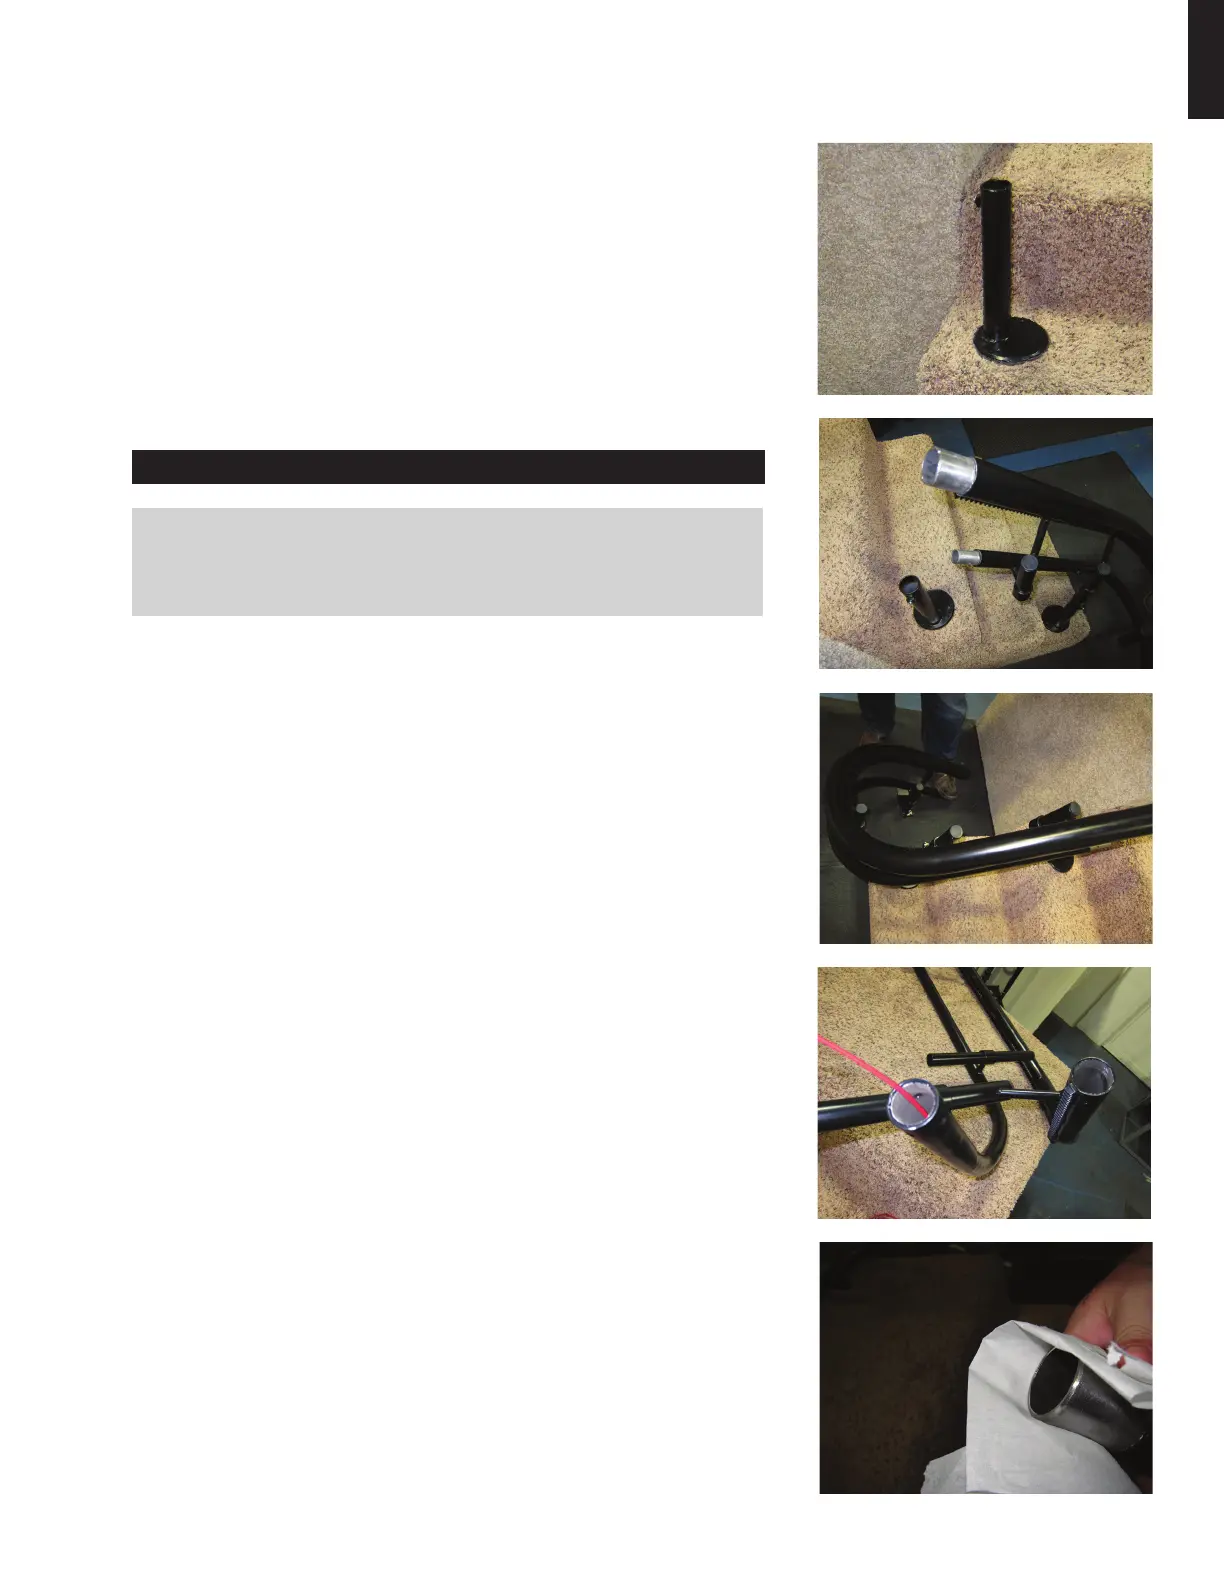
4. Assemble the Rail Place the rail in the correct position beginning
with the rst section downstairs. Unwrap the rail, checking the
label for order of placement on stairs. [Figures 5-2, 5-3]
Follow the drawing included with the rail system.
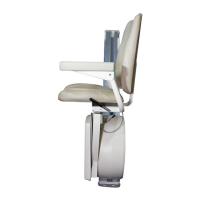
Run a wire through the lower rail. There is a hole at the charger
location for it to come out. [Figure 5-4]
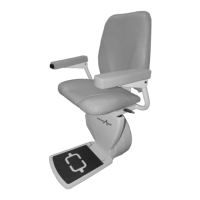
5. Check both ends of the rail and wipe clean. You may need to
clean the ends with Emery paper and add a small amount of
grease to help slide the pipes together. [Figure 5-5]
Figure 5-1
WIRING NOTE: You may complete the wiring while putting
the rail together or use a sh tape on the completed unit
to run the wire.
IMPORTANT - Do NOT lay chair on its back.
REQUIRED TOOLS INSTALLATION
Figure 5-2
Figure 5-3
Figure 5-4
Figure 5-5