| www.harmar.com | 800-833-0478
6
© 2018 Harmar Mobility, LLC • All Rights Reserved
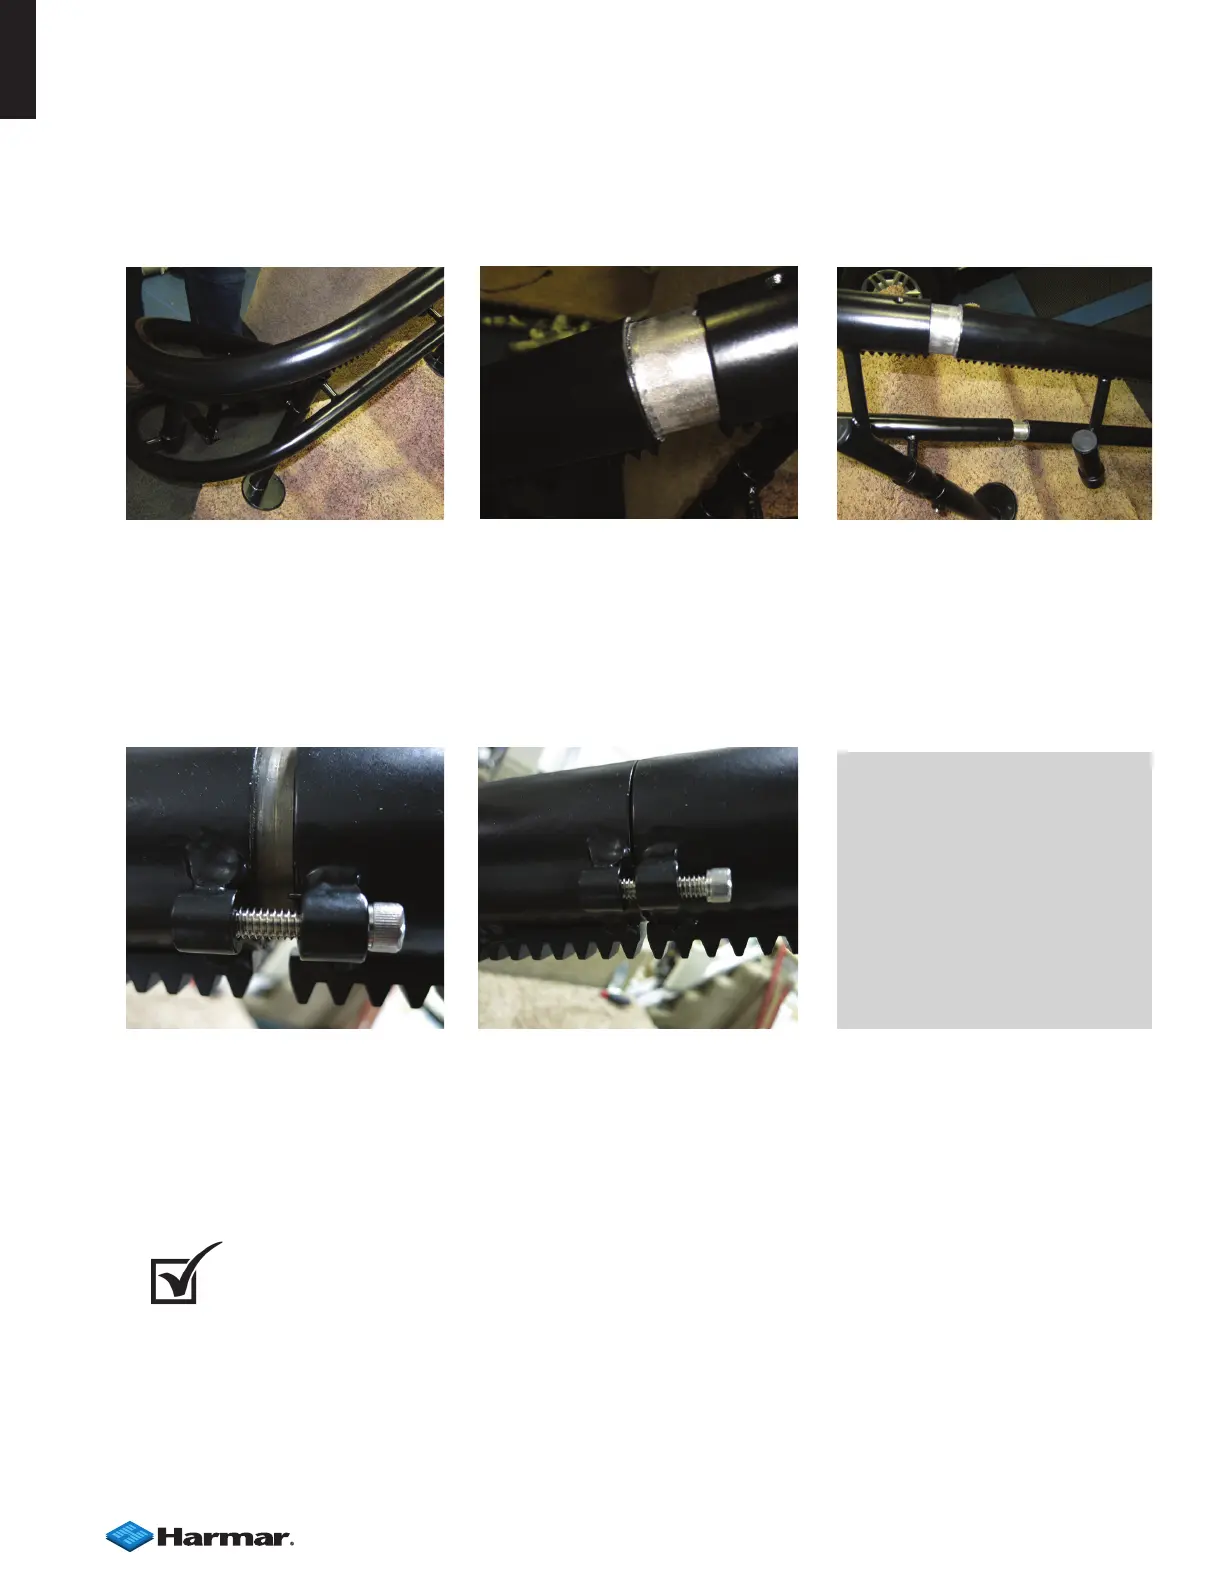
6. Slide the pipes together one at a time starting at the bottom in the order indicated on the label. Install
on the stair supports. [Figures 6-1, 6-2, 6-3]
A ratcheting strap can be used to help pull the rails together.
7. Connect parts at the joint with the supplied bolts. Carefully tighten as you assemble the rail
[Figures 6-4, 6-5]
When you arrive upstairs, adjust the position of the rail and supports while you compare with the
drawing.
8. Rail Leveling/Alignment: Using the angle meter, set the rail to the correct angles and check the
drawing to verify that all clearances are correct.
DO NOT tighten all the leg set screws yet, only set enough to support the rail. Leave the others oating.
INSTALLATION
NOTE: When installing to stair,
ensure the hardware is long
enough. If the carpet is very
thick, it might require longer
hardware.
NOTE: Watch for tack strips.
Avoid mounting on them. If
you can't avoid them, shims
will be required.
CHECK
TEST RUN - Prior to bolting down the supports, install the chassis and run it on the rail to
check all clearances. It may be necessary to bolt down one or two legs to hold the rail in place.
If necessary, move the rail position to provide the best t
Figure 6-1 Figure 6-2 Figure 6-3
Figure 6-4 Figure 6-5