G1 SCBA Radio Pairing Guide | Harris
Rev. 5-23-2019
Page 2 of 13
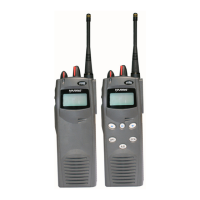
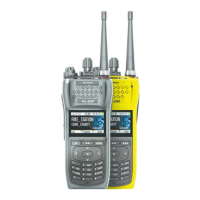
Harris XL-185P | XL-200P Configuration Settings
Obtain Radio Personality Manager 2 (RPM2) software from the
Harris Technical Assistance Center (TAC): 1-800-528-7711 (Opt.3) PSPC_TAC@harris.com
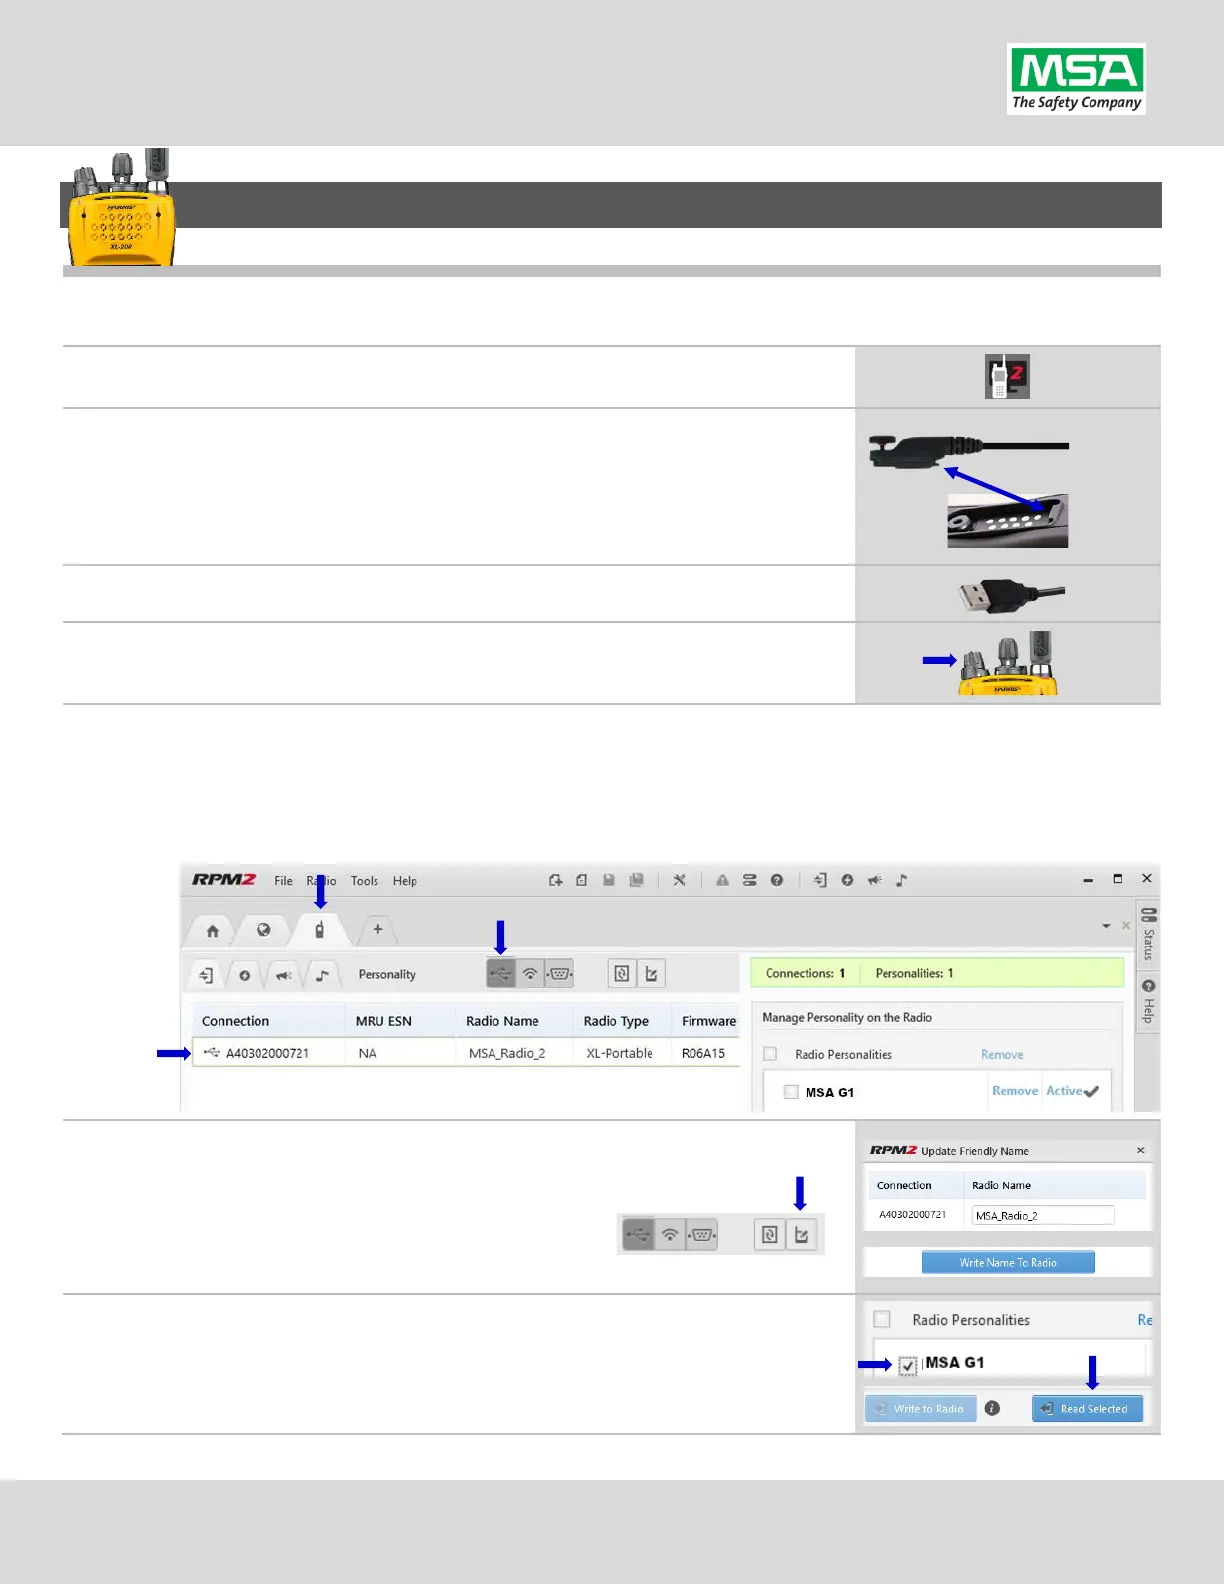
Open the Harris RPM2 Software
Connect the programming cable to the portable radio:
(A) Hook the pin side of the connector in the radio’s notch.
(B) Attach the connector with the Thumb screw.
Insert the USB end of the cable in the computer that is running RPM2.
Turn on the Radio using the volume knob.
Wait a few seconds for
the screen to illuminate and start-up to complete.
Navigating to the Radio’s Personality into RPM2:
(A) Navigate to the “Radio” tab, and “Personality” sub-tab.
(B) If not automatically selected, select the USB communication type.
(C) The Radio should show in the Connection list.
Set a unique Bluetooth pairing ‘friendly name’ for the connected radio:
(A) Select the “Radio Name” Icon
(B) Key in desired name.
(C) Click the “Write Name to Radio” Button.
Load the Radio’s “Personality” (its configuration) into RPM2 (for editing):
(A) Check the box for the active personality on the connected radio.
(B) Click the “Read Selected” Button
 Loading...