34
HARTING Electric GmbH
35
Management Software Ha-VIS mCon Series / Edition 2.4
System SettingsUser Manual Ha-VIS mCon Switch Management Software
Import (Load) a rmware
Select Import rmware in order to import a specied rmware le.
Select Import to import the current rmware from the TFTP server or via HTTP from a remote le
system. This option is used to do a rmware update of the switch.
Export (Save) a rmware
Save the current rmware to a le on a remote system.
Select Export to export the current rmware to the TFTP server or via HTTP to a remote le
system.
TFTP Transfer
This section allows you to specify the IP address of the TFTP (Trivial File Transfer Protocol)
server and the le name of the rmware le to be exported or imported.
Be sure that you have the TFTP server running and congured properly on a separate computer.
Function Description
TFTP Server Specify the IP address of the TFTP server
File Name Specify the le name of the conguration
Click on the Import or Export button to begin the transfer.
Note
The transfer status is shown in this window and will be updated automatically. Also check in your
TFTP server logs to see when the transfer is complete. Wait until the TFTP server log shows
that the le has been transferred and the status on the web interface shows successful before
rebooting.
If you intend to load a new version of the rmware le from the TFTP server, we recommend rst
of all to back up the existing rmware le to the TFTP server. Please note that the switch only
accepts a correct und successful uploaded rmware le for updating the software. A wrong le or
a abortion during the upload will not cause any damage or inoperability of the switch.
HTTP Transfer
This section allows you to use HTTP data transfer for the rmware le to be exported or imported.
Click on the Import or Export button to begin the transfer.
To import a new rmware le, just click on the browse button to search for a le on a remote
system and select it via the standard windows interface. After the selection of the le, click to
Import to start the upload of the rmware.
To export the current rmware of the switch, click on the Export button and the standard windows
interface will enable you to save the le to a remote system.
ATTENTION
Only select rmware les that are compatible with the device for the import functionality.
Attention:
The Port ID must be checked to guarantee the correct work of DHCP Option 82.
Function Description
Remote ID Denes the Remote-ID for the switch which will be added to the
DHCP packets.
Default Set the Remote-ID to the default value
(MAC address).
Device Name Add the Device Name as Remote ID.
Custom A custom value can be added as the Remote-ID.
DHCP Server
RemoteID Entry
Enter calculated value of the Remote ID. If the Remote ID is used
by the DHCP Server, this value must be entered on the server side.
DHCP Server The IP address of the DHCP Server must be entered.
DHCP Server List Shows a list of all congured DHCP Server.
8.8 File Transfer
This section allows you to transfer les to and from the switch. File transfers are used for importing
or exporting specic saved congurations and for importing or exporting rmware. Uploading and
downloading of the les can be done via a TFTP Server and very simple via HTTP.
The address of a TFTP (Trivial File Transfer Protocol) server can be specied for importing or
exporting rmware or congurations. In order to transfer les to or from the switch, a TFTP server
program must be installed on a connected PC. There are three different tabbed sections within
this window.
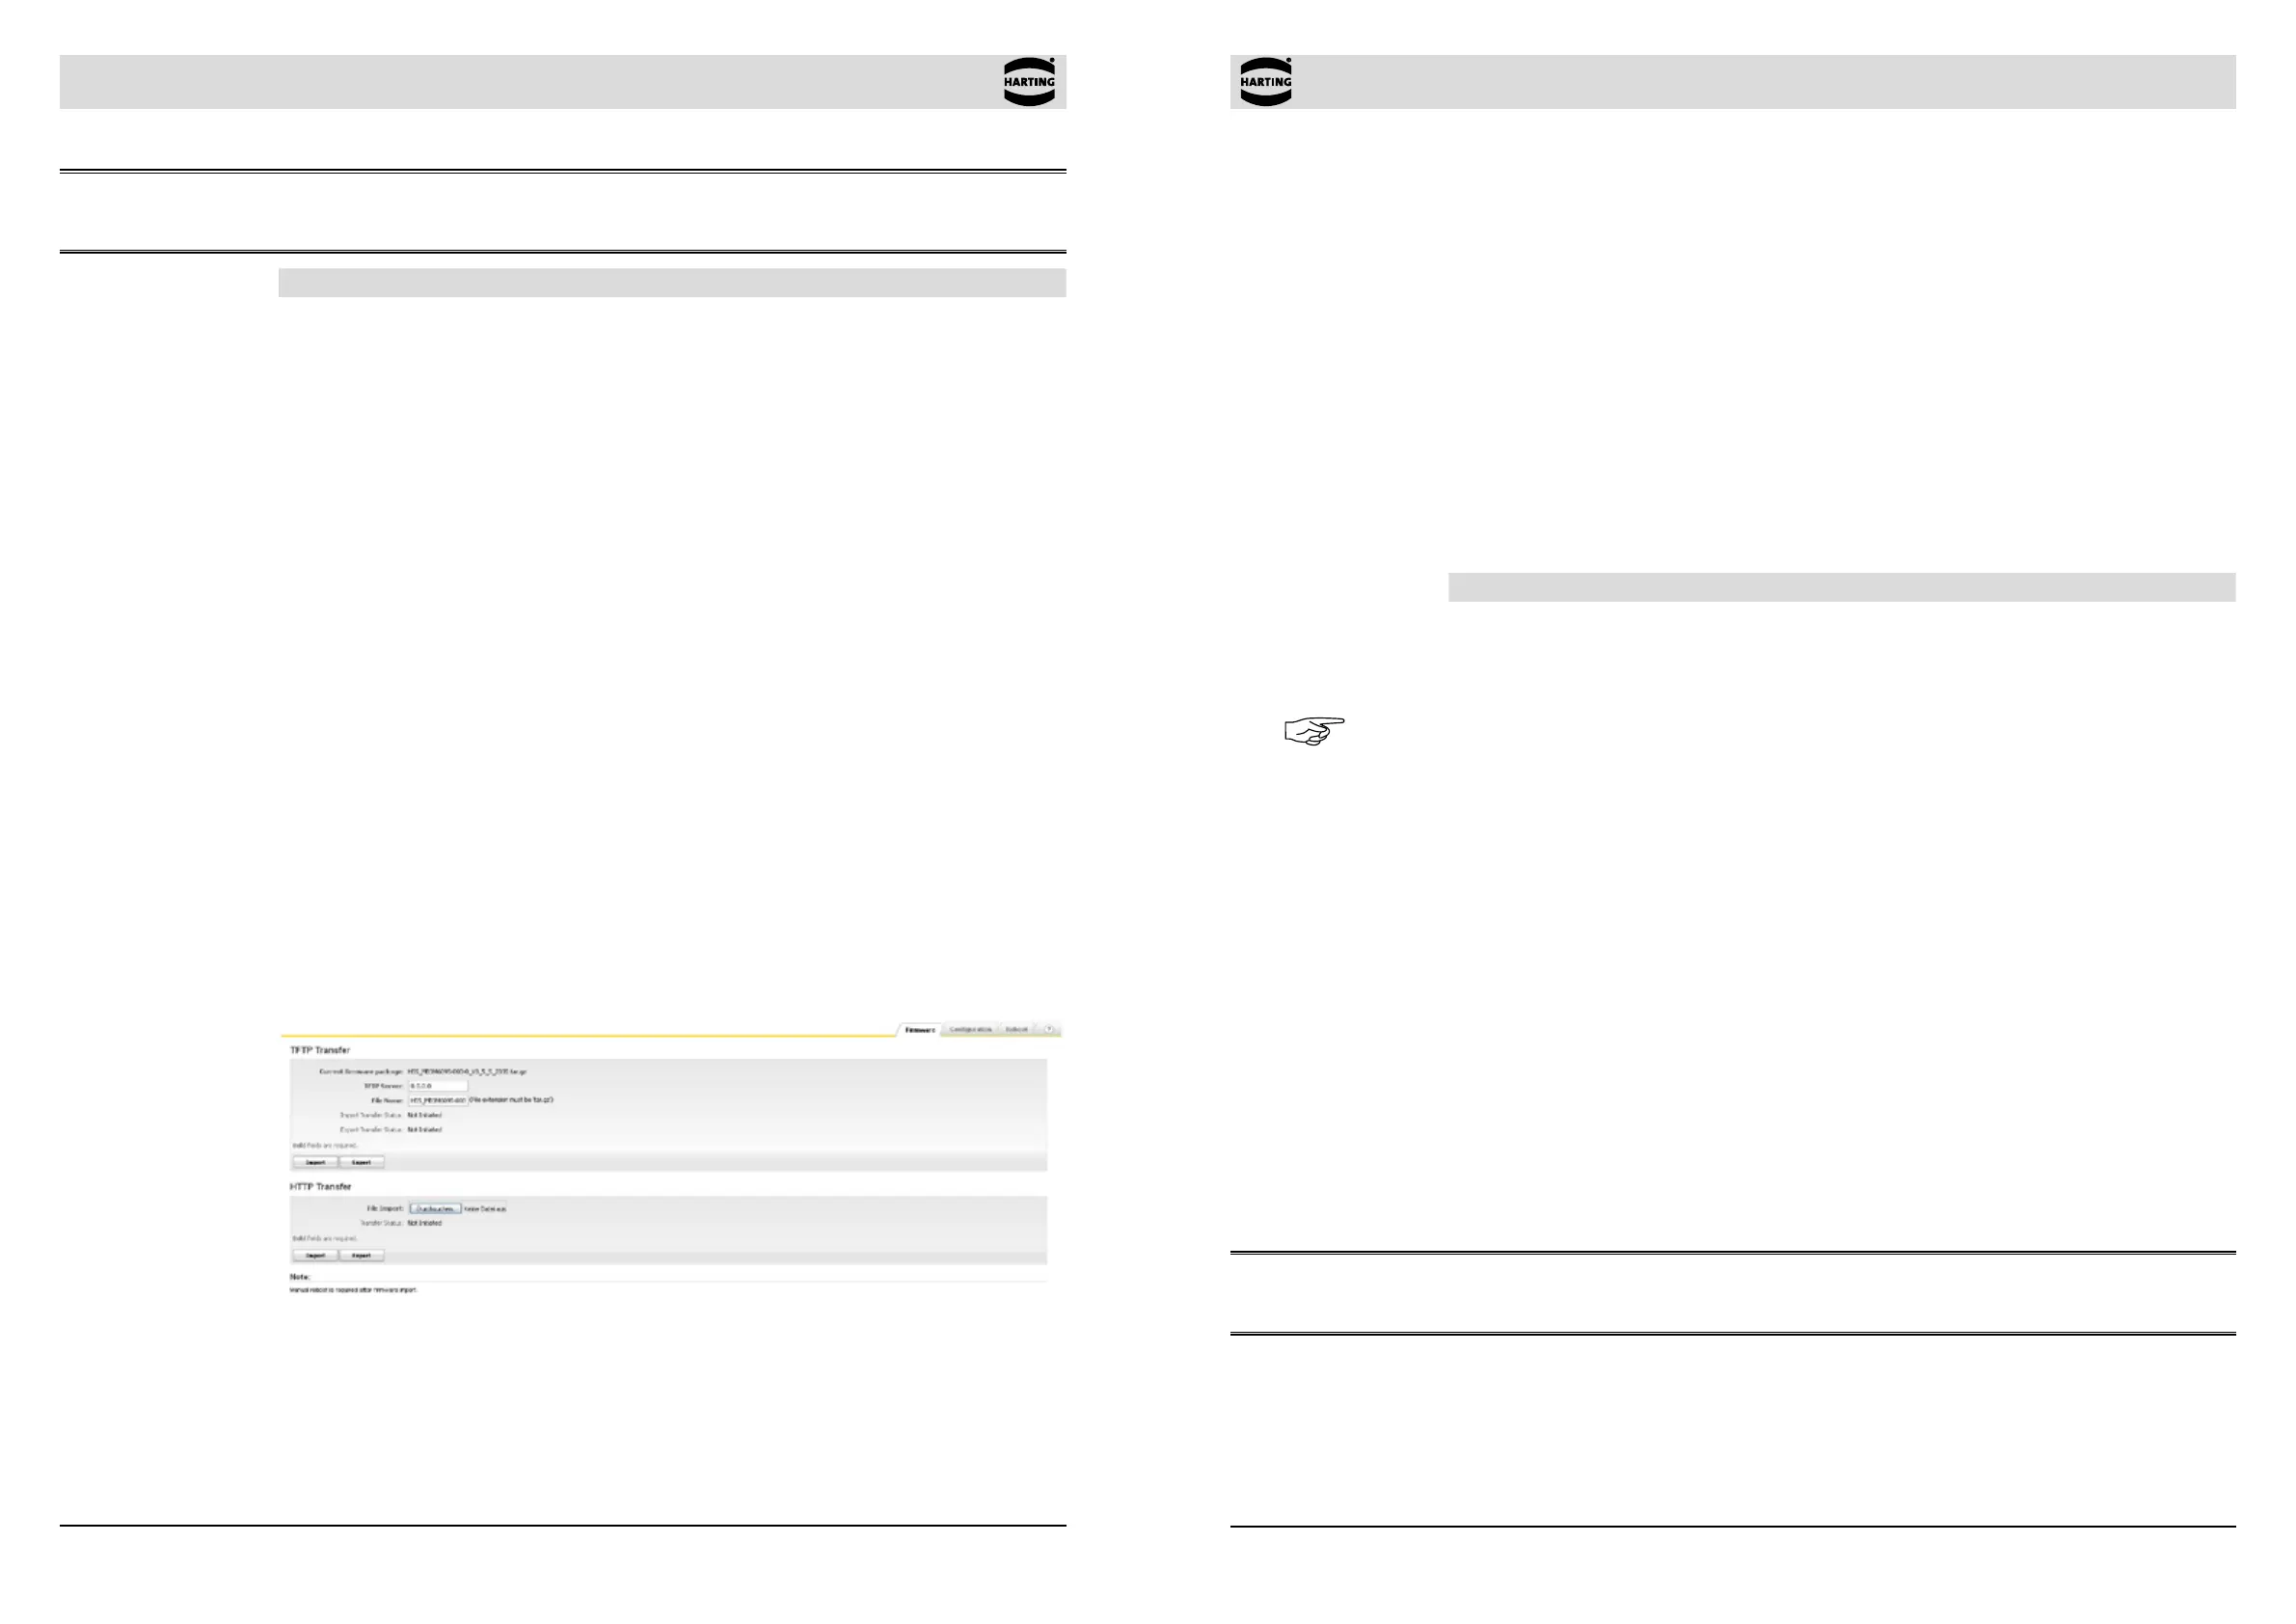
8.8.1 Firmware
This tabbed section allows you to specify the IP address of the TFTP (Trivial File Transfer Protocol)
server and the le name of the rmware le to be exported or imported.
Be sure that you have the TFTP server running and congured properly on a separate computer.
Click on the Import or Export button to begin the transfer.
Figure 8-14 Import/Export Firmware tab