23
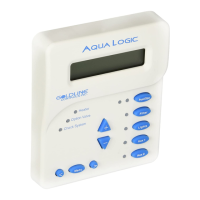
ProLogic main boards have a 2amp, permanently installed fuse that protects the local
display circuit. AquaLogic main boards had a 3amp violet ATO style fuse that
protected the local display circuit.
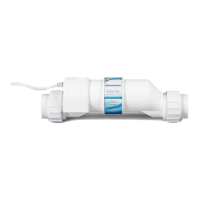
With power OFF, test the 2amp fuse integrated into the
board. IF this fuse is not present, go to step 2D. IF fuse
has continuity, proceed to step 2E. IF the fuse is
damaged, replace the main board (see pg. 17).
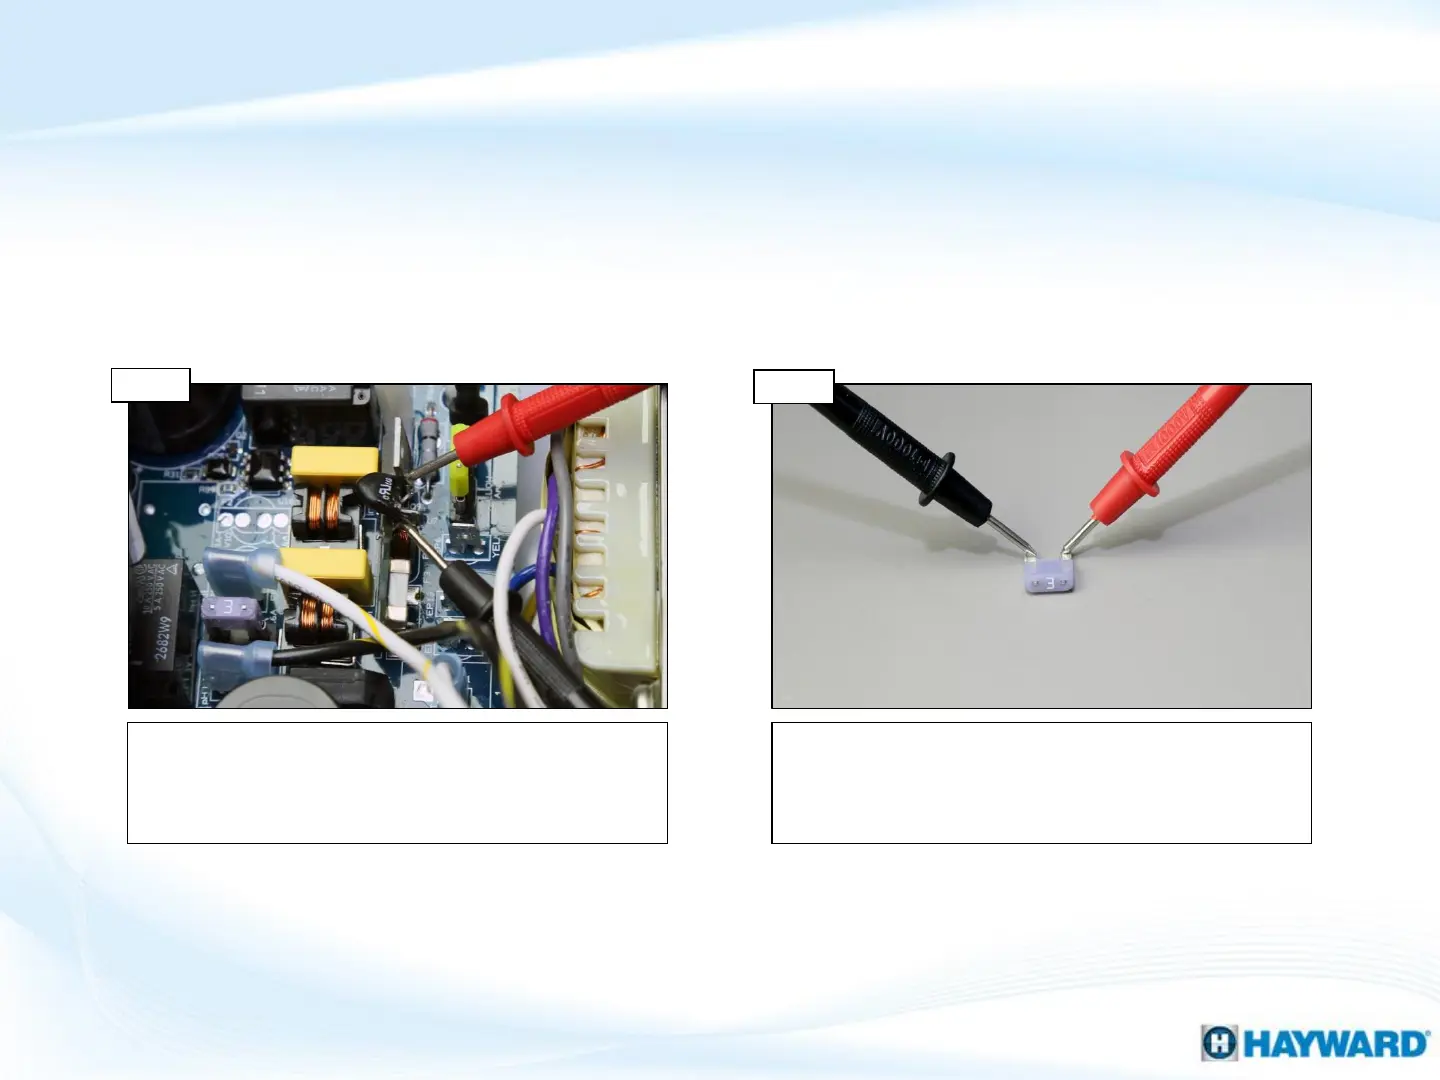
With power OFF, test the 3amp fuse, located near the
local display. IF the fuse is bad, replace it (GLX-F3A-
10PK). IF the fuse has continuity, go to step 2E. NOTE:
this style of fuse is only found on AquaLogic systems.
Test fuse
Step 2C
Step 2D
Test 3amp fuse
2. Blank Display/No LEDs (cont.)