37
Removal and Replacement of the Bladder
1) Turn off the (green) bladder gate valve located at the front of the
HEATMOR™ furnace to the left of the thermometer.
2) Remove the bladder cover plate held in place by two wing nuts.
3) Remove the water level gauge and pull the rope through the eyelet.
4) Remove the hose clamp from the bladder gate valve.
5) Pull the bladder hose away from the bladder gate valve and let the water
drain from the bladder. Be careful, it could be warm.
6) Remove the old bladder and install the new bladder.
7) Install the new bladder with the valve stem in the rear of the bladder
compartment with the hose coming down through the center of the
tube. Connect the tube to the bladder valve’s 1/2 inch barbed tting
and tighten hose clamp.
8) Thread the rope over the bladder and through the eyelet. Attach
the “add water” plate onto the rope.
9) Open the bladder gate valve and follow the “Filling the Bladder
with Water” instructions.
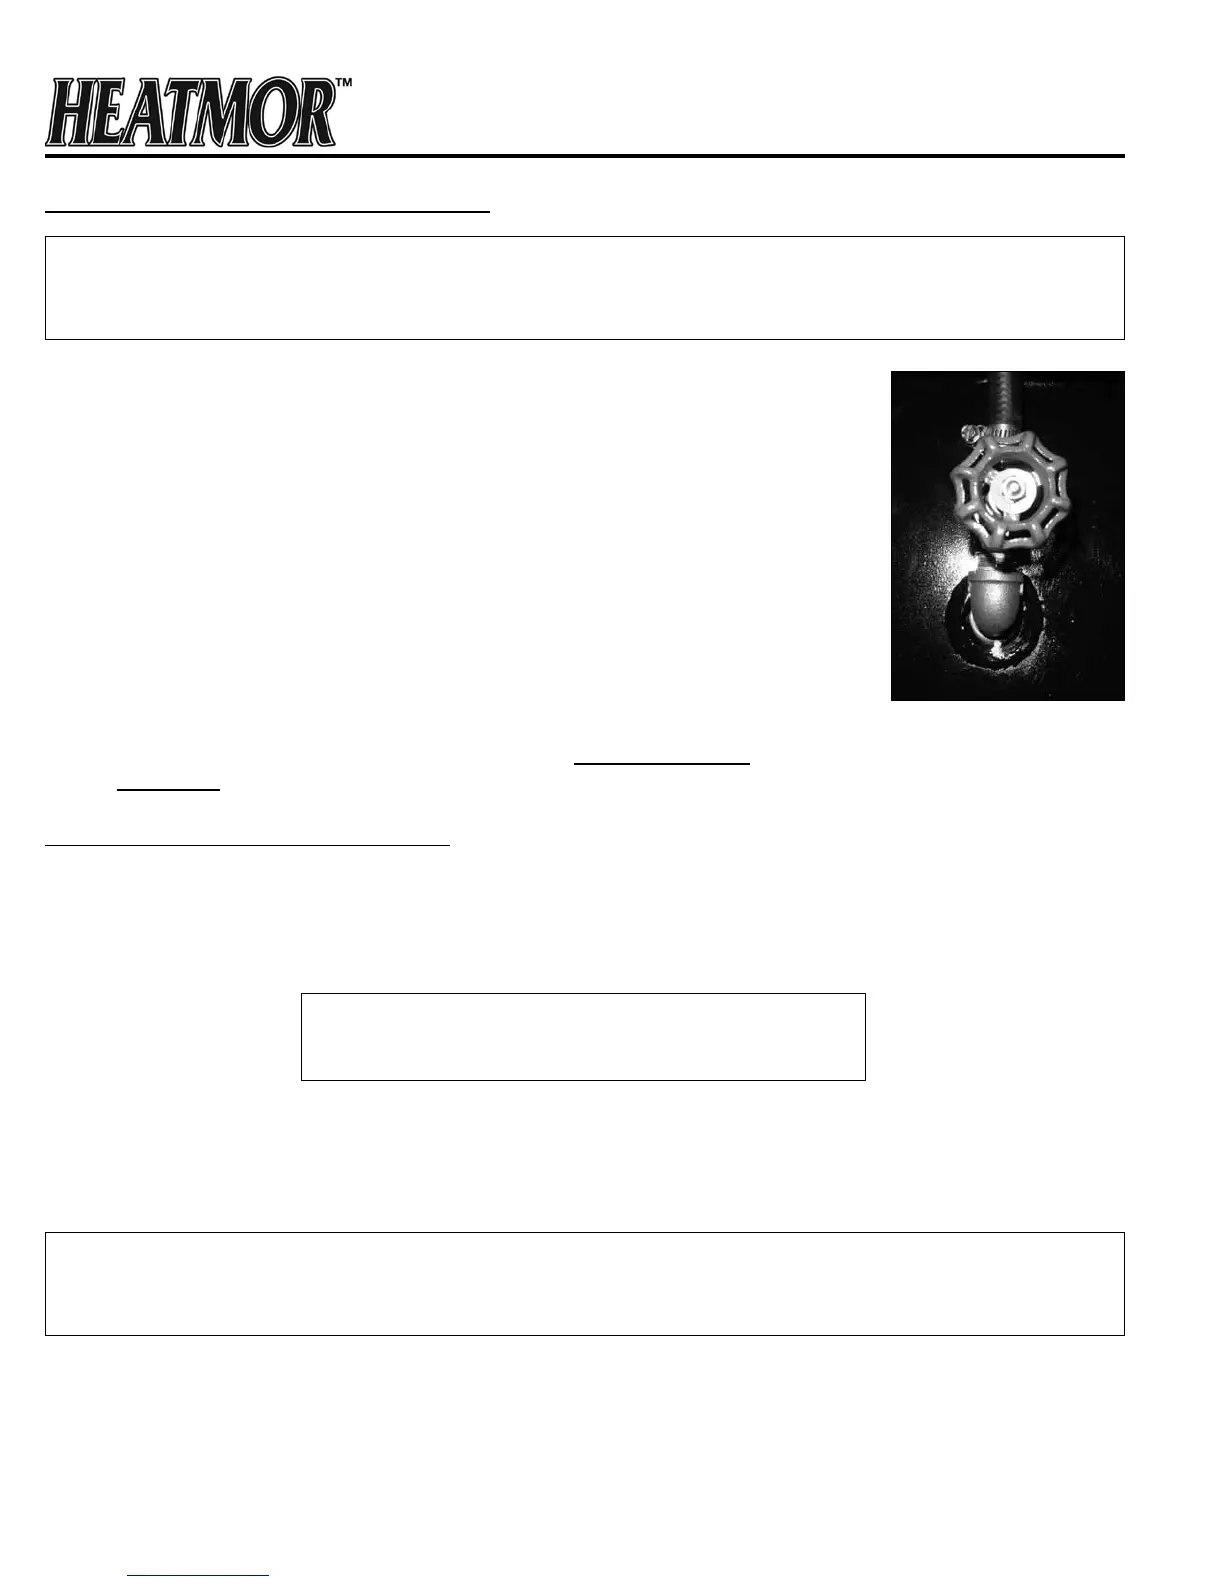
Bladder Gate Valve and Bladder Hose
Principle of the Bladder Gate Valve and Bladder Hose
The bladder gate valve provides water ow control in maintaining the bladder and lling the furnace with water.
The bladder hose provides a means for the water to freely ow from the water jacket to the bladder allowing
expansion and contraction.
WHEN THE HEATMOR™ FURNACE IS OPERATING,
THE BLADDER GATE VALVE MUST BE OPEN.
Maintenance / Result
To maintain the bladder gate valve, open and close the valve periodically to prevent it from seizing. Ensure that
the hose clamp is tightly fastened, securing the bladder hose to the bladder and to the bladder gate valve.
Removal and Replacement
1) Turn off the power to the furnace.
2) Drain some of the water from the furnace to prevent water from draining while you are
replacing the valve.
3) Loosen the hose clamp holding the bladder hose to the bladder gate valve.
4) Remove the bladder hose from the bladder gate valve and let the water drain from the bladder.
Bladder Gate Valve
ABSOLUTELY NO FIRE IN THE FIREBOX WHEN PERFORMING THIS REPAIR. DO NOT
PERFORM THIS REPAIR WHEN UNIT WATER TEMPERATURE IS UNSAFE. ALWAYS WEAR PROPER
PERSONAL PROTECTIVE EQUIPMENT WHEN WORKING WITH WATER AND CHEMICALS.
ABSOLUTELY NO FIRE IN THE FIREBOX WHEN PERFORMING THIS REPAIR. DO NOT
PERFORM THIS REPAIR WHEN UNIT WATER TEMPERATURE IS UNSAFE. ALWAYS WEAR PROPER
PERSONAL PROTECTIVE EQUIPMENT WHEN WORKING WITH WATER AND CHEMICALS.