Quick Start Guide REX 300 25
0
1
2
3
4
5
6
7
0
1
2
3
4
5
6
7
0
1
2
3
4
5
6
7
0
1
2
3
4
5
6
7
0
1
2
3
4
5
6
7
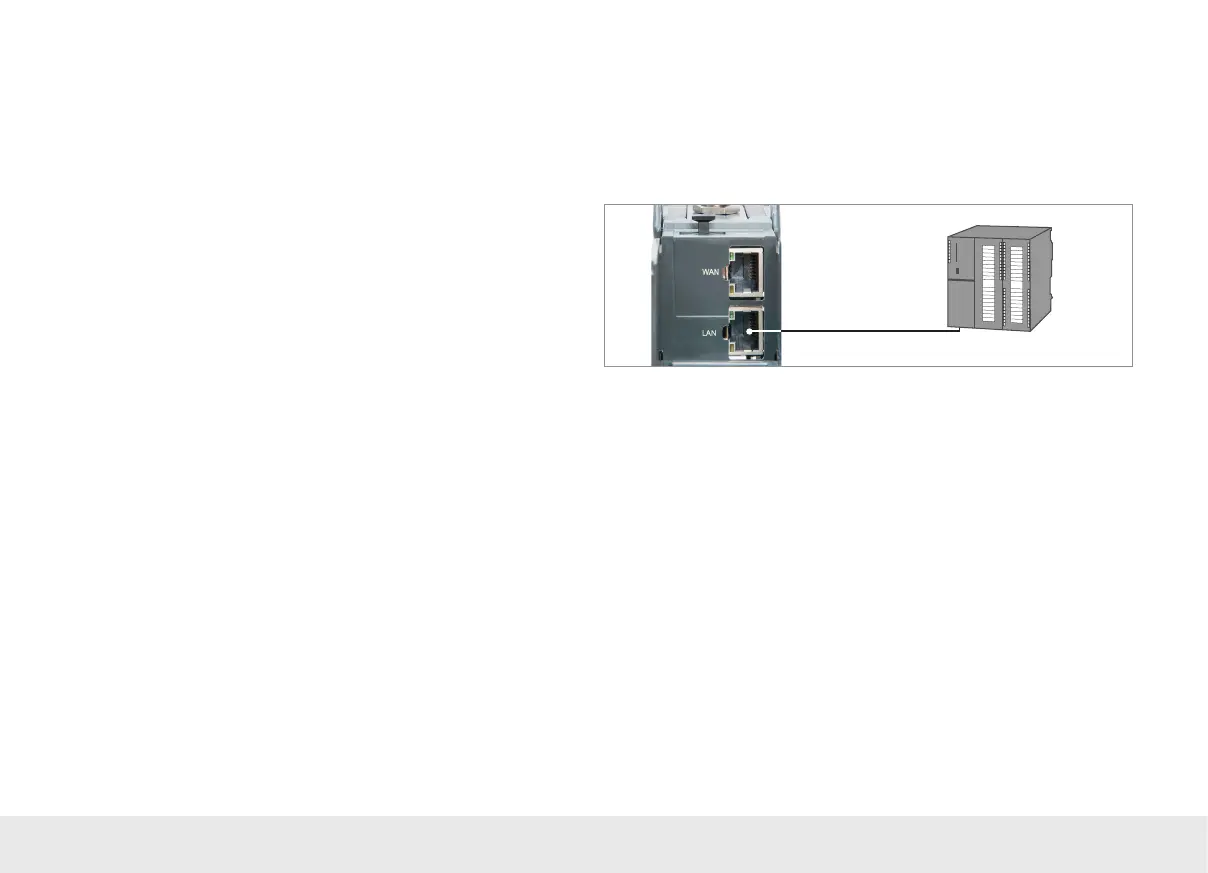
Ethernet-SPS
9.3
As soon as a VPN connection to the REX 300 unit has been established (see page 18),
you can start working with the PLC from the project (e.g., transferring a hardware
project, monitoring variables, etc.).
Note: The “Available stations” function is not supported by the software when using
VPN connections.
If you want to connect the PLC directly to your REX 300 unit, use the enclosed Ethernet
cable to connect it.
If an Ethernet switch is connected to the REX 300 unit or integrated into the CPU, you
can use either crossover or standard Ethernet cables.
10. Restoring the REX 300 router to its default settings
In order to reset the REX 300 to the factory settings, the following steps are
necessary:
- Turn on the device.
- Wait until the SF LED turns on.
- Press the Dial Out button and hold it down for about 10 to 15 seconds until the
TxD LED shows a green light.
- Briey press the Dial Out button once again; the RxD LED will turn on.
- Briey press the Dial Out button once again; the TxD LED will show an orange
light.
- Finally, press the Dial Out button one last time.
You have now deleted the entire conguration. Your REX 300 unit has been restored
to its default settings and can be recongured at this point.
Important: The IP address of the REX 300 LAN interface is reset to 192.168.0.100/24.