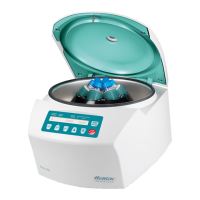
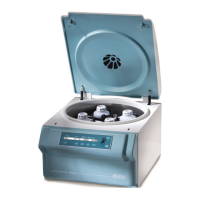
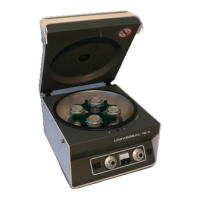
ZENTRIFUGEN
•
Zentrifuge sinngemaB
in
umgekehrter
Reihenfolge wieder zusammensetzen.
•
Reassemble centrifuge following above
instructions
in
reverse order.
Beim Aufsetzen des Rotors
istdarauf zu achten.daBder
Mitnehmerstift
der
Motor-
welle
in die
Nut des Rotors
einrastet.
__ .
•
Nach Instandsetzung priifen,
ob
-
alle Steckverbindungen hengestellt
sind,
-
alle Schraubverbindungen test sind,
-
alle Teile eingebaut wurden.
•
Funktionsprufung durchfuhren.
Motorwechsel
bzw.
Wechsel
der Motorlagerung
•
Deckel offnen.
•
Zentrifuge vom Netz trennen.
•
Rotor ausbauen (siehe Rotorwechsel)
•
Schleuderraumaus der Zentrifuge her-
ausnehmen.
.'
•
Schutzleiteranschlusse
am
Schleuder-
raum und am Motor abziehen.
•
Anschluflkabel
des
Motors
von
der
Elektronik losen.
•
Sechskantmutter unten
am
Gehause
losen.
.
•
Motorlagerung (Gummi-Met-Lager)
auf
Abnutzung prufen und ggf. ersetzen.
•
Motor austauschen.
•
Zentrifuge sinngemaB
in
umgekehrter
Reihenfolge wieder zusammensetzen.
When replacing
the
rotor,
make sure that
the
driving
pin
of
the motor shaft enga-
ges
in the
rotor slot.
•
After repair, check whether
- all
the
plug-on connections have
been replaced
-all the screws are tight
- all
parts were reassembled
•
Perform functional test.
Changing
a
Motor
or
Changing
Motor Mounting
•
Open cover.
•
Unplug the power cord from
the
mains
socket.
•
Remove rotor (see Changing
a
rotor)
•
Remove centrifugation chamber
in an
upward direction.
•
Disconnect earth conductors from cen-
trifugation chamber and motor.
•
Disconnect motor supply cable from
electronic assembly.
•
Undo hexagonal nut located
at
bottom
of casing.
•
Check motor mounting (rubber/metal
mounting)
for
wear and,
if
necessary,
replace
as
a
complete set.
•
Replace motor.
•
Reassemble centrifuge following above
ins1ructioinri#fev6rse drder;
69