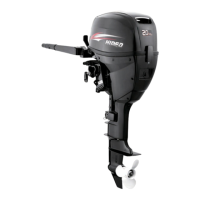
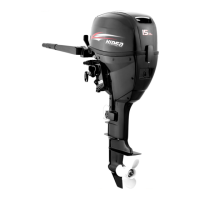
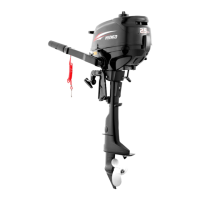
Operation
Installation
Incorrect
engine
height
or
obstructions
to
smooth
water
flow
(such
as
the
design
or
condition
of
the
boat
,
or
accessories
such
as
transo
l'!l ladders
or
depth
finder
transducers)
can create
airborne
water
spray while the
boat
is
cruising.
Severe
engine damage
may
result
if
the
motor
is
operated
continuously
in
the
presence
of
airborne
water spray.
NOTE
:
During water testing check the buoyancy
01
the boat, at rest, with
it
s ma
xi
mum load.
Check that the static wat
er
level on the ex-
haust housing is low enough to prevent wa-
ter entry into the powerhead
, when
wa
ter
rises due to waves when the outboard is not
runnlng.
Mounting
the
outboard
motor
,
1
‘ljlI!,
mll~
【帽
• Overpowering a
boat
could
cause se-
vere Instabliity.
00
not
install an
out-
board
motor
with
more
horsepower
than
the
maximum
rating
on
the
capac-
ity
plate
of
the
boat.
If
the
boat
does
not
have a capacity plate,
consult
the
boat
manufacturer
.
• The
information
presented
in
this
sec-
tion
is
intended
as
reference only.
It
is
not
possible
to
provide
complete
in-
structions
for
every
possible
boat
and
motor
combination. Proper
mounting
depends
in
part
on
experience
and
the
13
specific
boat
and
motor
combination.
,
"5'jjjij~
lI~【帽
Improper
mounting
of
the
outboard
mo-
tor
could
result
ín hazardous
conditions
such
as
poor
handling
,
loss
of
cont
r
ol
,
or
fire
hazards. Observe
the
following
:
• For permanently
mounted
models
,
your
dealer
or
other
person
experienced
in
proper
rigging
should
mount
the
motor
.
if
you
are
mounting
the
motor
yourself
,
you
should
be
trained
by
an experi-
enced
person
.
• For
portable
models
,
your
dealer
or
oth-
er
person
experienced
in
pr
oper
out-
board
motor
mounting
should
show
you
how
to
mount
your
motor.
Mounl
lhe
outboard mot
or
on the center line
(keel line)
01
the boat, and
e
n5U
陀
t
ha
t
lhe
boat itself is well balanced. Otherwise the
boal
wi
ll
be
hard to steer. For boats without
a keel
or
which are asymmetrical, con
su
lt
your deal
er
1.
Cen
ter l
ine
(keel
Un
e)
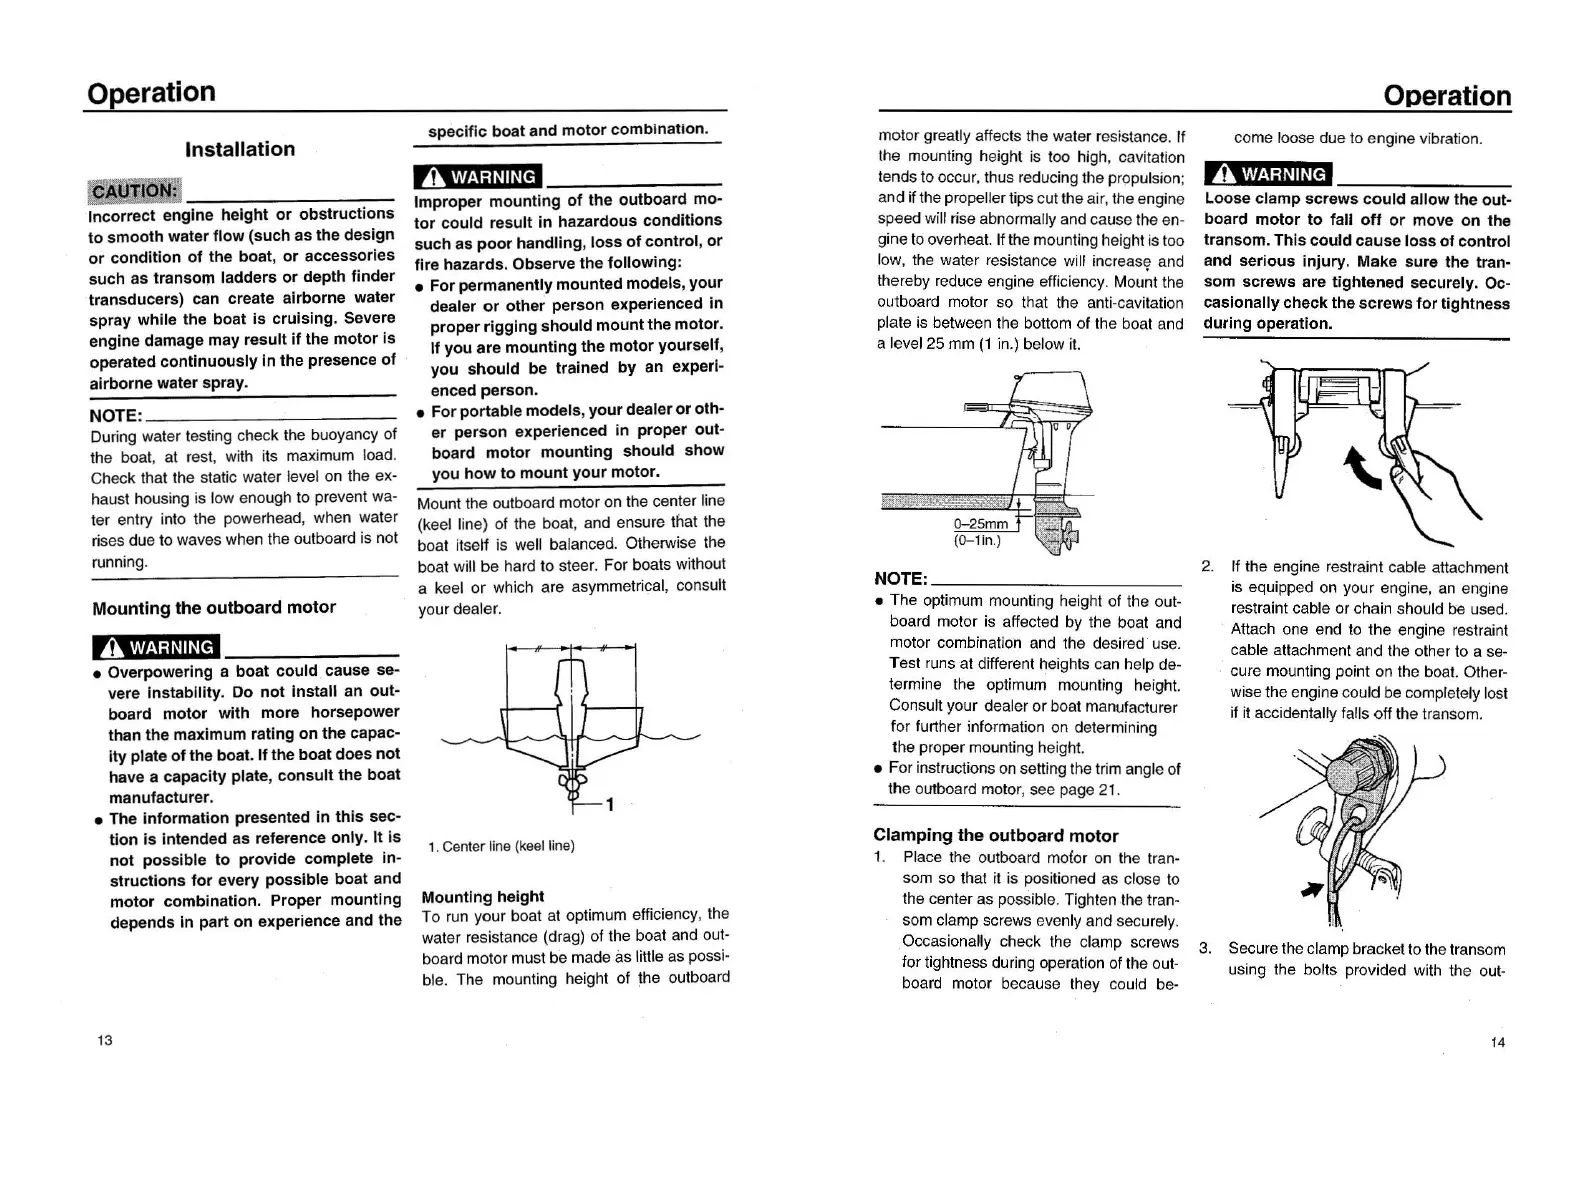
Mountlng
height
To run your boat at optimum efficiency, the
water resislance (drag) 01 the boat and out-
board motor must be made
às little as
poss卜
bl
e.
The mounting height
01
the outboa
rd
motor
gr
eatly affects the water resistance. If
the mounting height is too high
, cavitalion
tends
10
occur, Ihus reducing
lhe
propulsion;
and if the propeller lips cut Ihe air
, the engine
speed will rise abnormally and cause the en-
gine to overhea
t.
1I the mounting height is 100
low
, the waler resistance will inc
re
as!?
and
Ihereby reduce engine efficien
cy
. Mount the
oulboard motor
50
lha
t lhe anti-cavilalion
plale is belween the
bo
ttom
01
Ihe boat and
a le
ve
l 25 mm (1 in.) below i
t.
NOTE:
• The optimum mounting height 01 the oul-
board molor is affected by Ihe boal and
motor combination and the desired'
U5
e
Test runs at different heights can help de-
termine Ihe optimum mounling height
Consult your dealer or boat manulacturer
for lurther inlormation on determining
the p
ro
per mounting height.
• F
or
instructio
ns
on setting Ihe Irim angle
01
the outboard mot
or
, see page 21.
Clamping
the
outboard
motor
1. Place the outboard molor on the tran-
som so that it is positioned as close to
the center as possible. Tighlen the tran-
som clamp screws evenly and securely.
Occasiona
ll
y check the clamp screws
lo
r tightness
du
ri
ng operation 01 the oul-
boa
rd
motor because Ihey could be-
Qperation
come loose due to engine vibration.
,?‘,
""~':J~lhH
帽
Loose
clamp
screws
could
allow
the
out-
board
motor
to
fall
oft
or
move
on
the
transom.
This
could
cause
loss
01
control
and
serious
injury. Make
sure
the tran-
som
screws
are ti
ghtened
securely. Oc-
caslonally
check
the
screws
for
tightness
during
operation.
2. 1I Ihe engine restra
int
cable attachment
is equipped on your engine
, an engine
re5traint cable
or
chain should
be
use
d.
Attach one end
10
the engine restrai
nl
cable attachment and Ihe other
10
a
se-
cure mounting point on lhe boa
t.
Other-
wise the engine could be complelely lost
il
it
a
∞
i
de
ntally
falls off the transom.
3. Secure the clamp brackel to Ihe
tr
ansom
using the bolts
pr
ov
ided wi
lh
the out-
14