Follow these steps to install and connect hard disks to the host adapter.
1. Shut down the computer and unplugs the power supply.
2. Please discharge static electricity from your body by touching a conductor.
3. Remove the corresponding card bracket from the back of the computer chassis.
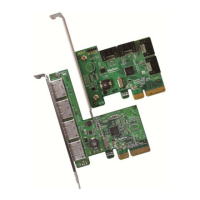
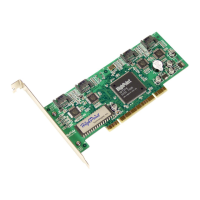
4. Insert the RocketRAID 1640 adapter steadily into a PCI slot on motherboard and
then settle with a screw (see picture 2).
5. Connect Serial ATA hard disk to RAID adapter with Serial ATA cable; If IDE
hard disks are used, set jumper of the IDE hard disks to master position and
connect the cable and IDE hard disks by using RocketHead100 (see picture 3).
6. Connect all power supply connectors to hard disks.
7. Replace the cover of computer chassis.
Note:
1. If the adapter or hard disk is not recognized, please refer to the Trouble Shooting
chapter.
2.3 Verifying the Adapter's Installation
After installing the RocketRAID 1640 host adapter, and connecting the hard disks as
required, the computer can be turned on. Please pay close attention to the information
displayed on the screen while starting the computer. If the following information is
displayed (see the following page), the RocketRAID 1640 host adapter has been suc-
cessfully installed and recognized by the computer.
Picture 3
Adapter Installation
2-2