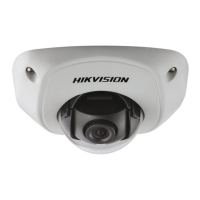
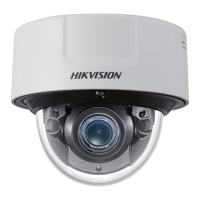
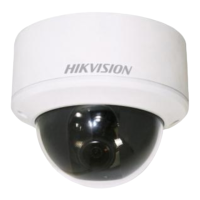
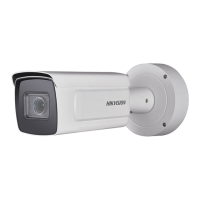
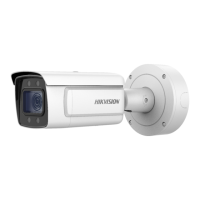
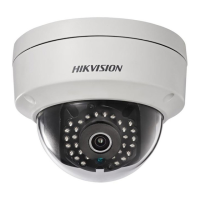
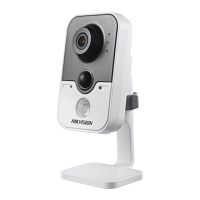
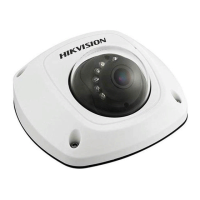
Figure 4-16 Attach the template
2. Secure the camera to the ceiling with the supplied expansion screws.
Figure 4-17 Secure the Camera to the Ceiling
3. Adjust the Lens.
1). Loosen the adjustable nut on the bracket.
2). Adjust the panning angle [0~360°] of the camera.
3). Adjust the tilting angle [0~90°] of the camera.
4). Rotate 0~360° to adjust azimuth angle of the image.
5). Tighten the adjustable nut to complete the installation.
 Loading...
