User Manual of DS-7200-ST Series DVR
19
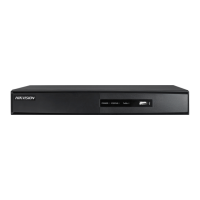
DS-7204HVI-ST/L:
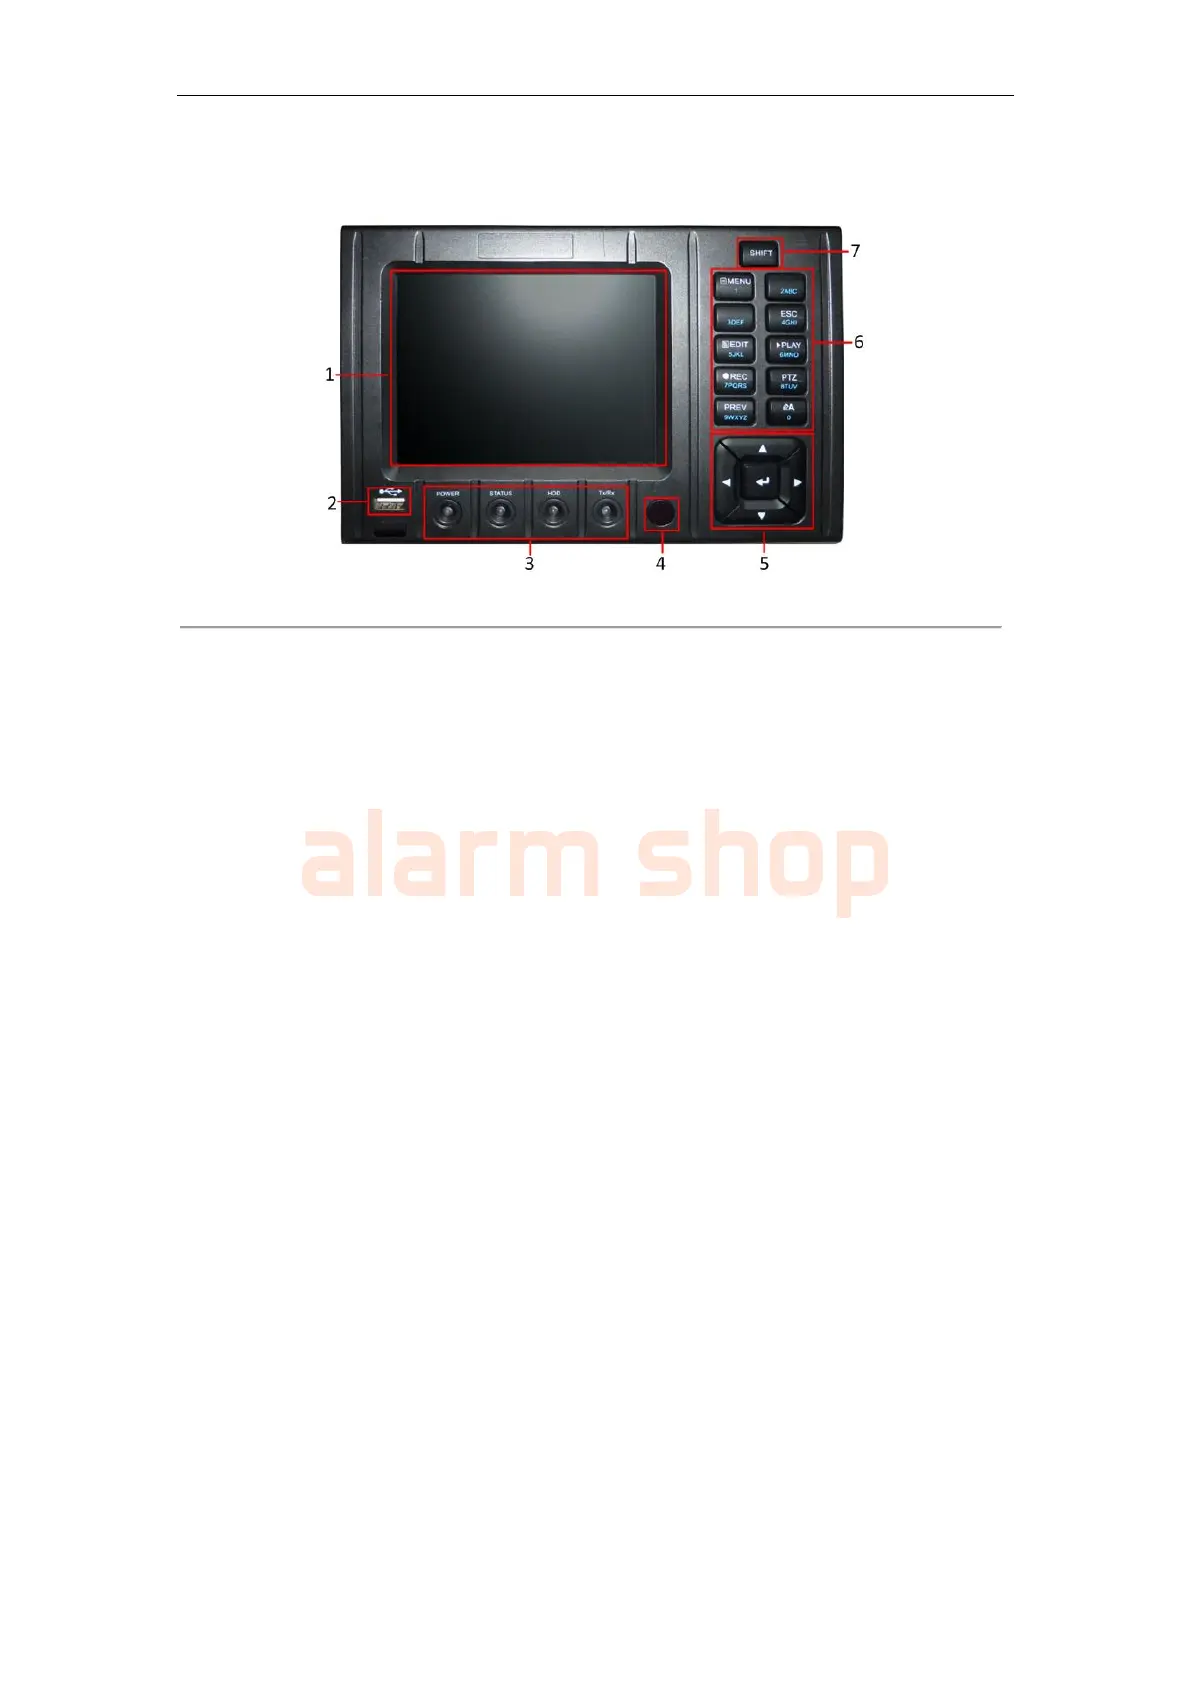
Figure 15. DS-7204HVI-ST/L Front Panel
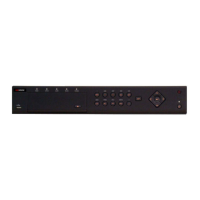
1. LCD: Display local menu and live view.
2. USB Interface: Universal Serial Bus (USB) ports for additional devices such as USB mouse and
USB Hard Disk Drive (HDD).
3. Status Indicators: Status indicators for different features of the DVR.
• POWER: Power indicator turns green when DVR is powered up.
• STATUS: Status indicator turns green when DVR is controlled by an IR remote.
• HDD: HDD indicator blinks red when data is being read from or written to HDD.
• Tx/Rx: TX/RX indictor blinks blue when network connection is functioning properly.
4. IR Receiver: Operation by IR remote control.
5. DIRECTION/ENTER Buttons:
• DIRECTION Buttons: The DIRECTION buttons are used to navigate between different
fields and items in menus. In Playback mode, the Up and Down button is used to speed up
and slow down recorded video. The Left and Right button will jump 30s backward and
forward in a video. In live view mode, these buttons can be used to cycle through channels.
• ENTER Button: The ENTER button is used to confirm selection in any of the menu modes.
It can also be used to tick checkbox fields. In Playback mode, it can be used to play or pause
the video. In Single Play mode, pressing the ENTER button will advance the video by a
single frame.
6. Control Buttons:
• 1 MENU: (1) Enter numeral “1”; (2) Access the main menu interface.
• 2ABC/F1: (1) Enter numeral “2”; (2) Enter letters “ABC”; (3) The F1 button when used in a
list field will select all items on the list. In PTZ Control mode, it will turn on/off PTZ light.
• 3DEF/F2: (1) Enter numeral “3”; (2) Enter letters “DEF”; (3) The F2 button is used to cycle
through tab pages. It will also bring up the Channel & OSD Position settings.
• 4GHI/ESC: (1) Enter numeral “4”; (2) Enter letters “GHI”; (3) Exit and back to the
previous menu.
• 5JKL/EDIT: (1) Enter numeral “5”; (2) Enter letters “JKL”; (3) Delete characters before
cursor; (4)Select the checkbox and ON/OFF switch; (5) Start/stop record clipping in
playback.
• 6MNO/PLAY: (1) Enter numeral “6”; (2) Enter letters “MNO”; (3) Playback, for direct
access to playback interface.
• 7PQRS/REC: (1) Enter numeral “7”; (2) Enter letters “PQRS”; (3) Manual record, for
direct access to manual record interface; manually enable/disable record.
• 8TUV/PTZ: (1) Enter numeral “8”; (2) Enter letters “TUV”; (3) Access PTZ control
interface.
• 9WXYZ/PREV: (1) Enter numeral “9”; (2) Enter letters “WXYZ”; (3) Multi-camera
display in live view.
• 0/A: (1) Enter numeral “0”; (2) switch between input methods (upper and lowercase
alphabet, symbols and numeric input).
7. SHIFT: Switch of compound keys between the numeric/letter input and functional control.
Note: It is important to note that you must click the EDIT button on either the remote or front panel on a text
field before you are able to edit its content. After you’re done entering text, you must hit the ENTER button to be
able to move on to the next field.
 Loading...