59
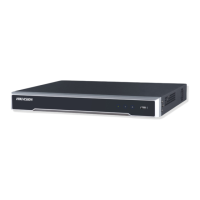
Figure5. PPPoE Settings
5. Check the PPPoE checkbox to enable this feature.
6. Enter User Name, Password, and Confirm Password for PPPoE access. PPPoE credentials can
be obtained from your network administrator. Once the setup is completed, your DVR will
automatically dial-up into your network after reboot.
7. Click OK to save settings and exit Network Settings menu. You may be now asked to restart your
DVR for settings to take place. To check on the status of your PPPoE connection, go to Menu >
Setting > Network and select the Network Status tab.
Configuring DDNS
If your DVR is setup to use PPPoE as its default network connection, you may set up Dynamic DNS (DDNS) to be
used in connection.
To set up DDNS:
1. Click Menu > Settings > Network to enter the Network Settings menu.
2. Select the Advanced tab.
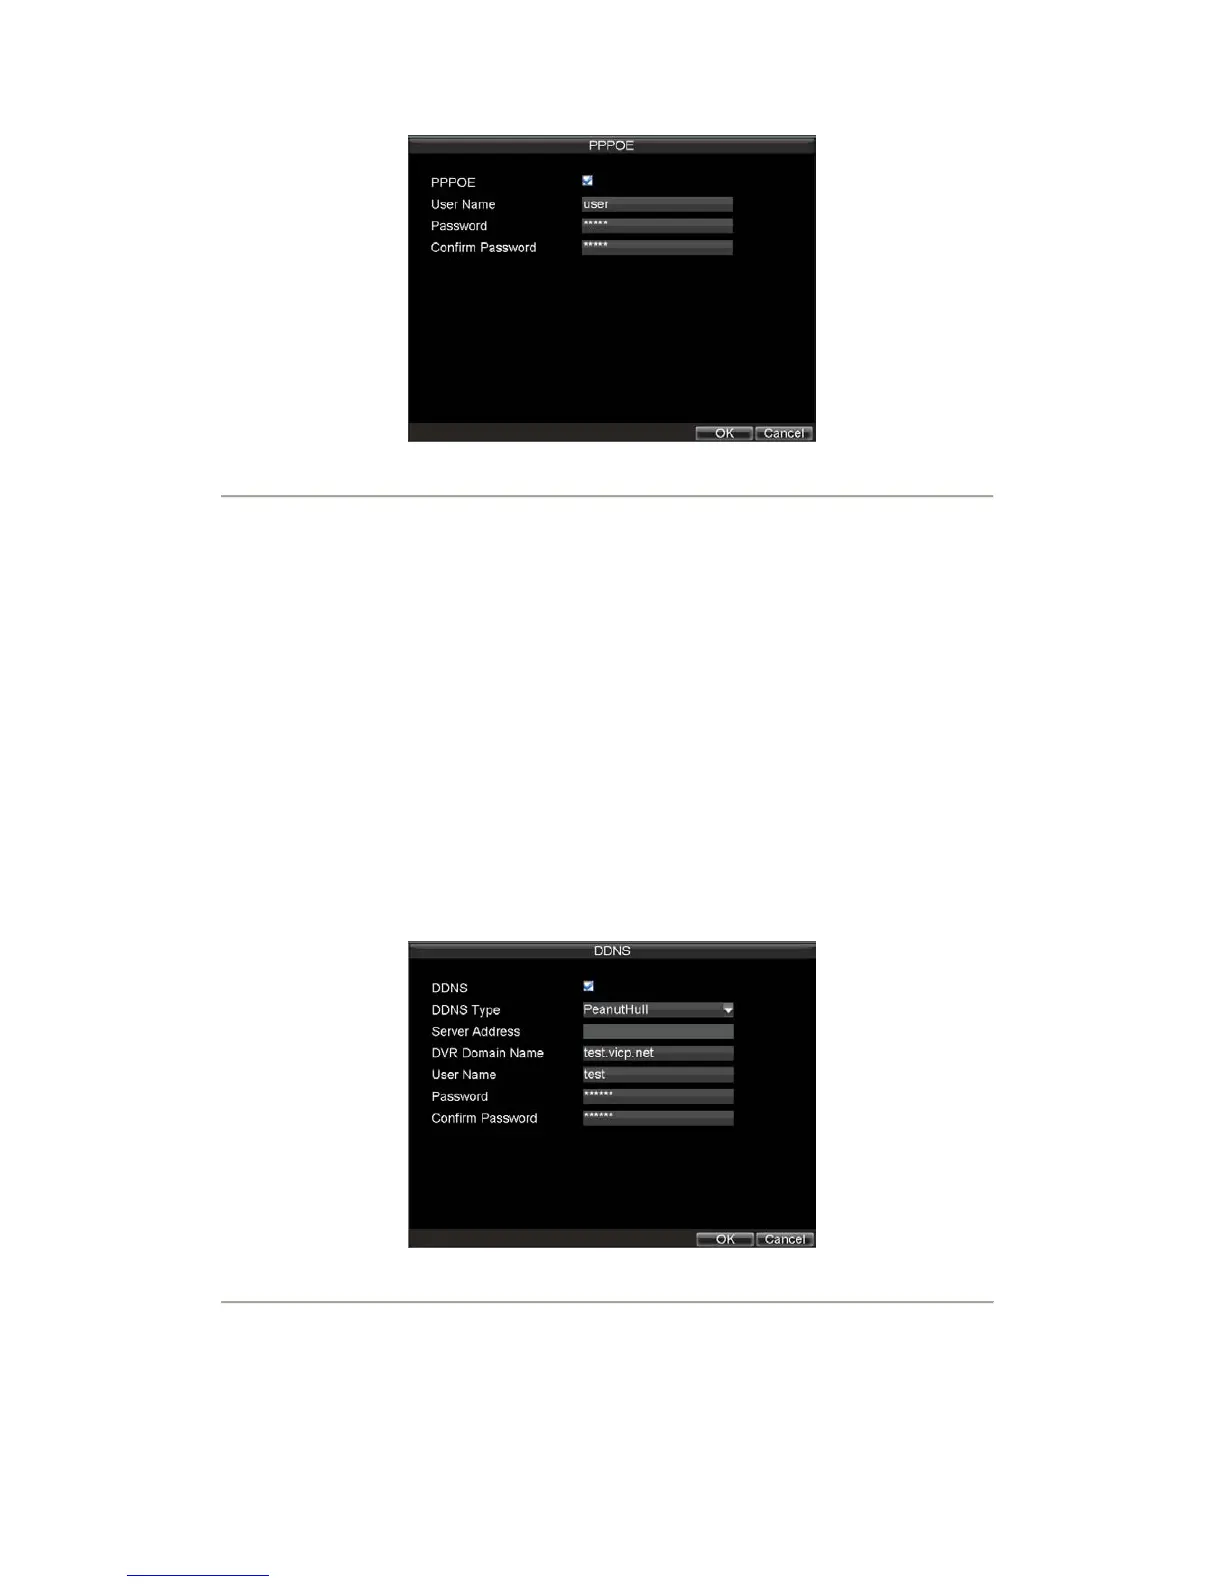
3. Select the Set button next to DDNS to enter the DDNS settings menu, shown in Figure 6.
Figure6. DDNS Settings Menu
4. Check the DDNS checkbox to enable this feature.
5. Select DDNS Type. Three different DDNS types are selectable: IpServer, PeanutHull and
DynDNS.
• IpServer: Enter Server Address for IpServer.
• PeanutHull: Enter User Name and Password obtained from the PeanutHull website (Figure 6).
• DynDNS: Enter Server Address for DynDNS (i.e. members.dyndns.org) (Figure 7). Under