PanoVu Series Camera·Quick Start Guide
3 Setting the Camera Over the LAN
You shall acknowledge that the use of the product with Internet access might be under network
security risks. For avoidance of any network attacks and information leakage, please strengthen
your own protection. If the product does not work properly, please contact with your dealer or
the nearest service center.
3.1 Wiring
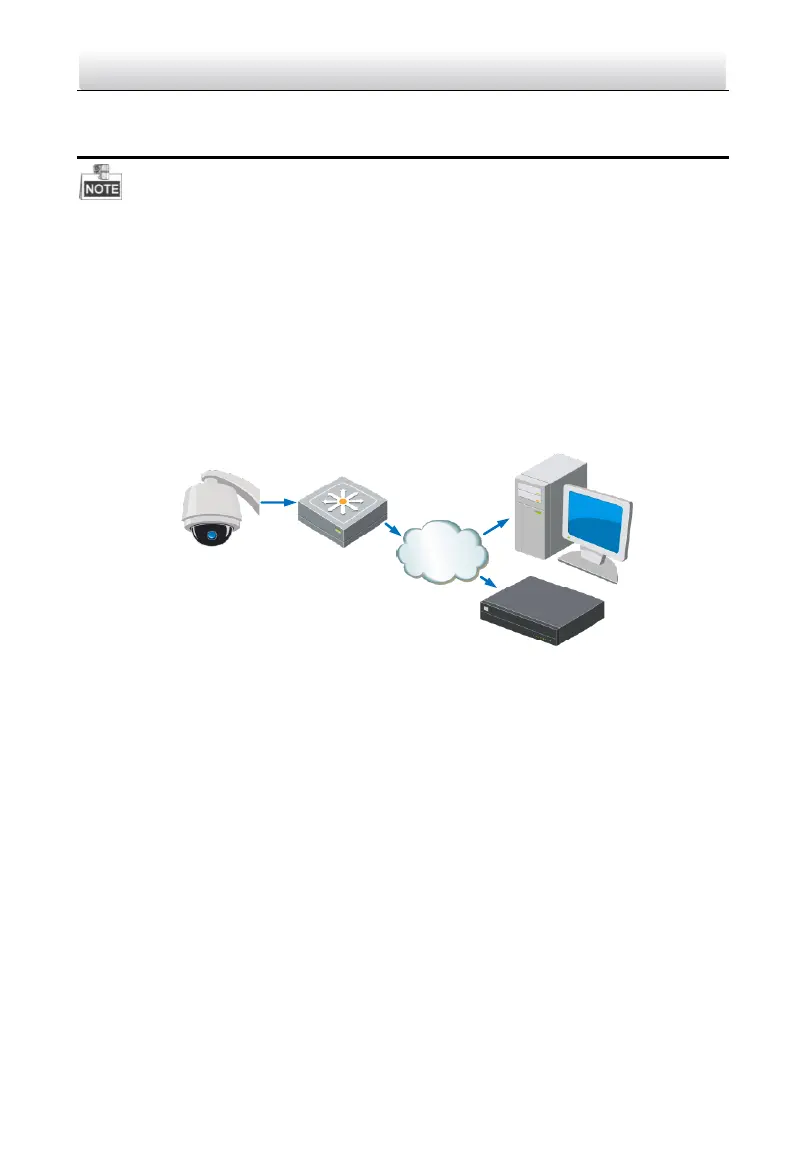
To view and configure the panoVu camera via LAN (Local Area Network), you need to connect the
network panoVu camera in the same subnet with your PC. Then, install the SADP or client software
to search and change the IP of network panoVu camera.
The following figure shows the cable connection of network panoVu camera.
Network
Speed Dome
Switch
Internet
NVR
PC
Figure 3-1 Wiring Over a LAN
3.2 Activating the PanoVu camera
Purpose:
You are required to activate the panoVu camera first by setting a strong password for it before you
can use the panoVu camera.
Activation via Web Browser, Activation via SADP, and Activation via client software are supported. In
the following sections, activation via web browser and SADP will be taken as examples. You may
refer to the user manual of the panoVu camera for the details of activation via client software.
3.2.1 Activation via Web Browser
Steps:
1. Power on the panoVu camera, and connect the panoVu camera to the network.
2. Input the IP address into the address bar of the web browser, and click Enter to enter the
activation interface.
 Loading...