PanoVu Series Camera·Quick Start Guide
2.2 Installing the PanoVu Camera
The appearance of PanoVu camera may vary according to the models. The appearance shown
below is only for reference.
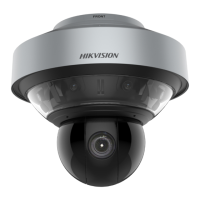
2.2.1 Installing the 180° Panoramic + PTZ Camera
Steps:
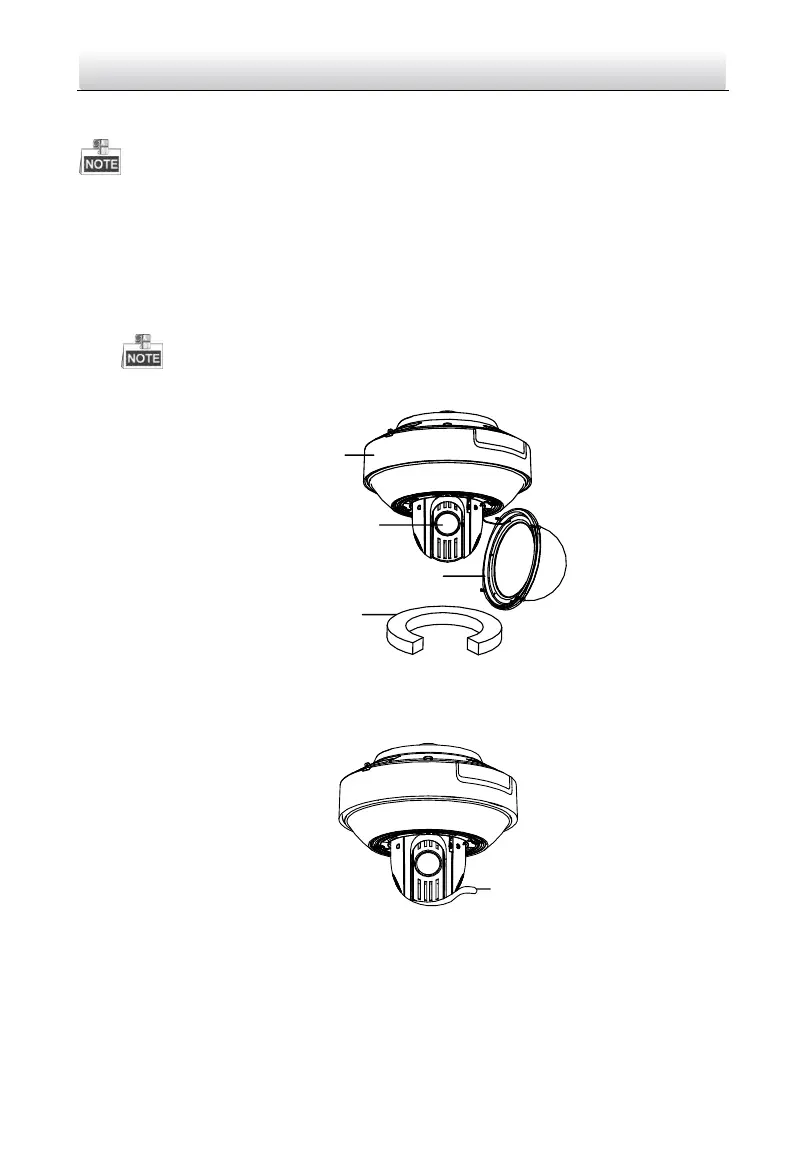
1. Loosen the two lock screws on the both side of the camera. Pull the lower camera to
separate it from the back box as shown in Figure 1-9.
Please do not remove the lock screws from the camera.
Protective
Foam
Lens Cover
Lower Dome
Back Box
Figure 1-9 Remove the Lower Camera
2. Remove the protective foam, sticker and lens cover from the camera drive. As shown in
Figure 1-10.
Figure 1-10 Remove the Sticker
3. Install the micro SD card.
The Micro SD card slot of network camera is shown in Figure 1-11. Insert the matched micro SD
card until the card slot clicks.
 Loading...