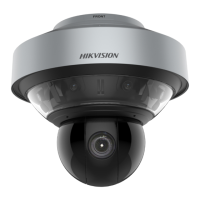
PanoVu Series Camera·Quick Start Guide
Figure 1-4 Drill Screw Hole and Insert Expansion Screw
3. Secure the bracket with 4 hex nuts and washers.
Figure 1-5 Drill Screw Holes
Please take water-proof measures when installing outdoor PanoVu Camera.
2.1.2 Installing the Hoop Mounting Bracket
The pole for mounting the PanoVu Camera should be suitable for the hoop.
The diameter of the hoop ranges from 67mm to 127mm (2.64’ to 5’).
Please make sure that the pole is strong enough to withstand at least 8 times the weight of
the camera and the bracket.
There are several ways to install the PanoVu Camera. In this section, the installation on horizontal
pole with hoop is taken as an example. Refer to the following steps for details:
Steps:
1. Get the bracket and accessories from the packing box as shown follows.
 Loading...
