PanoVu Series Camera·Quick Start Guide
1 Installation
Warning: Do not power the panoVu camera up until the installation is finished. To ensure the safety
of personnel and equipment, all the installation steps should be done with power supply off.
1.1 Connecting Cables
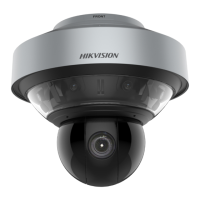
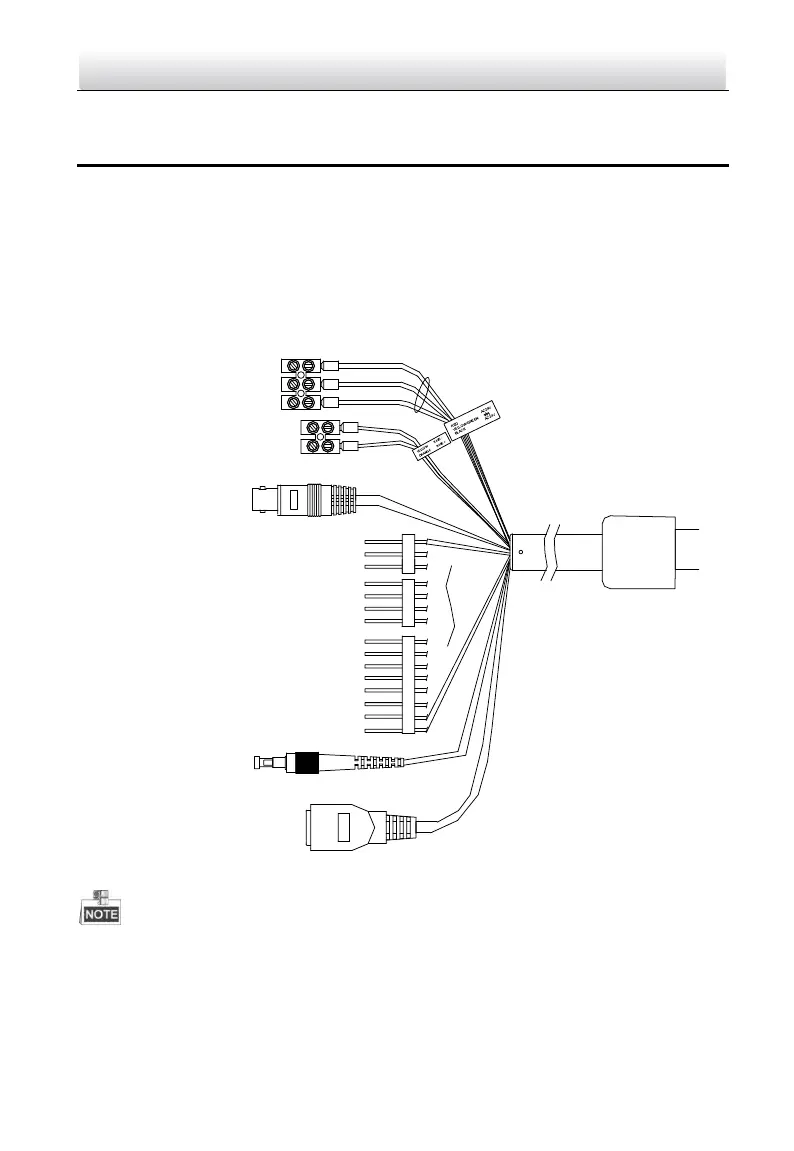
The cable interfaces of PanoVu camera are shown in Figure 1-1. The cables of RS-485, power supply,
alarm inputs, alarm outputs, video output, etc. are distinguished by different colors. Please refer to
the labels attached on the cables for identification.
VIDEO
RED 36VDC +
BLACK 36VDC -
GND
RS485-
RS485+
CVBS Video Cable
Alarm Inputs
Network Cable
Alarm Outputs
Audio Input / Output
Optical FC Interface
Figure 1-1 Cables of PanoVu Series Camera
The cables may vary according to the models.
Use the power adapter that can work normally at an altitude over 5000 meters above sea
level.
 Loading...