1) Select a Line No.. Up to 4 lines can be set in the scene.
2) Click Detecon Area.
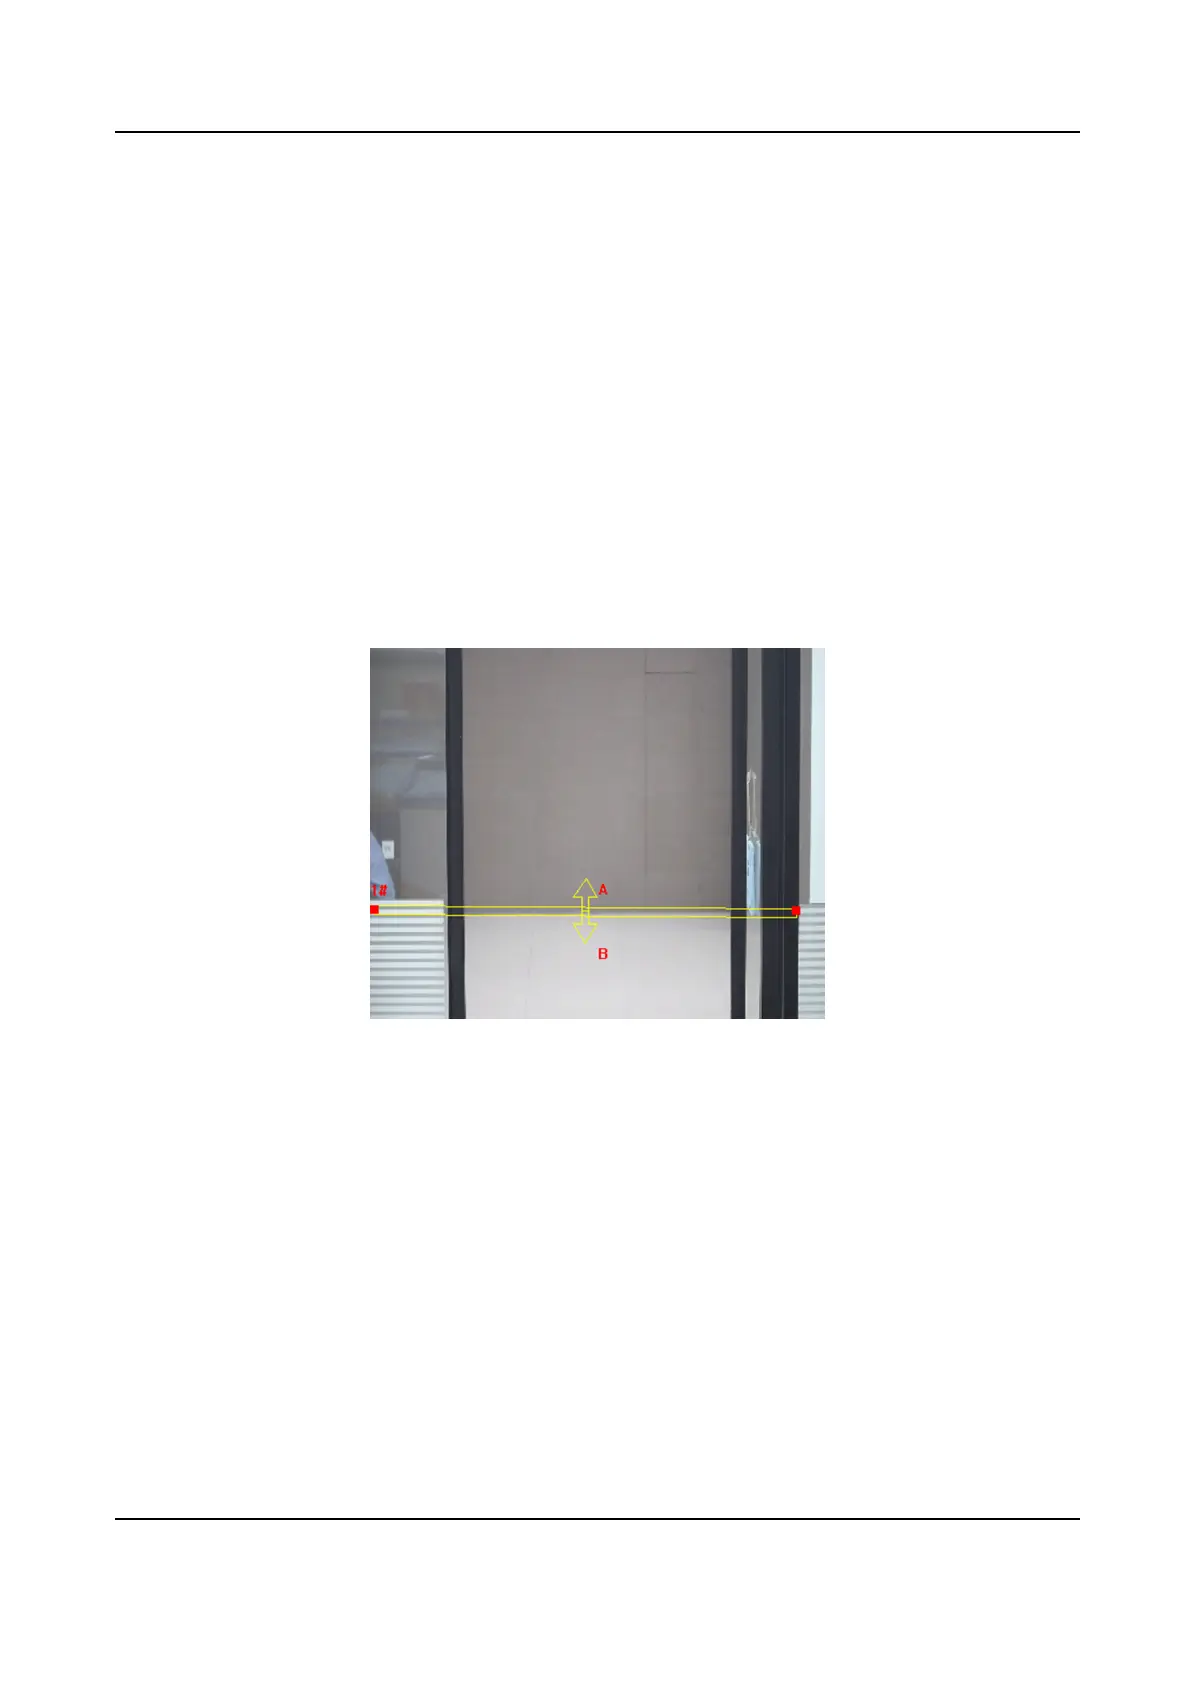
A yellow line is displayed on live image.
3) Click on the line, and drag its end points to adjust the length and
posion.
4) Select the Direcon for the detecon line.
Direcon
It stands for the direcon from which the object goes across the line.
A<->B
The object going across the line from both
direcons can be detected and alarms are
triggered.
A->B
Only the object crossing the congured line from side A to side B can be detected.
B->A
Only the object crossing the congured line from side B to side A can be detected.
Figure 8-5 Draw Line
6. Set detecon parameters.
Sensivity
It stands for the sensivity of detecng an target. The higher the value is,
the more easily the target is detected.
Detecon
Target
You can specify the object type, and the device only detects the selected
type of objects.
7. Click Save.
8. Repeat above steps to set other lines.
9. Set arming schedule. See Set Arming Schedule .
10. Set linkage method. See Linkage Method
Sengs .
Stched PanoVu Camera with PTZ User Manual
66
 Loading...