English 15
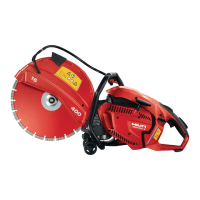
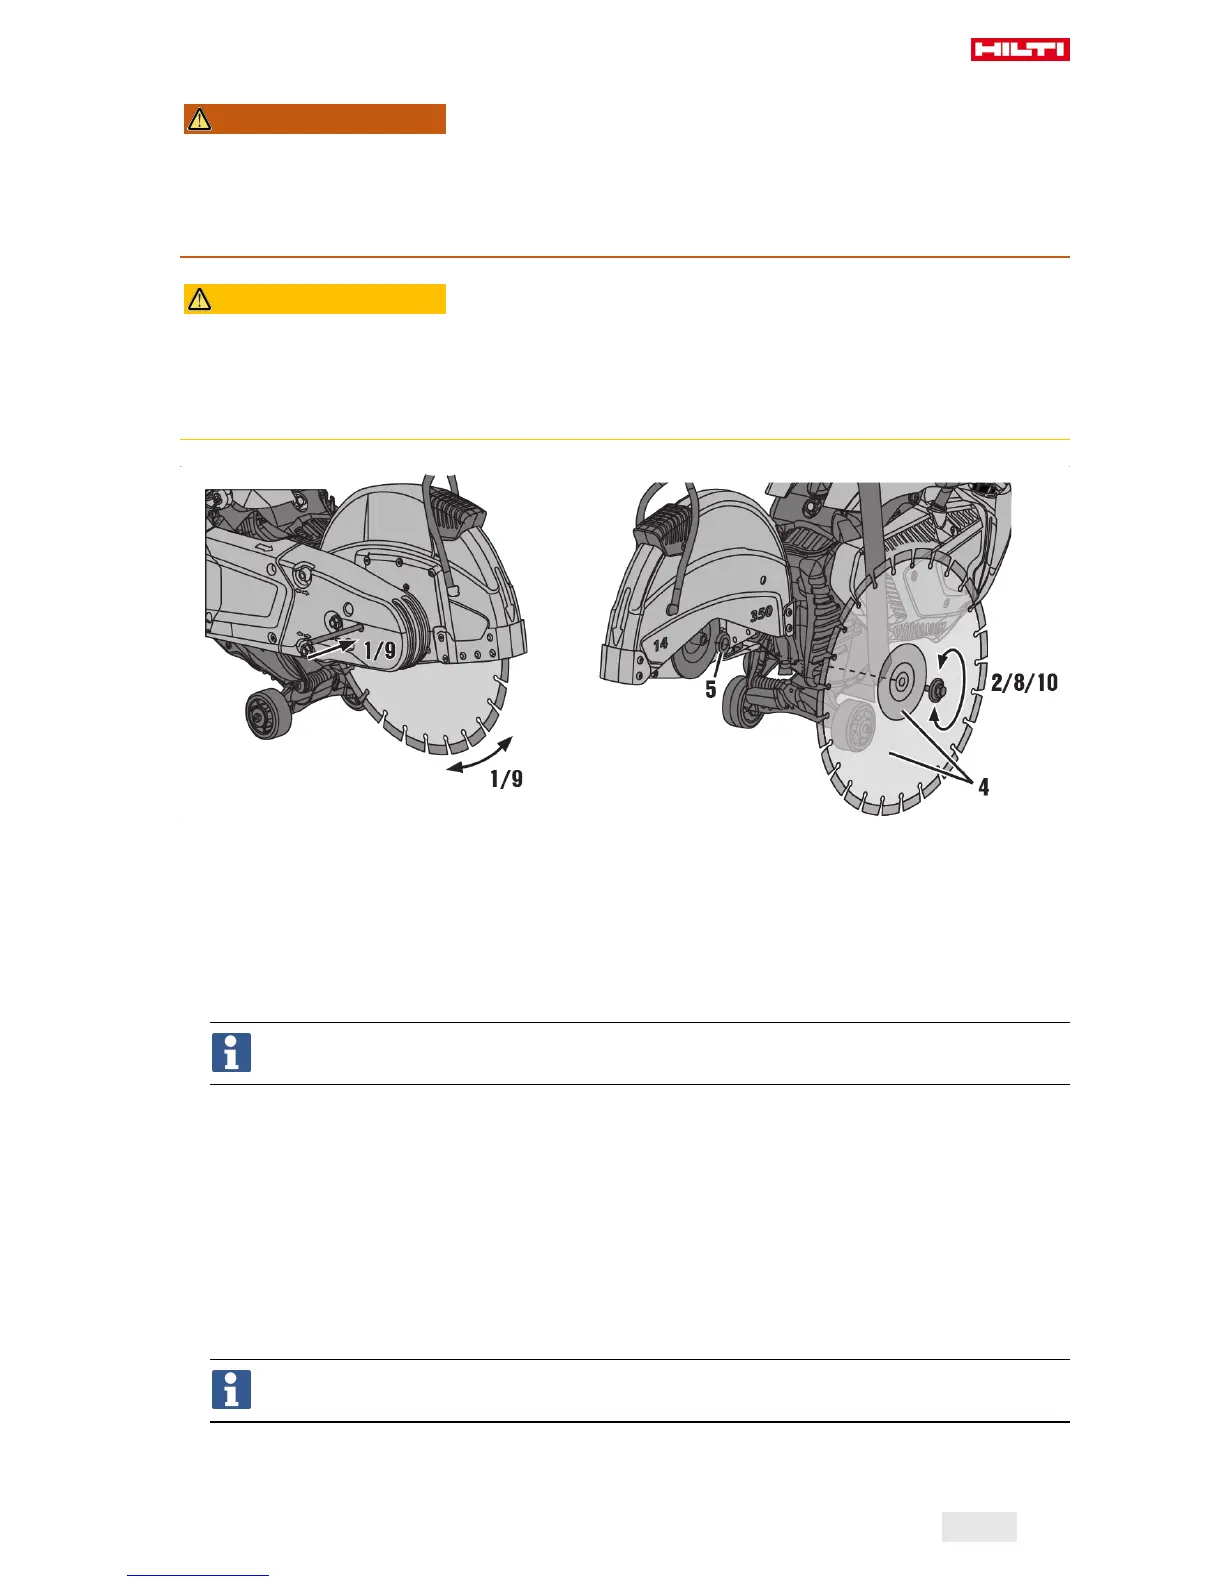
5.2.1 Fitting a cutting disc
WARNING
Risk of injury and damage. Cutting discs or fastening parts that don’t fit correctly can suffer irreparable
damage or lead to loss of control of the product.
▶ Use only cutting discs with a rated maximum permissible speed that’s at least as high as the maximum
speed stated on the product. The cutting discs, flanges and screws used must fit the product.
▶ Use only cutting discs with an arbor size (mounting hole diameter) of 20 mm or 25.4 mm (1").
CAUTION
Risk of injury and damage. Damaged cutting discs may break.
▶ If the cutting disc has been subjected to an impact, check the disc for damage and replace it if necessary.
▶
Never use cutting discs that are damaged, run untrue or vibrate.
▶ Don’t use synthetic resin-bonded fiber-reinforced cutting discs which have exceeded their use-by date
or already softened due to water absorption.
1. Insert the locking pin in the hole in the drive belt cover and turn the cutting disc until the locking pin
engages.
2. Release the securing screw by turning the screw counterclockwise with the wrench and then remove the
screw and washer.
3. Remove the locking pin.
4. Remove the clamping flange and the cutting disc.
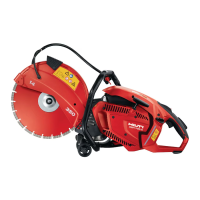
5. Check that the mounting bore of the cutting disc to be fitted corresponds with the centering collar of the
cutting disc mounting flange.
The mounting flange is equipped with a 20 mm diameter centering collar on one side and a 25.4
mm (1") diameter centering collar on the opposite side.
6. Clean the clamping and centering surfaces on the product and on the cutting disc.
7. Place the cutting disc with centering collar on the drive arbor and check that the direction of rotation is
correct.
◁ The direction-of-rotation arrow on the cutting disc must match the direction of rotation indicated on
the product.
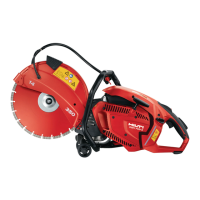
8. Place the clamping flange and washer on the drive arbor and tighten the securing screw by turning it
clockwise.
9. Insert the locking pin in the locking hole in the drive belt cover and turn the cutting disc until the locking
pin engages.
10. Tighten the clamping screw securely (tightening torque: 25 Nm).
11. Remove the locking pin.
After fitting a new cutting disc allow the product to run at full speed under no load for approx. 1
minute.
Printed: 24.04.2018 | Doc-Nr: PUB / 5265931 / 000 / 02
 Loading...