English 9
4. Tighten the side handle clamping band by turning the handle grip.
6.1.2 Adjusting the depth gauge (optional) 3
1. Press the release button on the side handle.
2. Adjust the depth gauge to the desired drilling depth.
3. Release the release button.
4. Check that the side handle is securely attached.
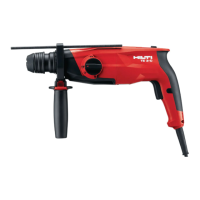
6.1.3 Removing the chuck 4
CAUTION
Risk of injury! The depth gauge, if fitted but not used, may hinder the
user.
▶ Remove the depth gauge from the tool.
Note
Set the function selector switch to the “Chiseling” position for
changing the chuck.
1. Disconnect the supply cord plug from the power outlet.
2. Grip the chuck as shown in the illustration and pull the three chuck release
rings upwards.
3. Lift the chuck upwards away from the tool.
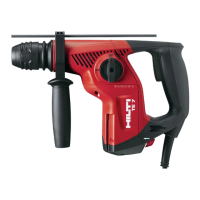
6.1.4 Fitting the chuck 4
CAUTION
Risk of injury! The depth gauge, if fitted but not used, may hinder the
user.
▶ Remove the depth gauge from the tool.
Note
When changing the chuck, set the function selector switch to this
position: .
1. Disconnect the supply cord plug from the power outlet.
2. Grip the chuck as shown in the illustration and pull the three chuck release
rings upwards.
3. Fit the chuck onto the chuck mount.
4. Rotate the chuck until it engages in position.
6.1.5 Fitting the accessory tool 5
1. Apply a little grease to the connection end of the accessory tool.
◁ Use only genuine Hilti grease. Use of the wrong grease can result in
damage to the tool.
Printed: 03.03.2017 | Doc-Nr: PUB / 5324643 / 000 / 01
 Loading...