EasyManua.ls Logo

Hilti TE 50 - User Manual

Hilti TE 50
26 pages
Print Icon
To Next Page IconTo Next Page
Loading...
TE 50
TE 50-AVR
English
Printed: 14.12.2018 | Doc-Nr: PUB / 5283568 / 000 / 03

Other manuals for Hilti TE 50

Questions and Answers

Summary

Documentation Information

About This Documentation

Guidance on reading and using the operating instructions for safe operation.

Explanation of Symbols

Explanation of signal words and symbols used in the document and illustrations.

Product Symbols

Details the symbols found on the product itself and their meanings.

Product Information

Provides product details like type designation, serial number, and intended use.

Safety

General Power Tool Safety Warnings

Crucial general safety advice for operating power tools, including work area and electrical safety.

Personal Safety

Emphasizes staying alert, using PPE, preventing unintentional starting, proper stance, and attire.

Power Tool Use and Care

Covers using the correct tool, checking the switch, disconnecting power, and storing tools safely.

Hammer Safety Warnings

Specific safety precautions for hammer drilling operations, including ear protection and handle usage.

Additional Safety Instructions

Focuses on using the product in faultless condition, proper gripping, and avoiding rotating parts.

Electrical Safety

Advises checking the work area for cables/pipes before starting work.

Careful Handling and Use

Covers switching off for jams and waiting for complete stop before laying down.

Product Description

Product Overview

Visual identification and numbering of the product's main components.

Product Versions and Information

Details detachable cord version, intended use, and potential misuse scenarios.

Intended Use

Defines the product's primary applications and operational requirements.

Possible Misuse

Outlines situations and environments where the product should not be used.

Active Vibration Reduction

Explains the AVR system that reduces operational vibration.

Quick-Release Chuck

Describes the keyless chuck for rapid accessory tool changes.

Service Indicator

Details the function and meaning of the product's LED service indicator.

Items Supplied

Lists the components included with the product purchase.

Technical Data

Operational Parameters

Specifies ambient temperature and drill bit size ranges for operation.

Operation

Workplace Preparations

Essential steps before commencing work, including safety precautions.

Fitting the Side Handle

Step-by-step guide on how to attach and position the side handle.

Fitting the Depth Gauge

Instructions for attaching and setting the depth gauge for controlled drilling depth.

Fitting and Removing Accessory Tools

Procedure for installing and removing accessory tools, including safety notes.

Types of Work

Details different working modes like drilling and chisel positioning.

Hammer Drilling Operation

Procedure for performing hammer drilling operations with the tool.

Chisel Positioning

Guidance on adjusting the chisel angle for optimal performance.

Chiseling Operation

Instructions for performing chiseling operations with the tool.

Sustained Operation Control

Method for locking the switch for continuous operation during chiseling.

Detachable Supply Cord

Connecting the Supply Cord

Steps for securely connecting the detachable power cord to the tool.

Disconnecting the Supply Cord

Procedure for safely detaching the power cord from the tool and outlet.

Care and Maintenance

Care Instructions

General cleaning instructions for the tool's parts and air vents.

Maintenance Guidelines

Guidelines for maintaining the tool's condition and safety, including repairs.

Transport and Storage

Recommendations for safely transporting and storing the tool.

Troubleshooting

Table of common problems, their possible causes, and suggested solutions.

Disposal

Manufacturers Warranty

Overview

This document provides comprehensive operating instructions for the Hilti TE 50 and TE 50-AVR combihammers, designed for professional users. It emphasizes safe, trouble-free handling and use, urging users to read the documentation thoroughly before initial operation and to keep it with the product for future reference or when transferring it to other persons.

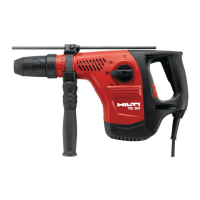
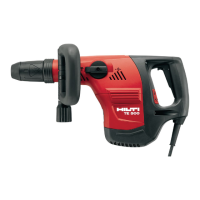
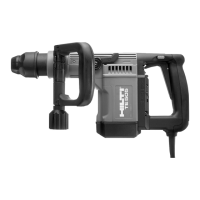
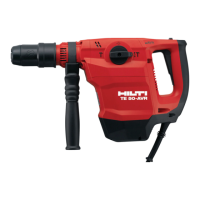
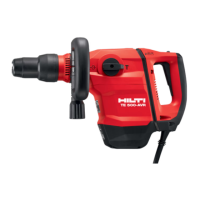
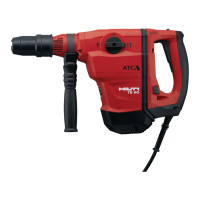
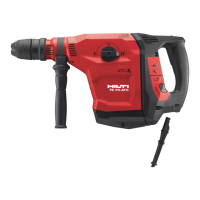
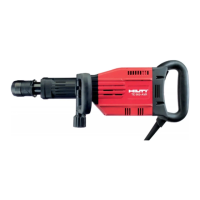
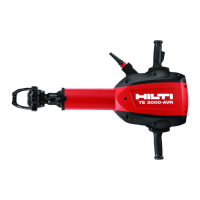
The Hilti TE 50 and TE 50-AVR are electrically-powered combihammers equipped with a pneumatic hammering mechanism. They are primarily designed for drilling in concrete, masonry, wood, and metal. Additionally, these tools can be used for light to medium-duty chiseling on masonry and for surface finishing work on concrete. Operation is permissible only when connected to a power source that provides voltage and frequency compliant with the information on the type identification plate. It's important to note that these products are not suitable for working on hazardous materials or in damp environments.

A key feature of the TE 50-AVR model is the Active Vibration Reduction (AVR) system, which significantly reduces vibration during operation, enhancing user comfort and safety. The tool also includes a service indicator, an LED that illuminates when servicing is due or flashes if the combihammer is faulty, prompting repair by Hilti Service.

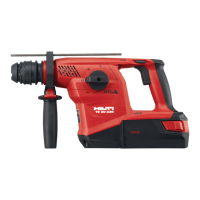
The combihammer is equipped with a chuck, a depth gauge, a function selector switch, and a control switch. It comes with a side handle for improved grip and control. For models with a detachable supply cord, a lockbutton and a keyed, releasable plug connector ensure secure connection. The quick-release chuck, available as an accessory, allows for fast and keyless changes of accessory tools. This chuck is compatible with cylindrical or hexagonal shank tools like drill bits for wood and metal, or mixing paddles, which are used in the rotary-only mode without hammering action.

Before starting any work, users must prepare the workplace by ensuring it is clean and well-lit. It is crucial to unplug the supply cord before making any adjustments or changing accessories to prevent inadvertent starting and potential injury. The side handle can be fitted by releasing its clamping band, sliding it over the chuck, positioning it as desired, and then tightening the clamping band. The depth gauge, an optional accessory, is fitted similarly, allowing users to set the desired drilling depth by adjusting a screw.

When fitting accessory tools, a small amount of recommended grease should be applied to the connection end before pushing the tool into the chuck until it engages. To remove the tool, the chuck is pulled back as far as it will go. Users are advised to wear protective gloves when changing hot accessory tools and to avoid placing them on flammable materials.

The function selector switch allows users to choose between different operating modes: "Hammer drilling," "Chiseling," and "Chisel positioning." For hammer drilling, the switch is set to the hammer drilling position, the drill bit is pressed against the work surface, and the control switch is pressed to start the tool. For chisel positioning, the switch is set to the chisel positioning mode, allowing the chisel to be rotated to one of 24 different positions (in 15° increments) for optimal working. Once positioned, the switch is turned to the "Chiseling" position. During chiseling, the on/off switch can be locked in the "on" position for sustained operation.

Maintenance is critical for the safe and reliable operation of the combihammer. Users must always unplug the supply cord before performing any care or maintenance tasks to avoid electric shock. Regular cleaning involves removing dirt, cleaning air vents with a dry brush, and wiping the casing with a slightly damp cloth, avoiding silicone-containing cleaning agents. All visible parts and controls should be checked regularly for damage and proper function. Any damaged or malfunctioning parts should be repaired by Hilti Service. After cleaning, all guards and protective devices must be refitted and checked for correct function. Only genuine Hilti spare parts and consumables should be used.

Troubleshooting guidance is provided for common issues such as the power tool not starting, no hammering action, reduced power, the drill bit not rotating, or difficulty releasing the drill bit. For instance, if the tool doesn't start, it could be due to an interruption in the electric supply, activating the electronic restart interlock, which can be resolved by switching the tool off and on again. If there is no hammering action, the tool might be too cold, requiring the user to run it against the work surface until the hammering mechanism engages. These instructions help users address minor issues, but for more complex problems, contacting Hilti Service is recommended.

Hilti TE 50 Specifications

General IconGeneral
Carrying caseYes
Input power1050 W
Power sourceAC
Impact rate3180 bpm
Rated speed (max)550 RPM
Impact energy (max)5.2 J
Vibration level (hammer drilling)16.1 m/s²
Drilling diameter in concrete (max)- mm
Chuck typeSDS Max
Product colorBlack, Red
Weight and Dimensions IconWeight and Dimensions
Depth462 mm
Width113 mm
Height243 mm
Weight5700 g

Related product manuals