36
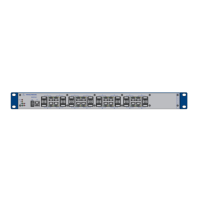
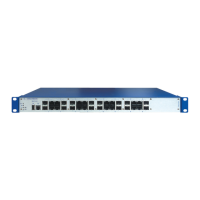
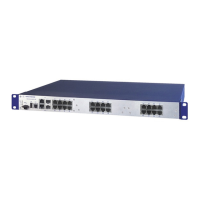
Installation MACH 1040
Release
04
10/2015
The devices are designed to be mounted in a 19" switch cabinet.
Verify that there is sufficient ventilation. Bauen Sie gegebenfalls einen
Lüfter ein, um ein Überhitzen des Gerätes zu vermeiden.
Measure the depth of the 19" cabinet so that all the lines to be connected
can be fed in easily.
Assemble the sliding or mounting rails in the 19" switch cabinet as
specified by the manufacturer.
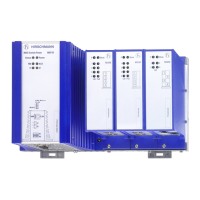
Figure 10: Assembly in a switch cabinet with sliding/mounting rails
1 - MACH 1040 device
2 - sliding/mounting rail
3 - 19“ switch cabinet
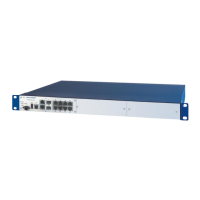
On delivery, two brackets are attached to the sides of the device (see figure
below).
Figure 11: Mounting in the switch cabinet
Fasten the device by screwing the brackets to the switch cabinet.
Note: When operating the device in an environment with strong vibrations,
you have the option to additionally fasten the device to the switch cabinet
using 2 holding brackets on the back of the device.
You can obtain additional brackets as accessories (see on page 51
“Accessories”).