16
STEP 5 Proceed through the Screen
Setup Menu
PROJECTION MODE
If you need to flip the image over top-to-bottom and/or left-
to-right, select the Projection Mode and press the LEFT/RIGHT
buttons.
AUTO GEOMETRIC CORRECTION
1. Ensure that the Laser Cinema and your mobile device are
connected to the same Wi-Fi network.
2. Position the Laser Cinema and use the leveling feet as
needed to fit the entire display border within the screen area.
3. Click Next to continue.
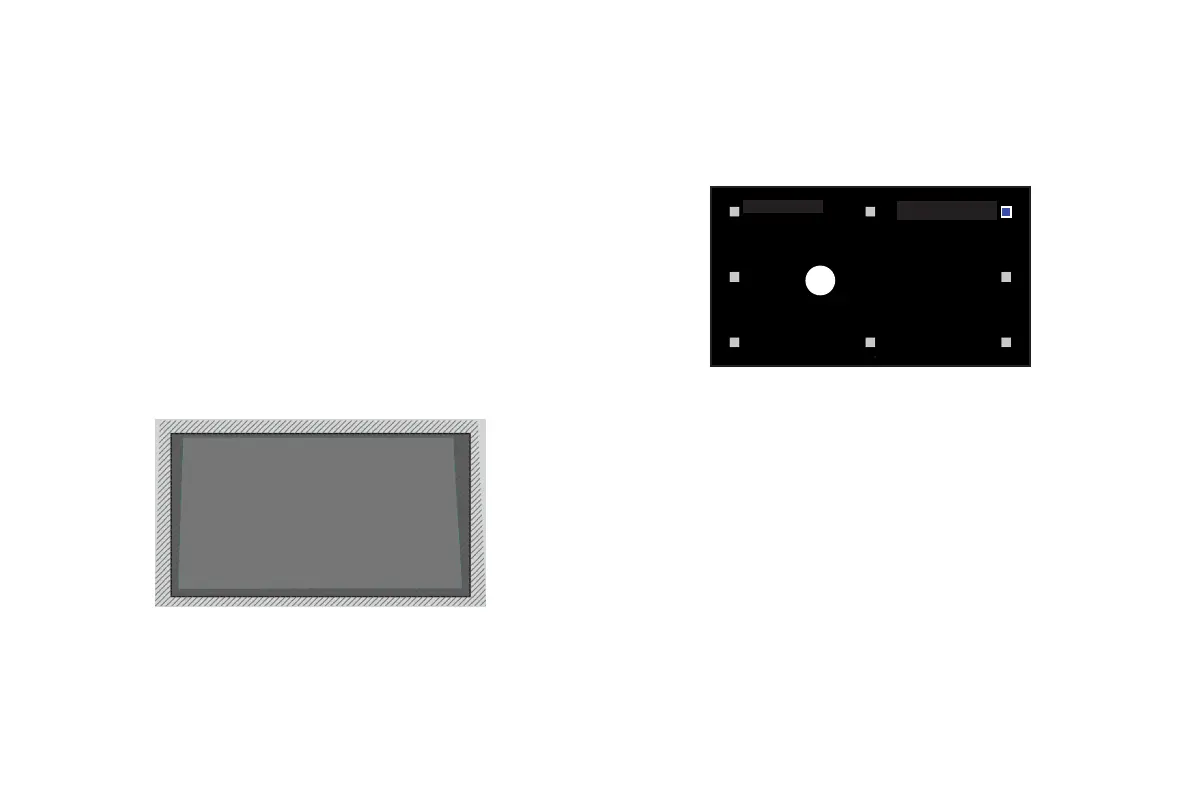
GEOMETRIC CORRECTION
1. Select a point for adjustment using the UP/DOWN/LEFT/
RIGHT buttons. Adjust eight main points at the corners and
midpoints first, then adjust the six smaller points on the top
border.
2. Adjust the position of the point by pressing the UP/DOWN/
LEFT/RIGHT buttons, then press the Back button to view and
select other points. Your changes will apply automatically.
NOTE: To return the picture position to the factory default,
select the Reset button on the screen.
EYE PROTECTION
In order to protect your eyes, do not look into the lens.
This
projector is shutting down in 5 seconds, the Laser Cinema
screen is closed immediately.
Press
OK
to adjust the selected
point
 Loading...