13
English
4. Stopper for precision cutting ... (Stopper and holder are optional accessory)
Stopper
(Optional accessory)
Holder
(Optional accessory)
6mm Wing Nut (Optional accessory)
Height Adjustment Bolt 6mm (Optional accessory)
6mm Wing Bolt
(Optional accessory)
Workpiece
The stopper facilitates continuous precision cutting in lengths of
11" to 17-3/4" (280mm to 450mm).
To install the stopper, attach it to the holder with the 6mm wing
bolt as shown in Fig. 10.
Fig. 10
5. Confirmation for use of sub fence
Sub Fence
Turn
Fence(B)
WARNING: In the case of left bevel cutting, turn the sub
fence counterclockwise. Unless it is turned
counterclockwise, the main bady or saw blade
may contact the sub fence, resulting in an injury.
This power tool is equiped with a sub fence. (See Fig. 1)
In the case of direct angle cutting and angle cutting, use the sub
fence. Then you can realize stable cutting of the material with a
wide back face.
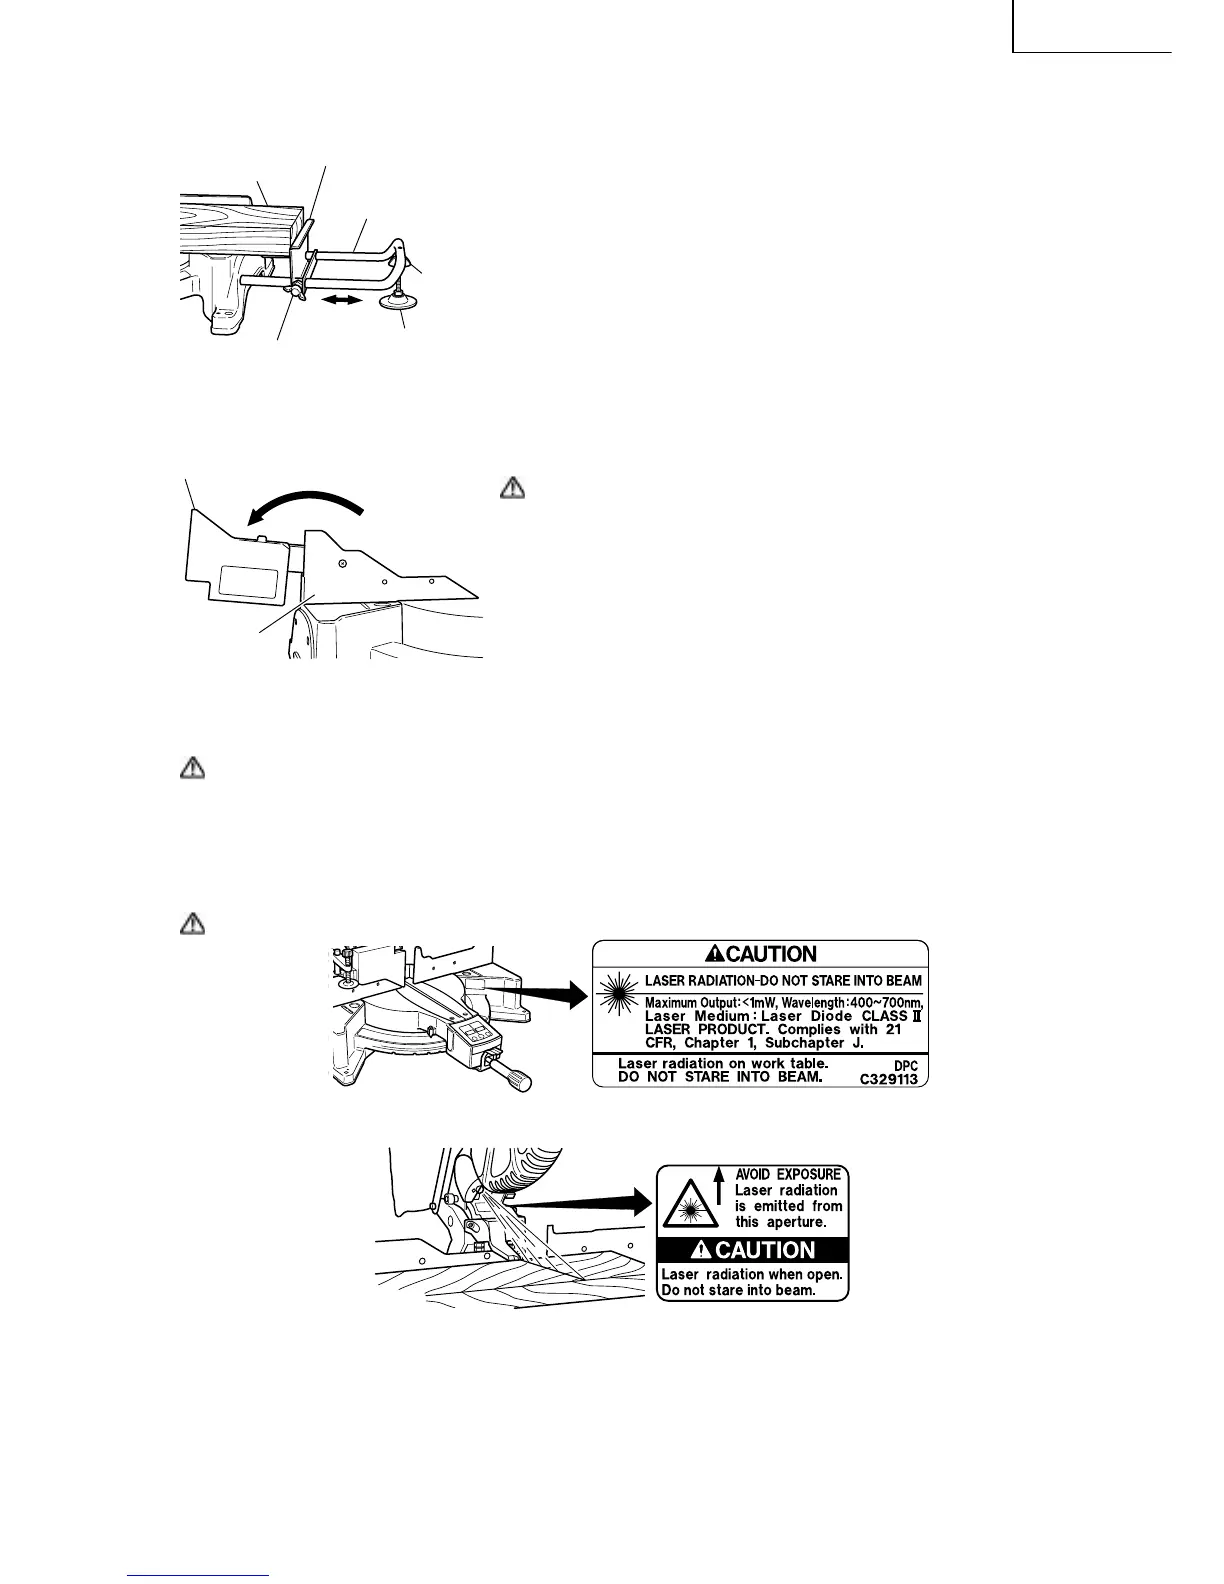
In the case of left bavel cutting, raise the sub fence up as
illustrated in Fig. 11 and then turn it counterclockwise.
Fig. 11
6. Position adjustment of laser line (For C12LCH/C12FCH)
WARNING: *Make sure before plugging the power plug into the receptacle that the main body
and the laser marker are turned off.
*Exercise utmost caution in handling a switch trigger for the position adjustment of
the laser line, as the power plug is plugged into the receptacle during operation.
If the switch trigger is pulled inadvertently, the saw blade can rotate and result in
unexpected accidents.
*Do not remove the laser marker to be used for other purposes.
CAUTION:
Fig. 12
Fig. 13