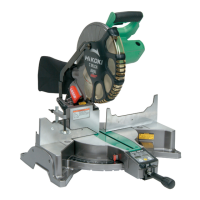
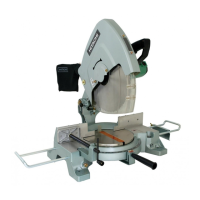
15
English
NOTE: Check and make sure on a periodic basis if the position of the laser line is in order. As regards
the checking method, draw a right-angle ink line on the workpiece with the height of about
1-1/2" (38mm) and the width of 3-1/2" (89mm), and check that the laser line is in line with the
ink line [The deviation between the ink line and the laser line should be less than the ink line
width (0.5mm)]. (Fig. 17)
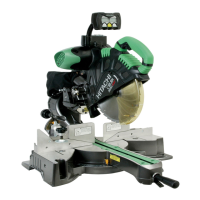
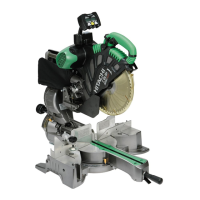
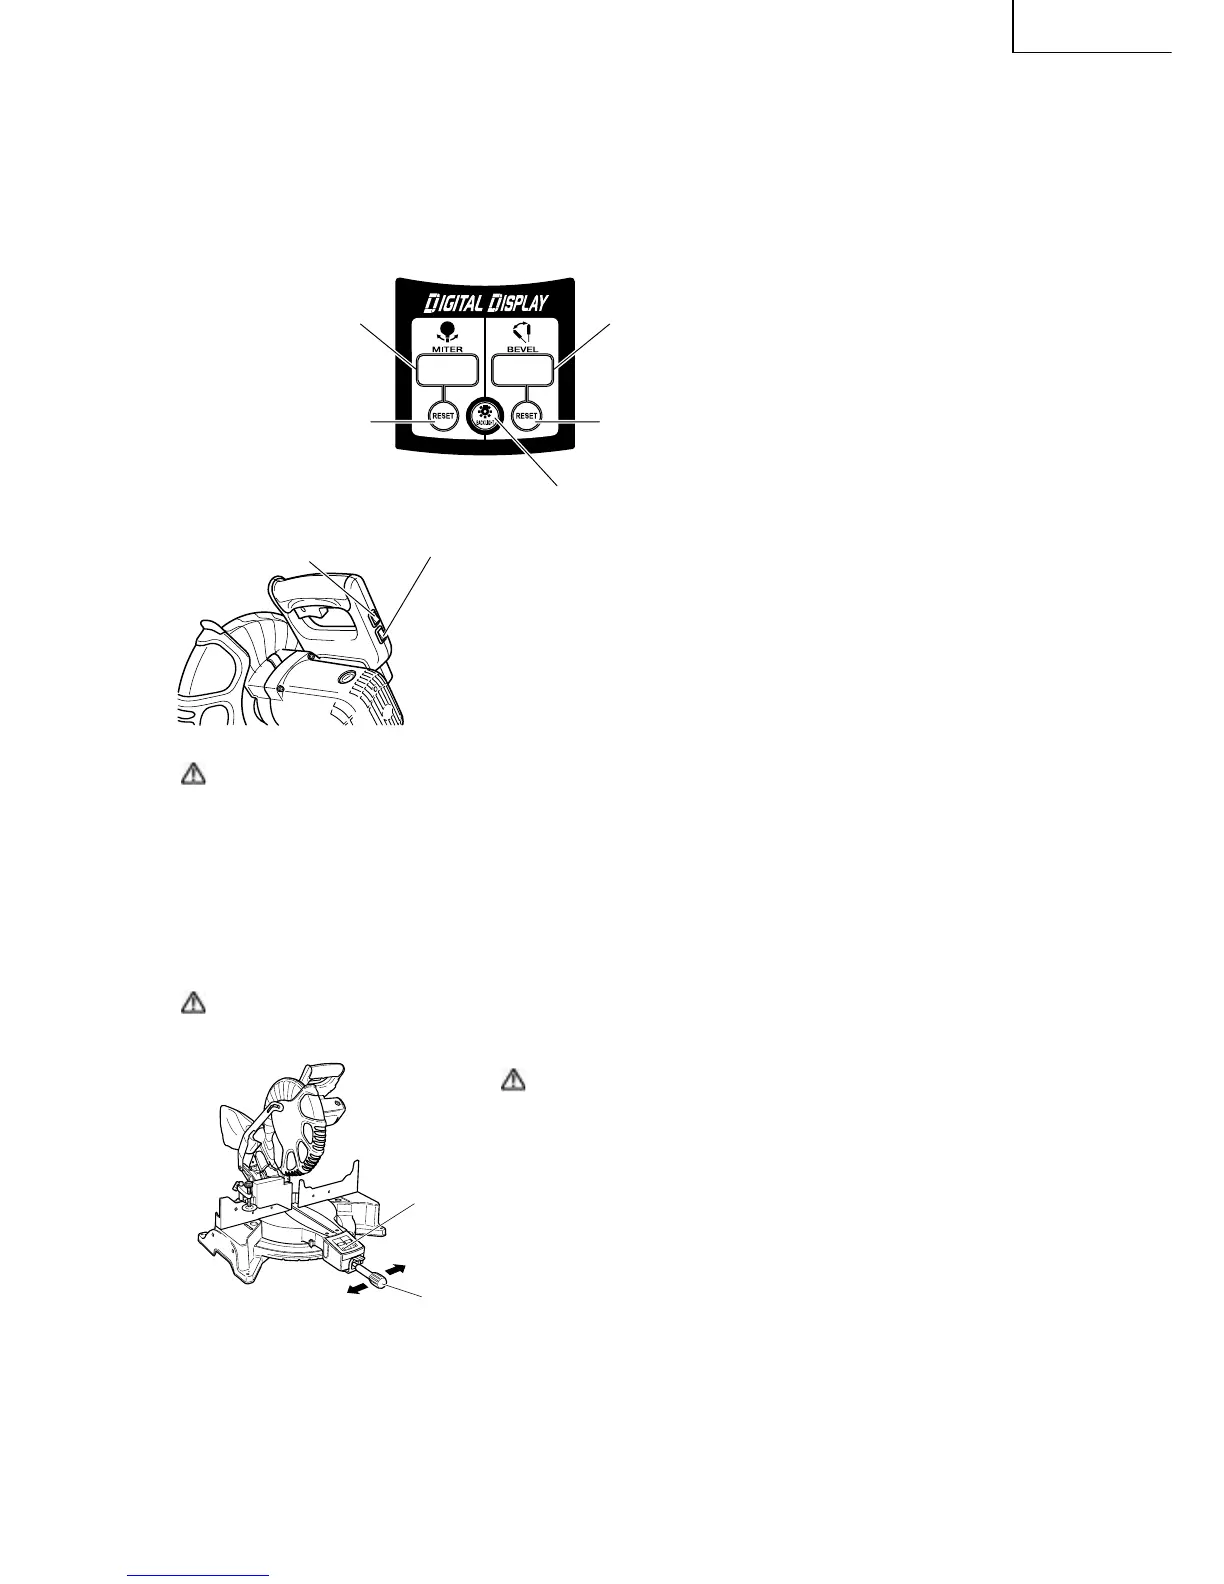
7. DIGITAL DISPLAY PANEL (for C12LCH and C12LC)
Miter angle window
(Displays arrows show angle and
direction that turntable is rotating.
Left is ←, Right is →.)
Bevel angle window
(Displays arrows showing motor head
bevel angle and bevel direction. Left is ←,
Right is →.)
Miter angle reset button
Bevel angle reset button
Back light ON/OFF switch (Press and the switch illuminates.
Press again and the lighting turns off.)
Fig. 18
Laser marker switch
(for C12LCH/C12FCH)
Digital display switch (for C12LCH/C12LC)
(Also serves as laser marker power switch.)
Fig. 19-a
(1) Turning on the digital display switch shows 0° for both miter
and bevel angle, regardless of main unit angle.
(2) Align the main unit angle with the tilt angle (0°) and miter angle
(0°) and hold down their reset buttons for at least 0.2 second.
(3) Turning on the laser marker switch while the digital display
switch is on, lights up the laser marker. (On the C12FCH, only
the laser marker switch.)
CAUTION: When operating the digital panel, have the motor head section at the top limit position
and the blade stopped.
Note: • Before starting to cut, align the main unit to the miter angle 0° and the bevel angle 0° and
hold down thier reset buttons for at least 0.2 second. If you press the digital display switch to
ON without aligning the main unit to 0°, then the figures appearing on the digital display and
the main unit angle will not match.
• The laser marker will not light up if the digital display switch is turned off. (only on C12LCH)
• Do not use the main unit near equipment that generates electrical noise such as generators.
Electrical noise might cause faulty readings or operation on the digital display.
CAUTION: When operating the digital panel, have the motor head section at the top limit position
and the blade stopped.
Reset Button
Side Handle
CAUTION: If the figure shown on the miter angle digital
display is different from the positive stop angle
(for example, 45.0° → 45.5°, 31.6° → 32.0°) then
the positive stop has probably deviated slightly
from its correct position. If this happens, do as
follows.
(1) Move the turntable left and right with the side
handle loosened, and set the turntable to the
correct position.
(2) If the figures on the display and positive stop
still do not match, then return the turntable
to the 0° position. Next move the turntable
left and right with the side handle loosened
as shown in Fig. 19-b. After setting it to the
correct position 0°, press the reset button
again.
Move the turntable left and right
with the side handle loosened and
set it to the correct position.
Fig. 19-b