3-6 Preparation
Hitachi Compute Rack 220H CRU Replacement Guide
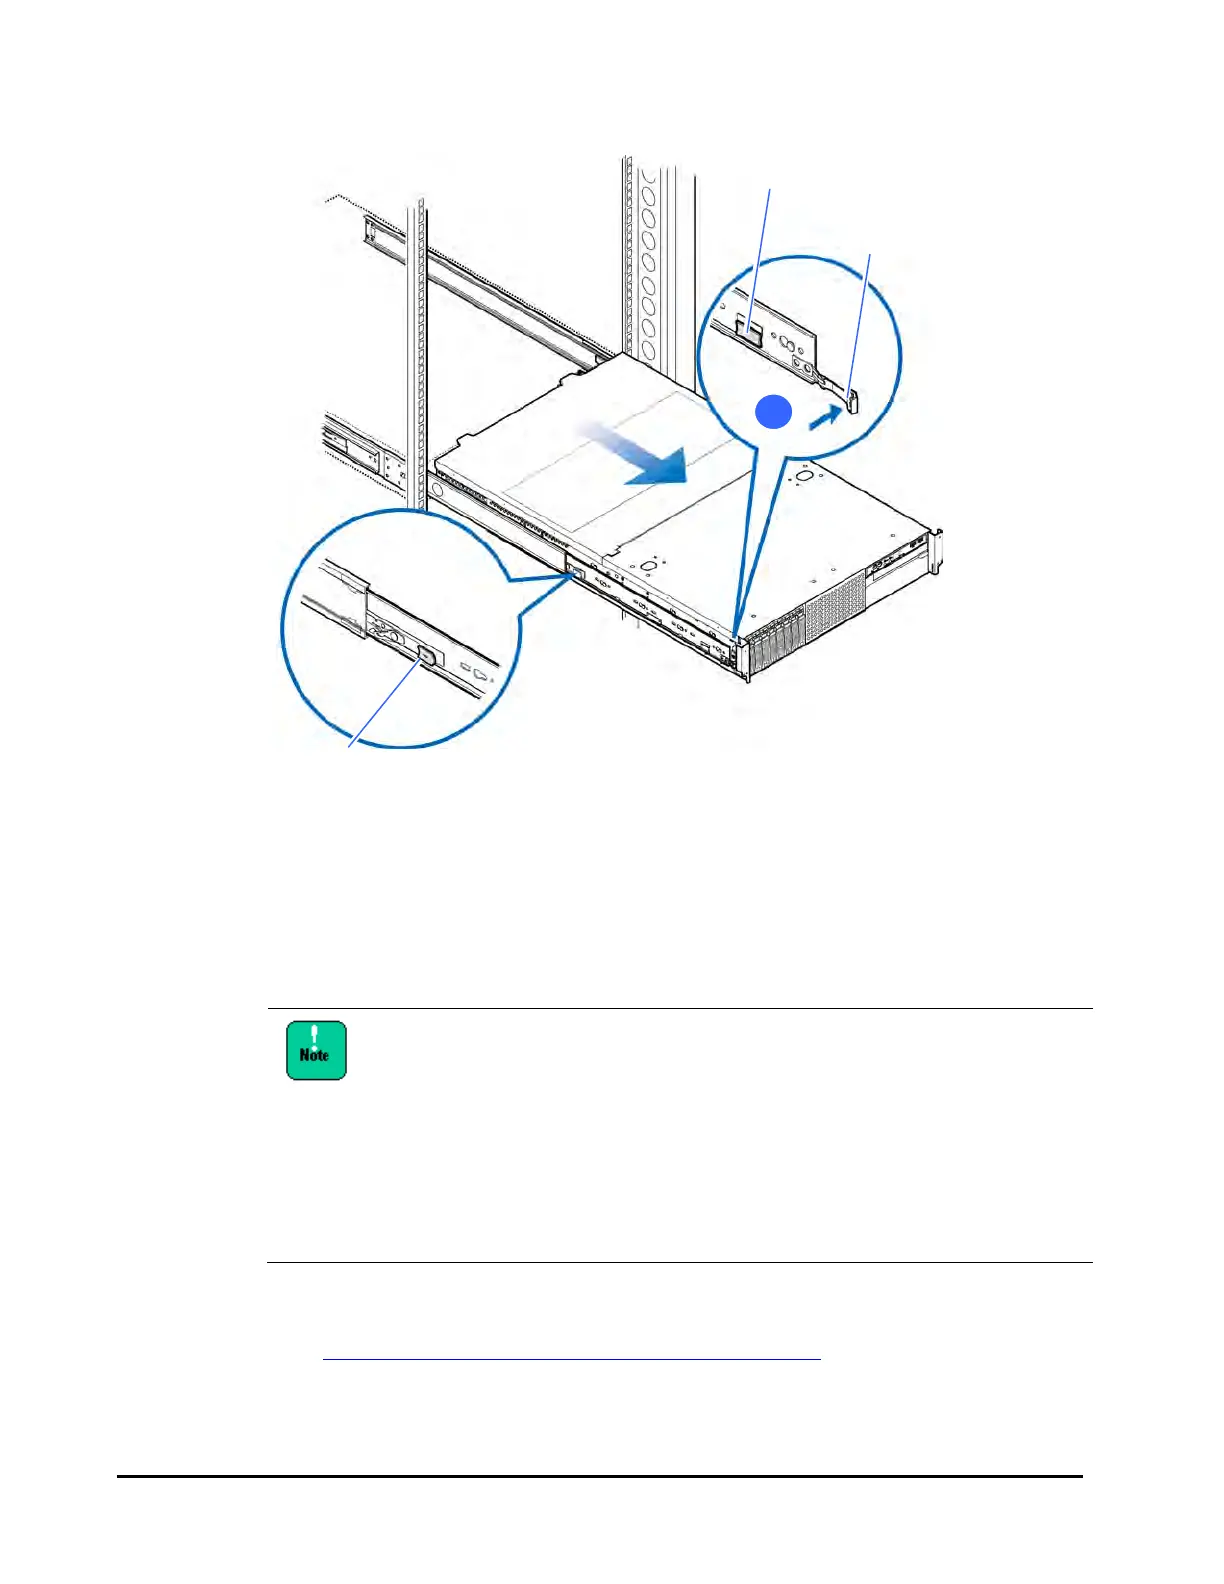
Figure 3-4: Sliding out the system unit from the rack cabinet
Sliding the system unit into a rack cabinet
1. Pull the lock latches (Blue) and slide the system unit into the rack cabinet
slightly.
The inner rails are locked by the buttons.
• Slide the system in gently. Lift the front of the system unit
slightly when sliding the system into the rack cabinet.
Otherwise, the system might interfere with another unit
installed below, which may cause those units to be deformed.
• Do not push down the system while sliding out the system
unit. If you do, the system unit may be deformed.
• When you slide the system unit into the rack cabinet, be careful
against being caught the cable clamp of the power supply. The
cable clamps may be damaged.
2. Perform reverse procedure of the removal to install a front bezel and connect
external cables.
See Sliding out the system unit from a rack cabinet.
3
Lock latch (White)
Button
Lock latch (Blue)

 Loading...


