Do you have a question about the Hitachi Content Platform S Series and is the answer not in the manual?
Identifies the target readers for this manual and assumes prior experience with computer systems.
Specifies the software release version covered by this document.
Advises users to read release notes for requirements, restrictions, and updates.
Lists other Hitachi Content Platform documentation for additional information.
Provides the URL to access the most current product documentation online.
Guides users on how to contact Hitachi Data Systems for technical support.
Provides an email address for submitting feedback on the document.
Details the software tools required for refurbishment and their contents.
Instructions for installing and removing the serial port driver for S10 nodes.
Guide to installing PuTTY for serial and SSH connections to server modules.
Steps to establish a serial connection using PuTTY to S10 Node server modules.
How to obtain IP address and subnet mask for SSH access.
Steps to adjust laptop network settings for SSH connectivity.
Procedures for connecting via SSH using PuTTY over Ethernet.
Instructions for installing InfraRecorder for ISO image creation.
Instructions for installing Rawrite32 for creating bootable USB drives.
Guide on preparing bootable USB flash drives with the HCP S Series OS ISO.
Steps to create the OS ISO image file from installation CDs.
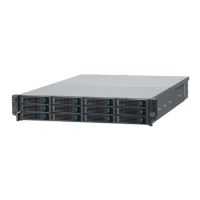
Lists necessary tools and components for S10 Node refurbishment.
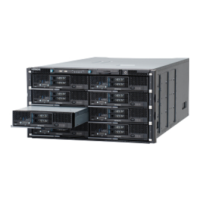
Instructions for unpacking the S10 Node enclosure from its shipping carton.
Steps to reset the server module BIOS to enable USB boot.
Detailed procedure for wiping all drives on the S10 Node server modules.
Steps to remove upgrade kit drives and insert placeholders.
Procedure to unrack the S10 Node enclosure.
Instructions for packing the S10 Node enclosure into its carton.
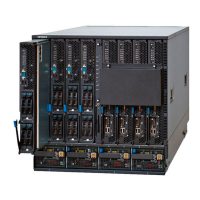
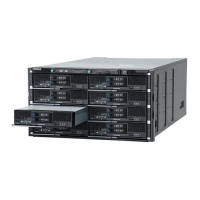
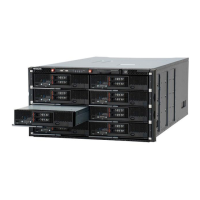
Lists tools and components for S30 Node refurbishment.
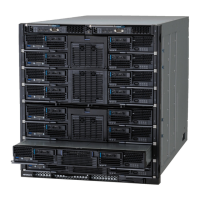
Instructions for unpacking S30 Node enclosures from shipping cartons.
Detailed instructions for connecting SAS cables between enclosures and server modules.
Steps to reset S30 server module BIOS for USB boot.
Procedure for wiping all drives on S30 Node server modules.
Comprehensive guide to removing, disassembling, and packing S30 server modules.
Instructions for removing an S30 server module from a rack.
How to remove Solid State Drives (SSDs) from the S30 server module.
Steps to remove CPUs from the S30 server module sockets.
Steps to reattach the server module cover.
Comprehensive guide to unrack, disassemble, and pack S30 enclosures.
Steps to prepare the enclosure carton for packing S30 enclosures.
Procedure to unrack the S30 Node enclosure.
Instructions for packing the S30 enclosure into its carton.
Procedure to unrack and pack power distribution units (PDUs) for S30 Node.
| Category | Object Storage |
|---|---|
| Interface | Gigabit Ethernet, 10 Gigabit Ethernet |
| Access Protocols | HTTP, HTTPS, REST |
| Data Deduplication | Yes |
| Compression | Yes |
| Deployment Options | On-premises |
| Management Interface | Web-based interface, command-line interface (CLI), REST API |
