3. Using the #2 Phillips screwdriver, unscrew and remove the silver self-
tapping screw in each of the four corners on the back of the front of the
enclosure.
4. Pull the front panel off the front of the enclosure.
5. Gently push the top of the light pipe assembly to the left and rock it to
the left to free the right side. Then push the light pipe assembly to the
right side and pull the left side out of the enclosure.
6. While pushing back the green plastic sliders at the front end of the rails
on both sides of the enclosure, push back on the enclosure to release it.
Then slide the enclosure all the way back into the rack until the
enclosure clicks into place.
7. Pack the front panel, light pipe assembly, and self-tapping screws in the
applicable box from the enclosure carton, with the screws in their
original packaging or in a bag that you supply.
Step 18d (conditional): Remove the cable management arms
If the enclosure is in a rack, you need to remove the cable management
arms for the enclosure. These arms are attached to both the enclosure and
to cable management arm extenders that are attached to the outer
enclosure rails. The arms most likely have the power and SAS cables
threaded through them.
To remove a cable management arm:
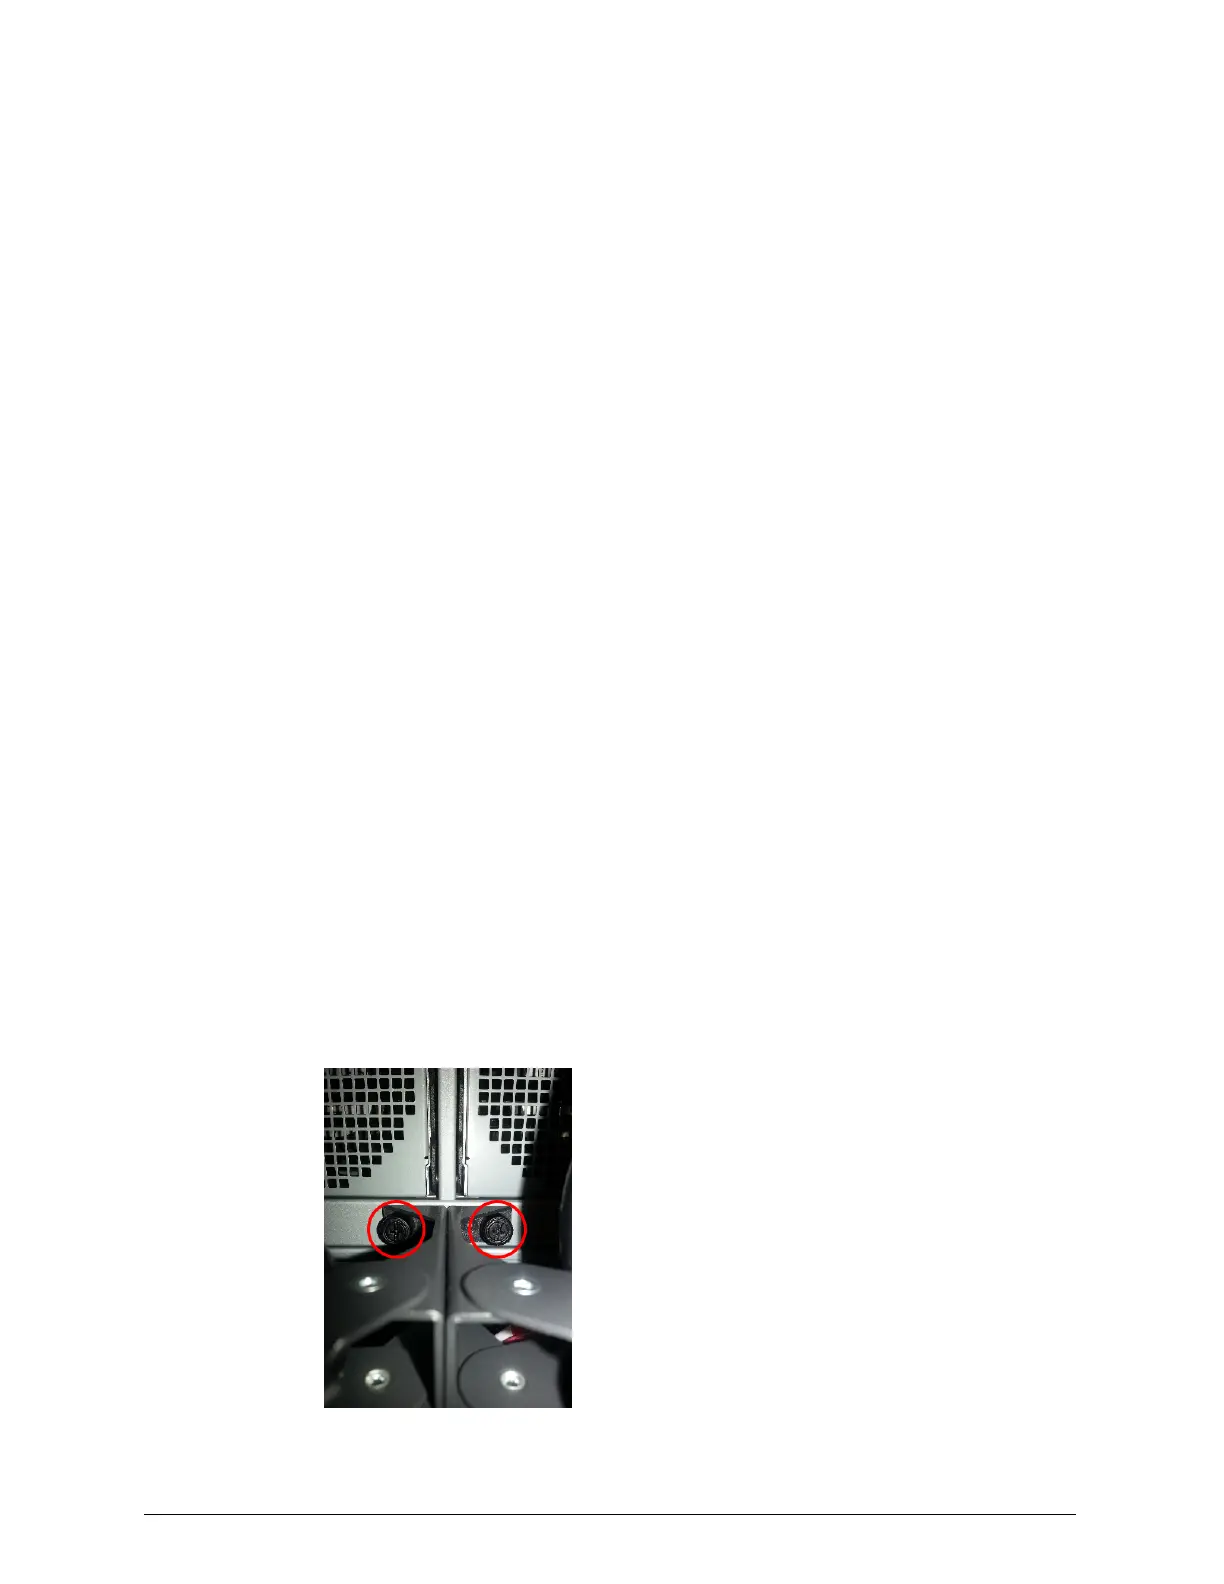
1. Using the #1 Phillips screwdriver, loosen the large black screw that
attaches the cable management arm to the middle of the enclosure until
the screw is very loose. The screw does not come out.
120
Chapter 4: Refurbishing an HCP S30 Node
HCP S Series Node Refurbishment
Step 18: Unrack and pack the enclosures
 Loading...


