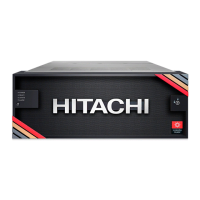
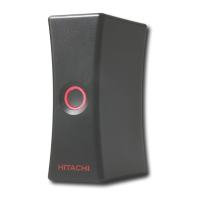
5. Wait for the green READY LED on the front of the controller to go on (approximately
13 minutes).
Note: If the READY LED does not go on after 30 minutes, contact
customer support.
Step 6: Perform the initial setup
Initial setup of the storage system is performed using the Windows-based management
console.
Preparing the storage system
Before you begin
Conrm that the Windows-based management console has an Internet connection and
an installed version of one of the following web browsers: Internet Explorer version 11 or
later, Chrome, or Firefox.
Procedure
1. Connect the management port on controller 1 and controller 2 to a management
(non-production) network.
2. Congure the management console to use an IP address of 192.168.0.18 and a
subnet mask of 255.255.255.0.
Next steps
Change the storage system's default password.
Changing the default password
Important: To protect the security of your device, change the default
password immediately and retain the new password for your records.
Procedure
1. On your management console PC or laptop, open a web browser and enter the
following IP address: 192.168.0.16
2. Enter the default user name and the default password, and then press the Enter key
to log in to Hitachi Storage Advisor Embedded. Contact customer support for the
default user name and password.
Step 6: Perform the initial setup
Installing your VSP E590 and VSP E790 storage system
Hitachi Virtual Storage System E590, E790 Installation Guide 10

 Loading...


