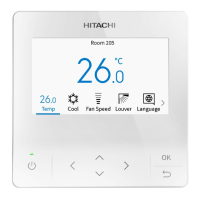
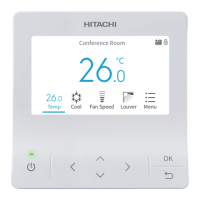
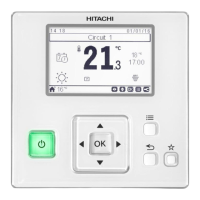
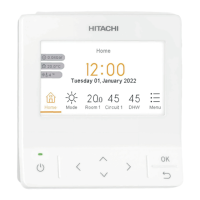
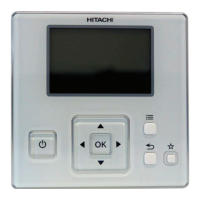
5.5.1 Schedule Day and Time Setting
? NOTE
indicates that schedule control is not possible. Refer to “7.1 Adjusting
date / time” to set the date and time.
Set the schedule day and time
1 Select “Power Saving/Night Quiet Schedule” on the
“Function Menu” screen and press “OK”.
• If the sub remote controller or indoor unit does not support
power savings, the power saving schedule setting screen for
intermittent control (Step3) is displayed.
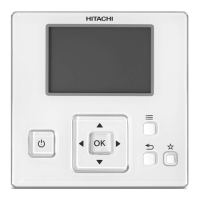
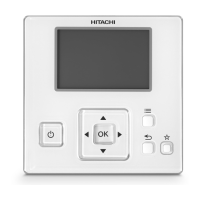
2 Press “ ” or “ ” to select the setting items, and then press
“OK”. The items are changed as follows:
"Capacity Control" ↔ "Intermittent" ↔ "Night Quiet Operation".
• If the current time is not set, the “Adjusting Date/Time”
setting screen is displayed.
• If no schedule or holiday has been set, Step4 is displayed.
3 Press “ ” or “ ” to select the schedule day and time settings,
and then press “OK”.
4 Select the day of the week (from Mon. to Sun.) to be set with
“ ” or “ ”, and press “OK”.
• (run) and (stop) is displayed on the LCD.
• To copy the setting contents of the previous day, press “ ”
and “OK” simultaneously.
5 Press” ” or “ ” to select schedule timer No. 1 to No.5, and
press “ ” or “ ” to select “ON Time” ↔ “OFF Time” ↔ “Noise
Reduction”↔ “ ”. By pressing “ ” or “ ”, “ON / OFF Time”
and “Noise Reduction” can be set.
• Press and hold " " or " " to increase or decrease
continuously.
• Five different schedule timers (maximum) can be set for
each day of the week.
• Press “OK” to display the schedule time setting screen for
the next day of the week.
• Select “ ” and press “OK” to delete the setting of “ON /
OFF Time” and “Noise Reduction”.
• Press “ ” to return to Step4.
Indicates that schedule control is in operation.
EN
FUNCTION MENU
PMML0565 rev.1 - 04/2022
17
 Loading...