Getting Started
detaching any power supply (ie. battery, AC adapter/charger, etc).
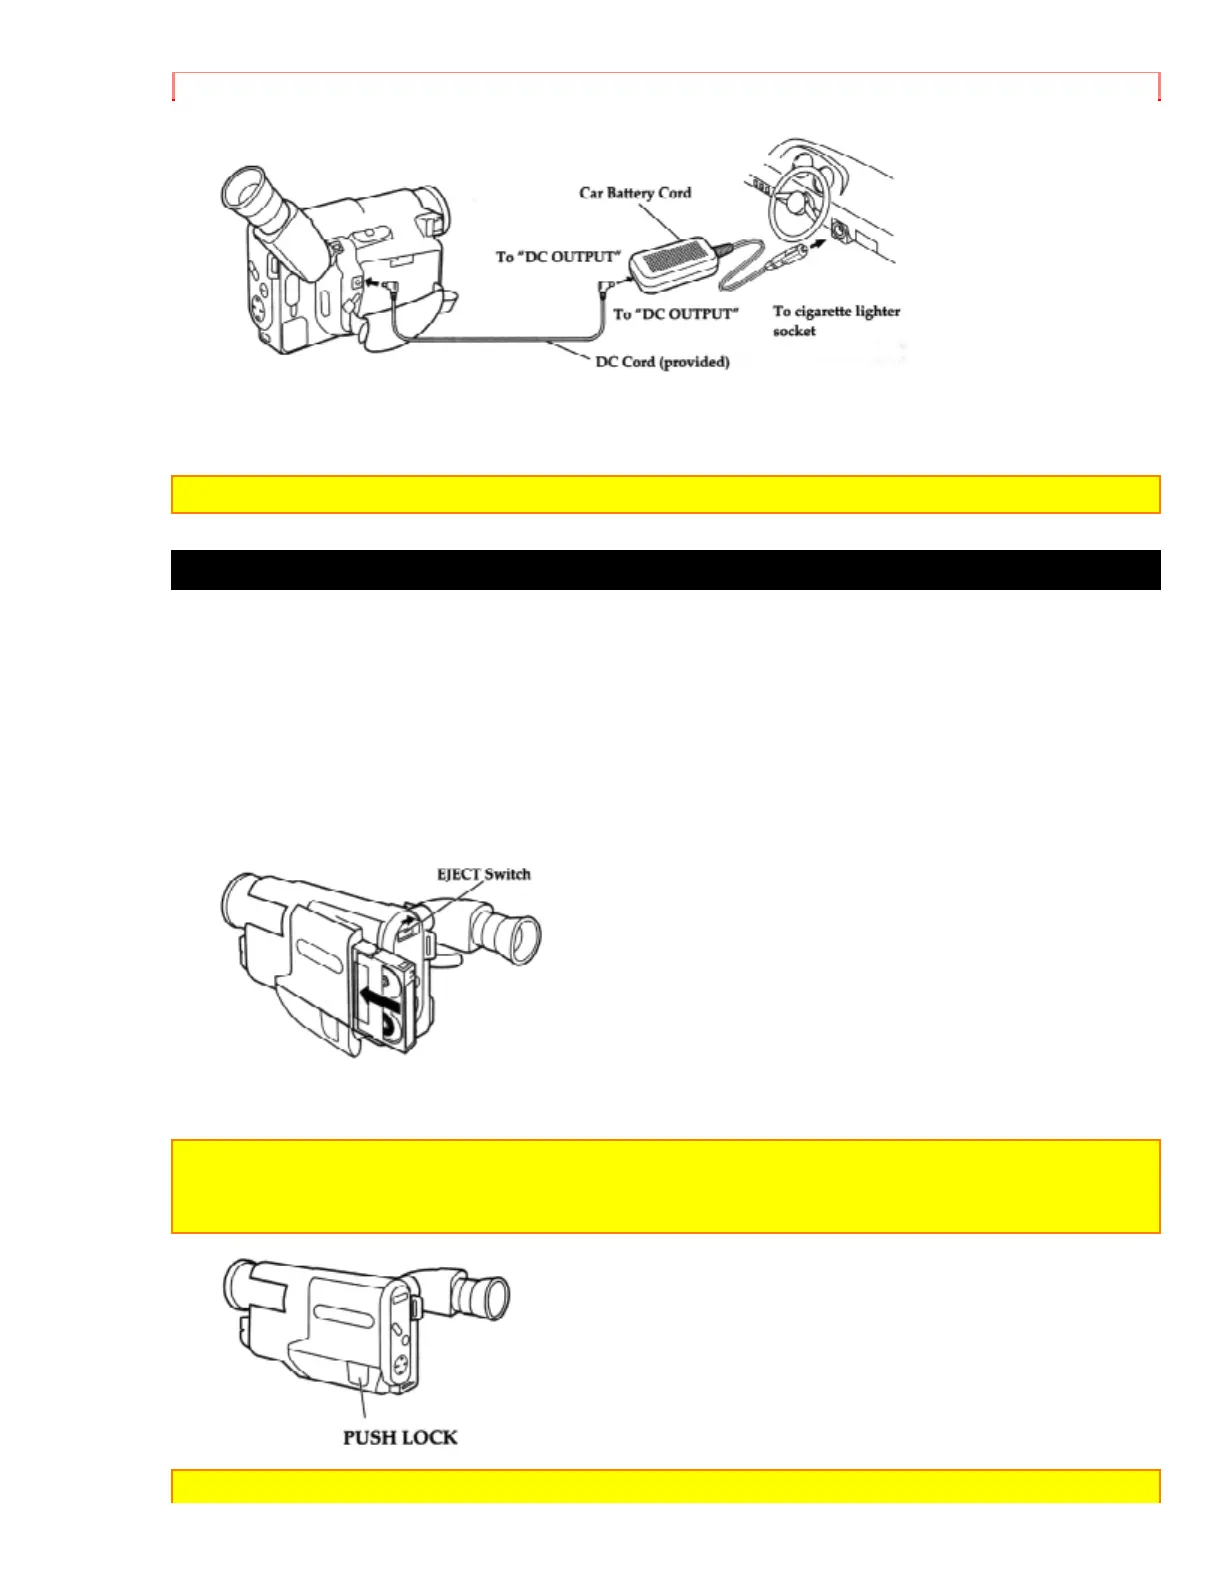
1. Plug the car battery cord into the car's cigarette lighter socket.
2. Connect one end of the DC cord (provided) to the DC IN jack of the camcorder.
Connect to other end of the DC cord to the DC OUTPUT of the car battery cord.
Note: Only use the car battery cord with cars having 12/24 volt negative ground system.
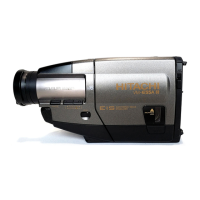
Inserting and Removing Cassettes
A power source must be connected before inserting or removing cassettes. Once
connected cassettes can be inserted or removed whether the CAM/OFF/VIDEO switch
is on or off.
Inserting a Cassette
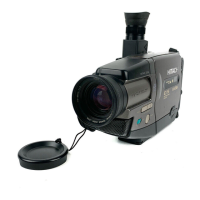
1. Slide the EJECT switch in the direction of the arrow. The cassette door opens
automatically.
2. Place the cassette in the cassette holder so that the transparent window faces away
from the body of the camcorder and the sprockets toward the body of the camcorder.
3. Push the cassette holder, which is embossed PUSH LOCK on the left hand side, until
it "clicks" into place. The camcorder automatically closes.
Caution: Be sure that you push the cassette holder embossed PUSH LOCK to close the
holder. Otherwise, the holder will not click into place and the tape may be slack which could
lead to damage.
Note: If TAPE flashes in the viewfinder, remove the cassette and check that the tape is not