Getting Started
24
Note: If TAPE flashes in the viewfinder, remove the cassette and check that the tape is not
damaged, is not slack or no dust adheres to it, etc. After making sure that there is no
abnormality, reinsert the cassette. If TAPE reappears, see "Troubleshooting" on page 48.
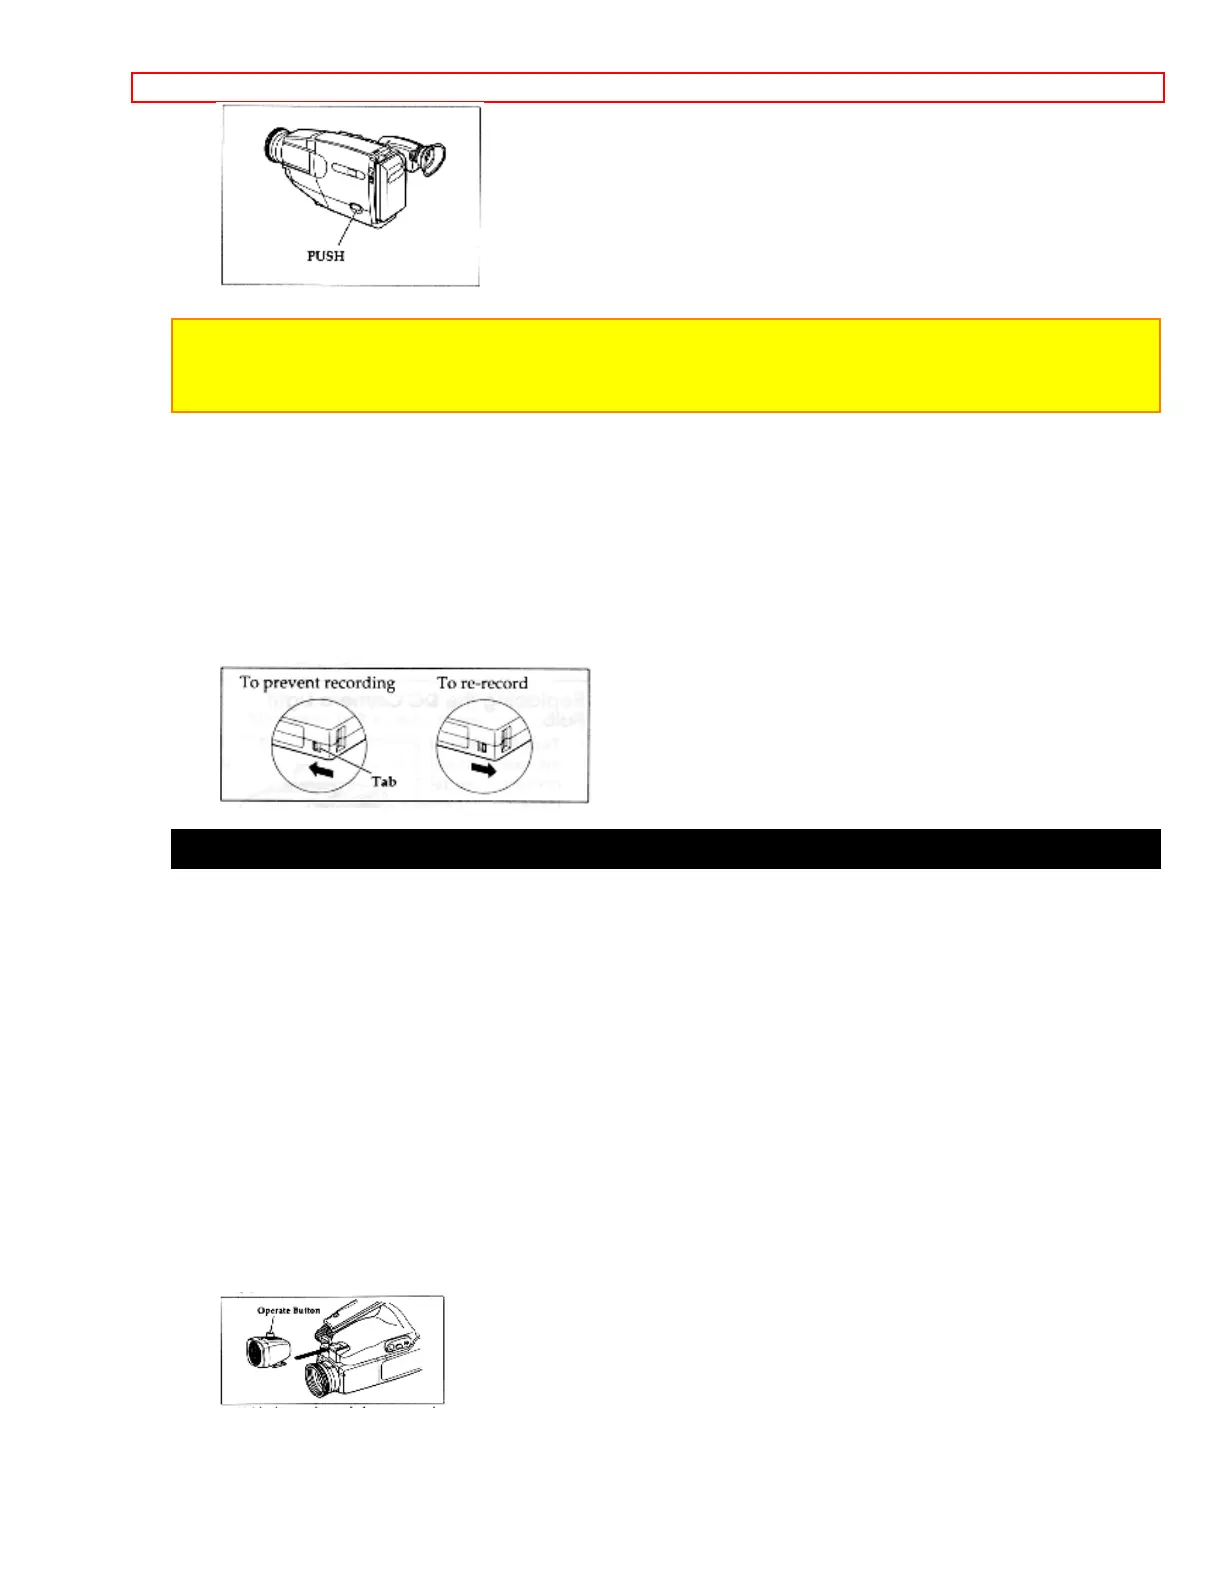
Removing a Cassette
Slide the EJECT switch in the direction of the arrow. The cassette door opens
automatically. Remove the cassette.
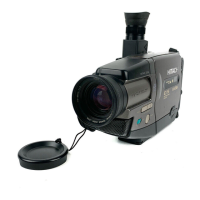
Protecting Recorded Material
Protect 8mm cassettes from accidental erasure by sliding the tab on the side of the
cassette towards the opposite side until the tab is completely visible. Slide the tab in the
opposite direction, until the tab disappears, to record on the cassette again.
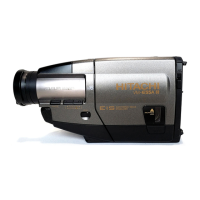
Attaching the Optional DC Camera Light
You can use the DC camera light to light subjects in darkened areas or correct
unflattering shadows. Use the camera light wisely as it greatly reduces the time you
may use a charged battery.
NEVER TOUCH THE DC CAMERA
LIGHT TERMINAL WHEN
THE CAMERA/RECORDER IS TURNED ON TO
AVOID ELECTRIC SHOCK.
1. Slide the CAMERA/OFF/VIDEO switch to OFF.
2. Connect a fully charged batteries or the AC adapter/charger ("Loading Batteries;
Camera/Recorder Battery" p 14, "Using Alternative Power Sources" p 15).
3. Slide the DC camera light onto the DC camera light shoe with the camera light lens
facing the same direction as the camera/recorder's lens.
4. Hold down the red button on the CAMERA/OFF/VIDEO switch while sliding it to CAM.
5. Press the operate button on the DC camera light to turn it on and off.